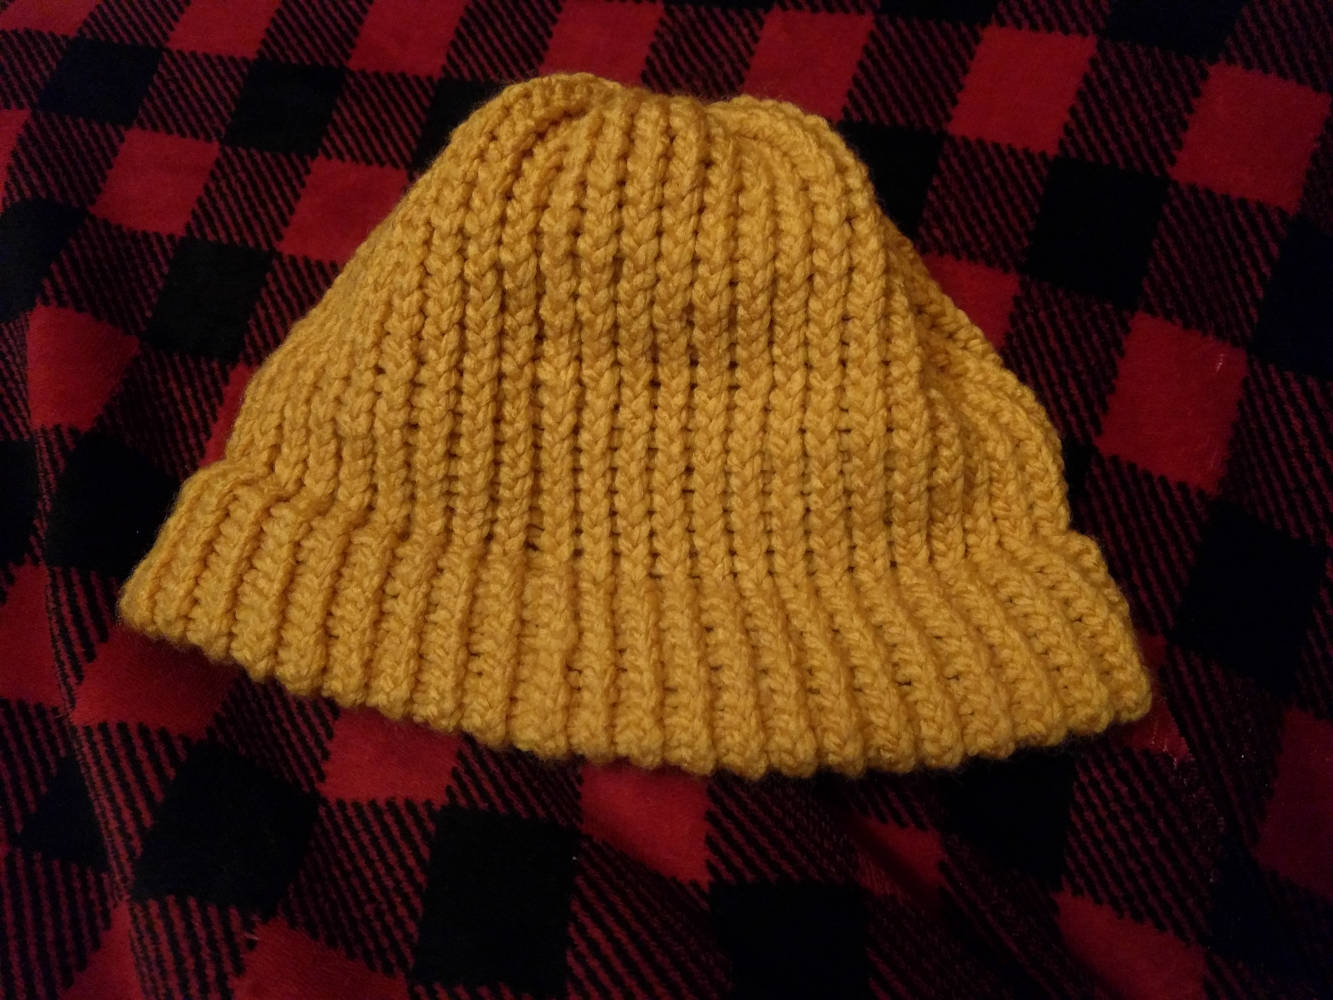
fiber arts : loom knit : yellow beanie
My partner loom knits. Crochet never really clicked for them, and needle knitting never clicked for either of us. But they like looms (knitting looms and pin looms mostly). I had bought some yarn for a nalbinding project, but didn't like how it was going and abandoned it. So I decided to try out a loom my partner had gotten a little while back that was around the right size for an adult sized hat.
I enjoyed working on this project more than I thought I would. In part I think it was the loom. I had tried other knitting looms and found them frustrating to work with and just not fun... but this one was different. I liked it a lot and had fun working on this hat. It took a fraction of the time it would have taken me to crochet a similar hat. It is repetative work, but nice. I am also really pleased with the result and wear it regularly.
Images
Information
- Loom Size
- 48 peg / 5/8"
- Yarn Weight
- 5 / Bulky
- Yarn Type
- Acrylic
- Yarn I used
- Loops & Threads Charisma Acrylic
- "Yellow" color (1 skein, 109 yds)
- Other supplies
- Scissors
- Tapestry needle
Pattern / Instructions
- Make a slip knot and attach it to your starting peg
- E-wrap each peg (moving counter-clockwise from the starting peg) to cast on
- E-wrap each peg then knit the whole row by putting the bottom loop over the top loop (and off the peg)
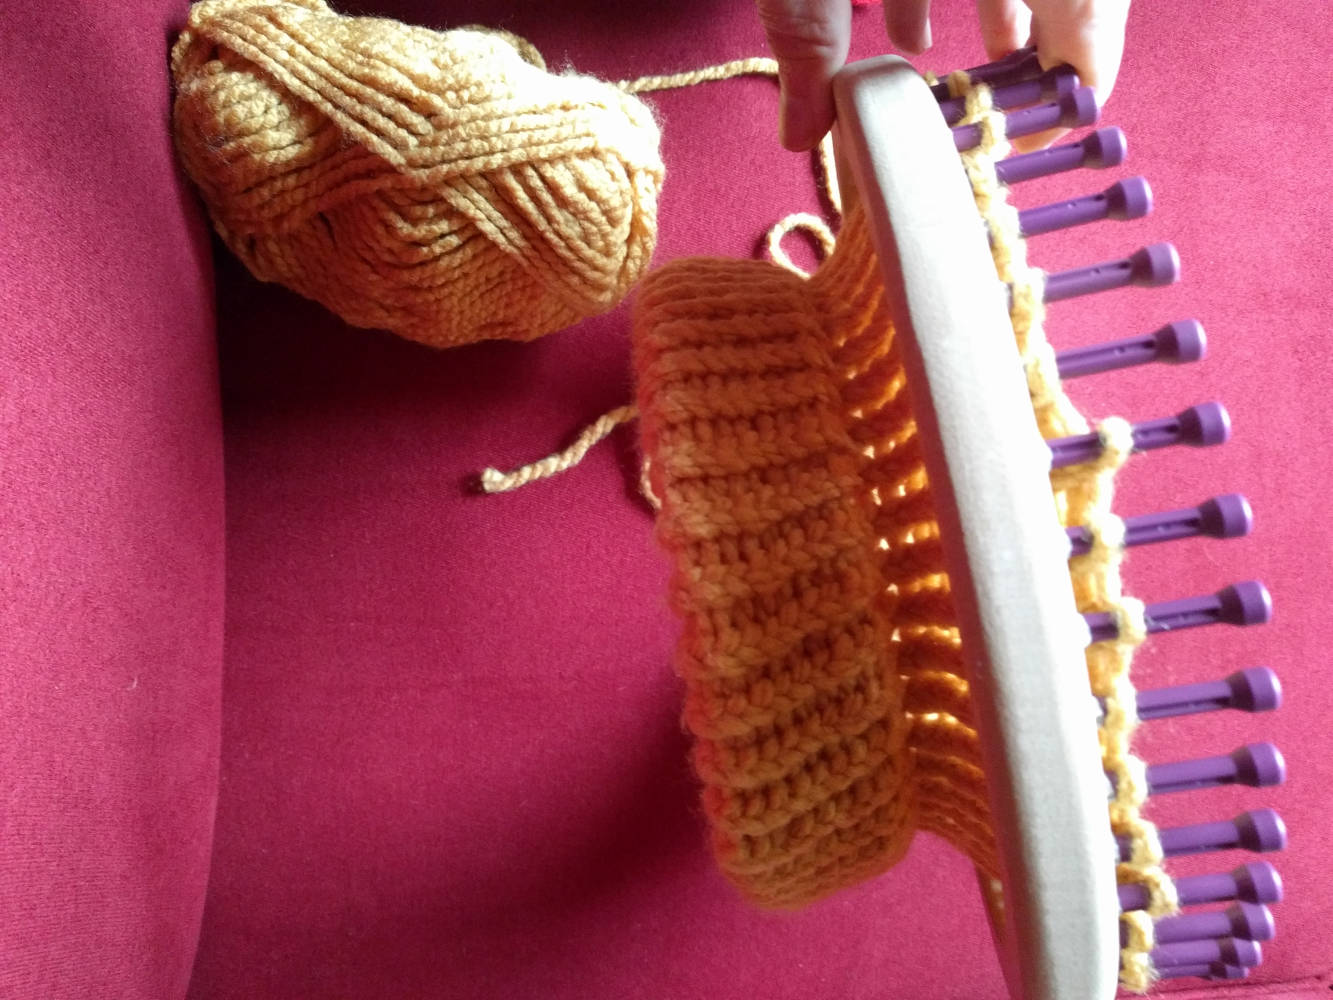
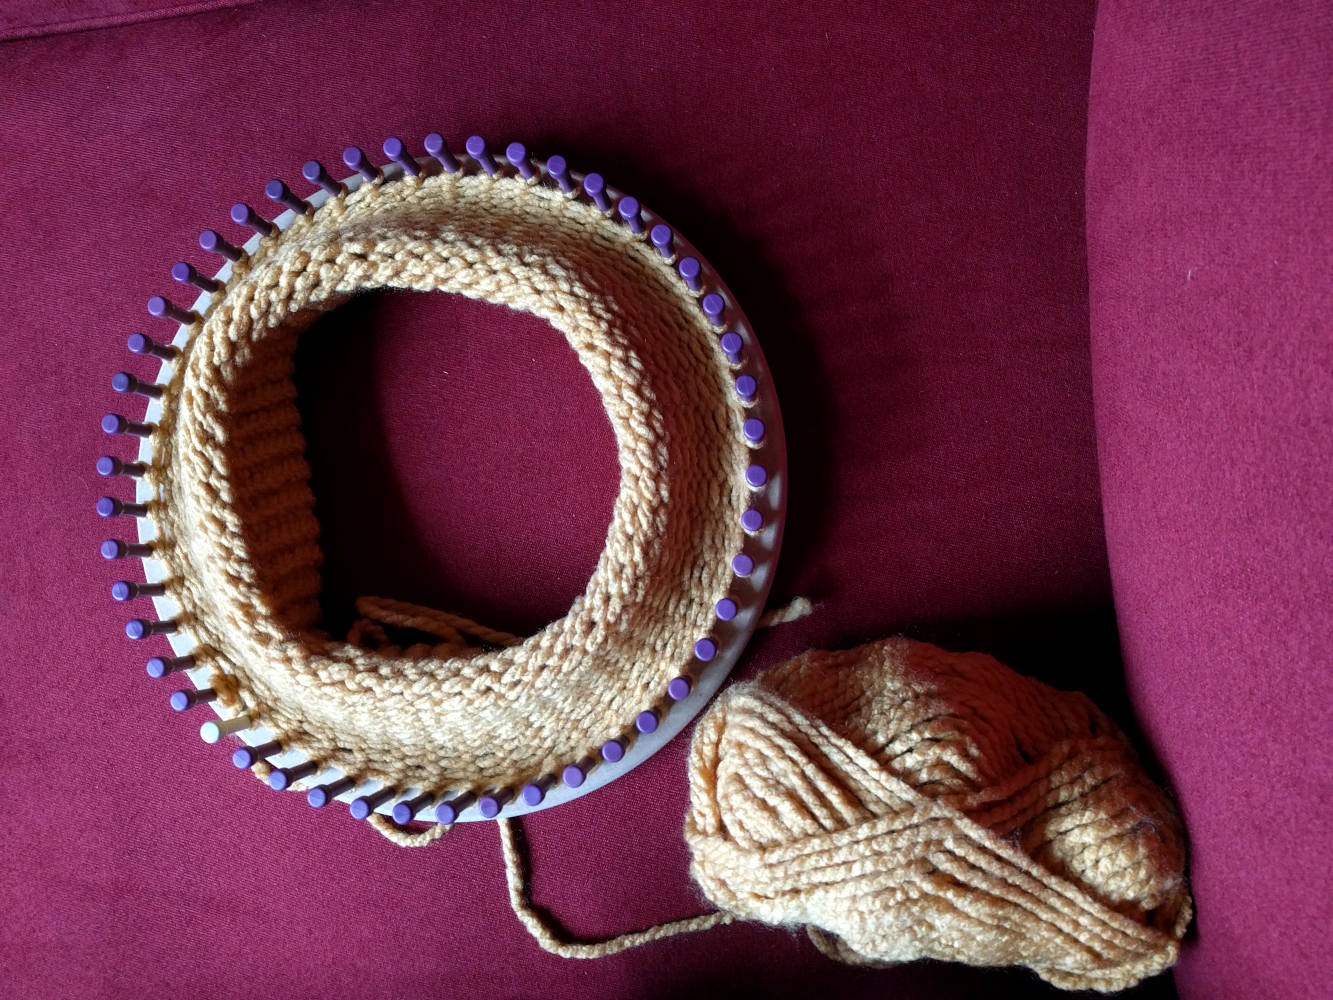
- I did around 20 rows of the last step then took the bottom row of the knitted rows and put each loop over the pegs all the way around and knitted each to create a double thick brim
- E-wrap and knit each row from here until you have enough length (I did around 28 more rows)
- Cut the working yarn, leaving a tail long enough to wrap around the loom 1.5 times
- Attach a tapestry needle to the working yarn
- Run the tapestry needle through the loop on the starting peg and remove the loop from the peg, follow suit with each other peg
- You now have a tube. Turn it inside out by putting the needle/working-yarn through the tube and flipping the tube inside out
- Pull the working yarn to cinch up the top of the hat as best as you can, leaving as small a hole in the middle as possible
- Using the tapestry needle and working yarn sew around the hole taking care to not fully go through to the other side (the outside) of the hat), pull to cinch a little more
- Weave in the end by going accross the "butt" you have created by cinching until it is good and covered and the end is well woven in. Cut any remainder(after tying a knot, if you prefer)
- Weave in the starting tail by passing it into the inside of the "brim" of the hat
- You have a new hat


