fiber arts : crochet : ferris wheel blanket
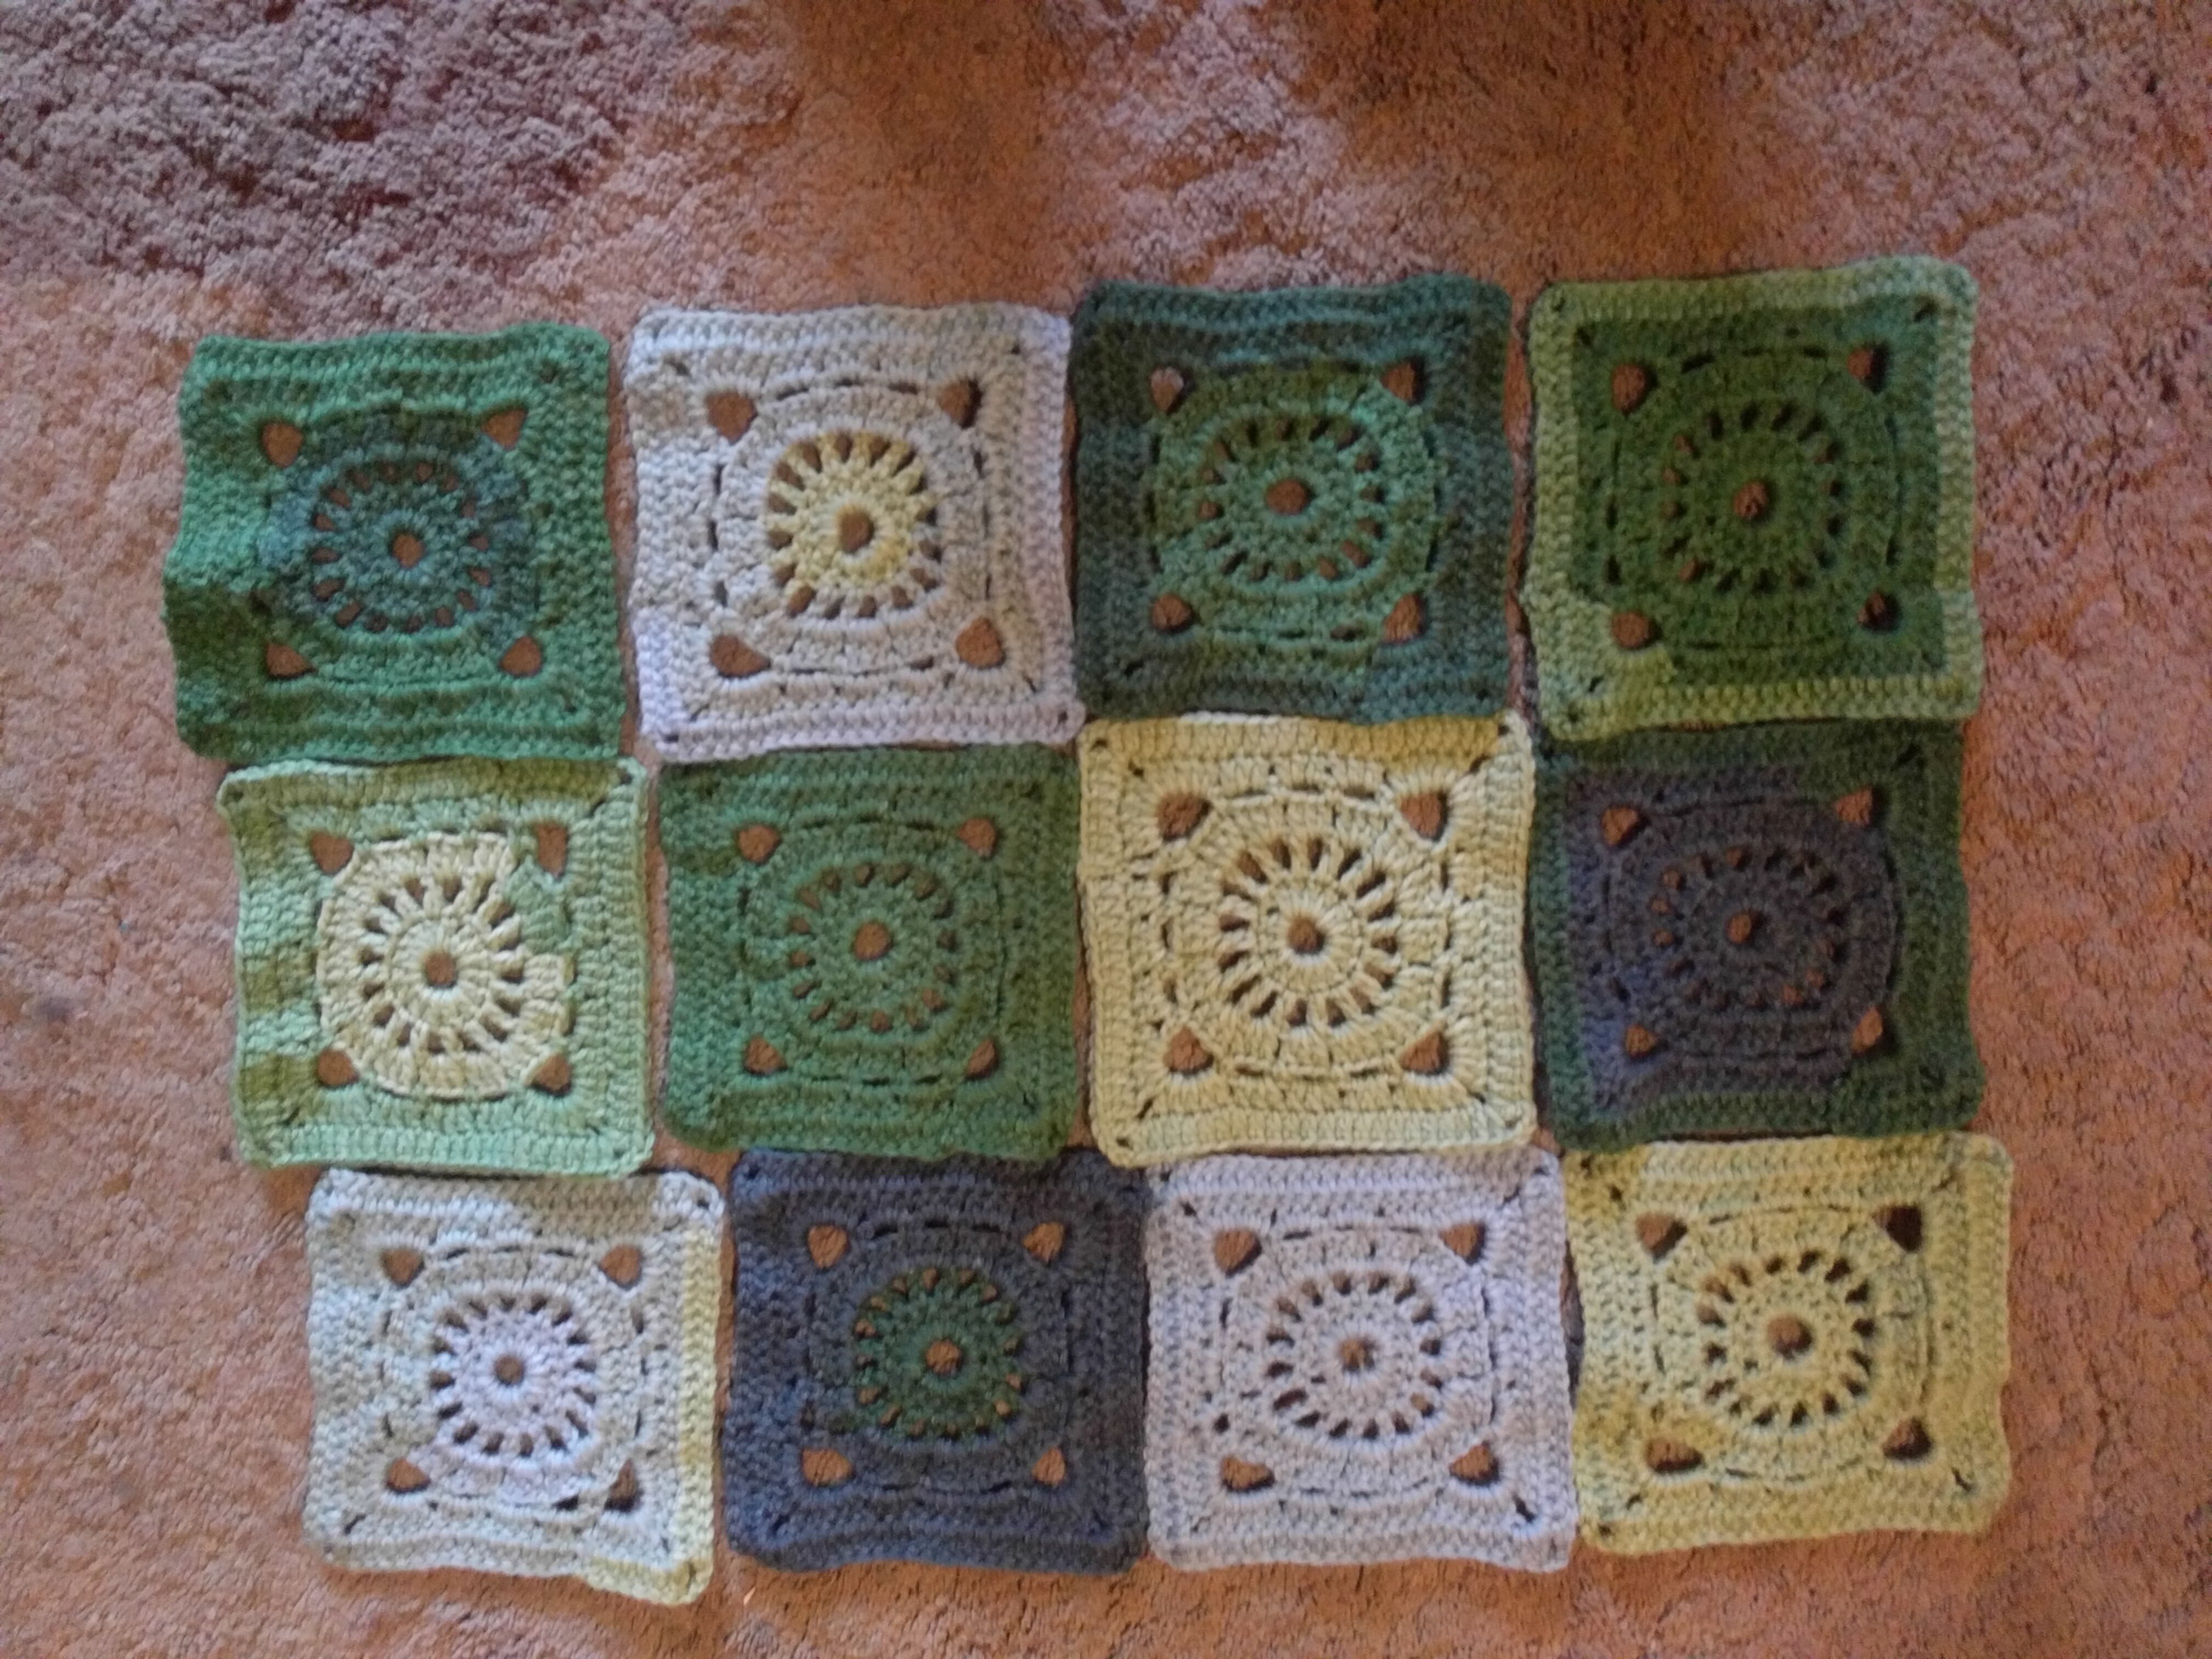
At the post office near our home is a little free library. One day while picking up our mail I noticed someone had left a copy of The Granny Square Book by Margaret Hubert. I had always wanted to do something with granny squares but had never managed to get started on a project. I brought the book home and spent a few days combing through it for the square I might want to try out. In the end I settled on the "Ferris Wheel" square (square #23, page 56). It is an attractive square that is dense enough to be useful as a blanket. It was also listed as a beginner square, but still looked impressive.
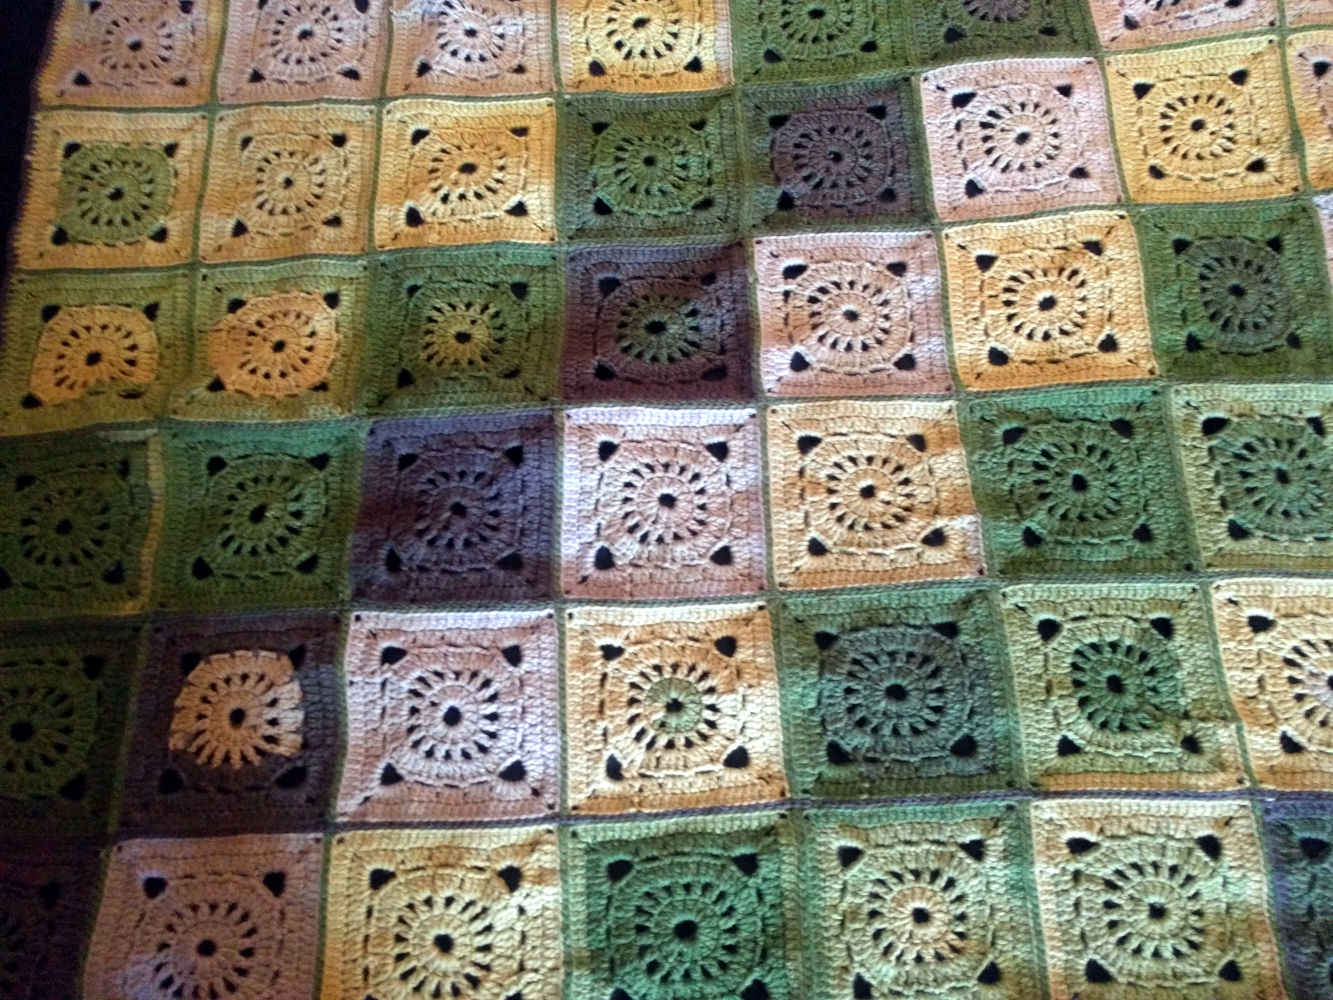
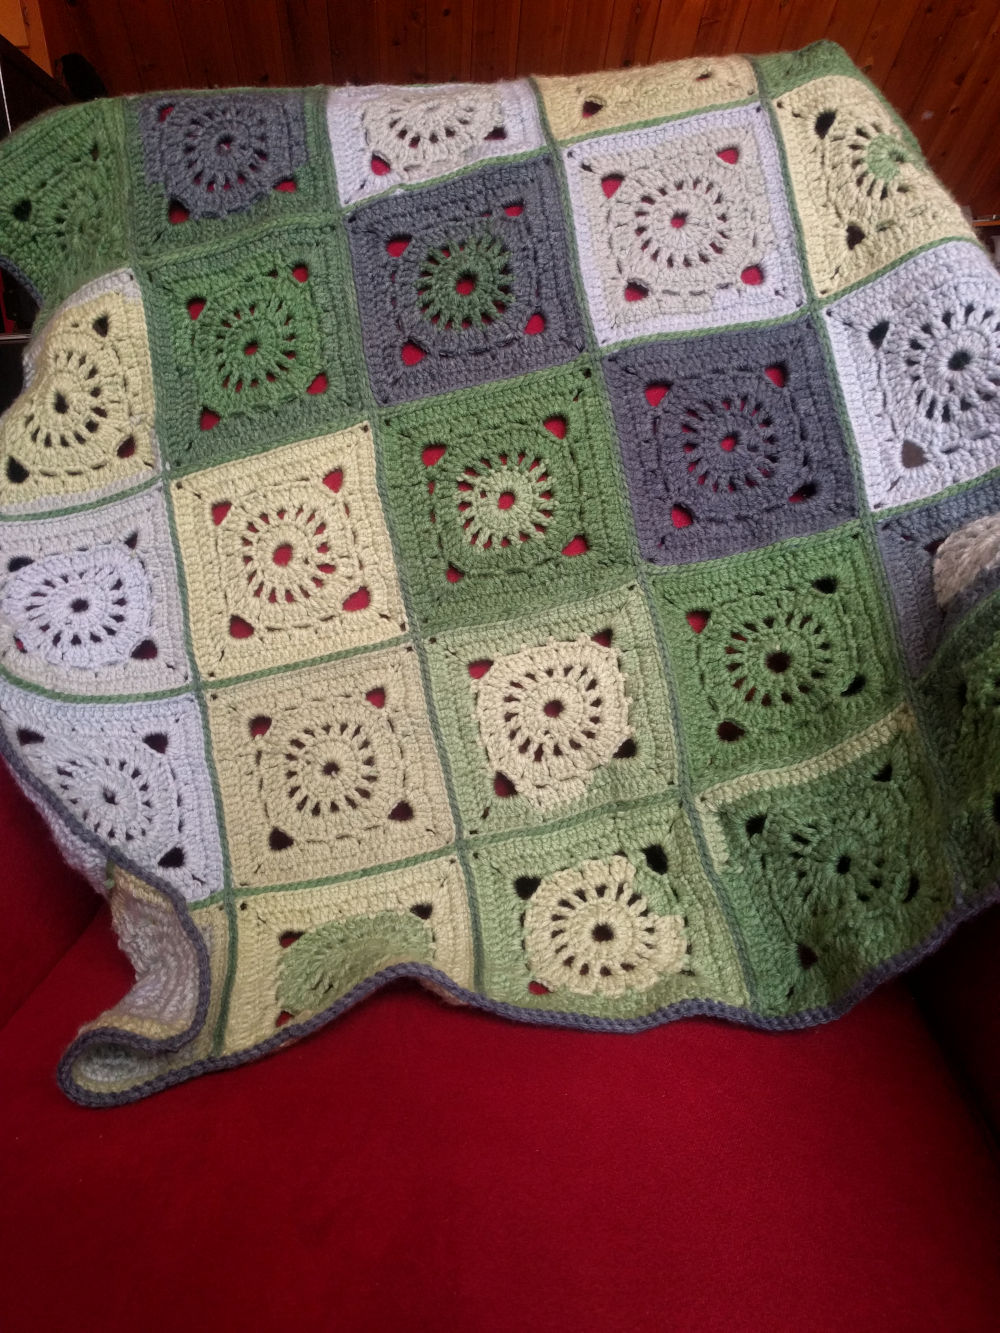
The final blanket was made from 48 squares (8 by 6). It seemed like soooo many at the time. I think I miscalculated the size at some point, because what I ended up with is more of a lap blanket. That said, I really love it. It is a nice blanket to have while sitting in the reading chair we have by the window; nice to curl up with. I slip stitched the squares together with the same yarn/hook I used for the squares. I did the stitching at the end, not as I went, and then did a round of single crochet around the outside. For a first blanket I am pretty happy with it. It is not perfect, but is very nice and I have fond memories of making.
Images
Information
- Hook Size
- 5mm
- Yarn Weight
- 4 / Worsted
- Yarn Type
- Acrylic
- Yarn I used
- Caron Jumbo Ombre
- "Lake Mist" color
- 3 Skeins (at 595 yds/skein)
- Other supplies
- Scissors
- Tapestry needle
- Stitch marker(s) Optional
Pattern / Instructions
See the pattern guide for descriptions of the terms/abbreviations used in the pattern.
The "Ferris Wheel" Square
- Make a slipknot
- 8 CH, SL into first chain to form a ring
- 3 CH (counts as DC), 15 DC into ring, SL into 3rd chain to join
- 5 CH (counts as DC and 2 CH), [1 DC, 2 CH] into each DC, SL into 3rd CH (of the CH 5) to join
- SL in 1st 2CH SP, 3 CH, 2 DC in same SP, 1 CH, [3 DC, 1 CH] into each 2CH space, SL into 3rd CH to join
- SL to first 1CH SP, 1 CH, SC in same SP, {[3 CH, 1 SC] in each of next 3 SPs, 6 CH, 1 SC in next SP} repeat around, SL into beginning SC rather than into the last SP to join
- SL into 1st 3CH SP, 3 DC (the first DC of the round being a 3 CH instead) in each 3CH SP and [5 DC, 3 CH, 5 DC] into each 6CH SP, SL into 3rd CH (fake DC) to join
- 3 CH, {1 DC in each ST to corner, [1 DC, 3 CH, 1 DC] in each 3CH SP} repeat to end, SL into 3rd CH to join, tie off and weave in tail
Assembling the blanket
- I used 48 squares in a 6 by 8 grid to make the blanket. Other grid dimensions supported by your square count will work fine
- Make a slip knot, slip stitch (or other style of join) the rows to each other using the back stitch only, leave tails on each side as needed
- Do the same for the columns, working from the same side, leaving tails as needed
- Make the border: make a slip knot, SL onto any stitch, 1 CH, 1 SC in each ST to corner (covering the tails with your SC stitches as you go), 3 SC in cornermost stitch of the blanket (not each individual square), continue doing 1 SC to corner and repeating the corner procedure until you land back where you started, SL into 1 CH, tie off and weave in