fiber arts : crochet : flower tote
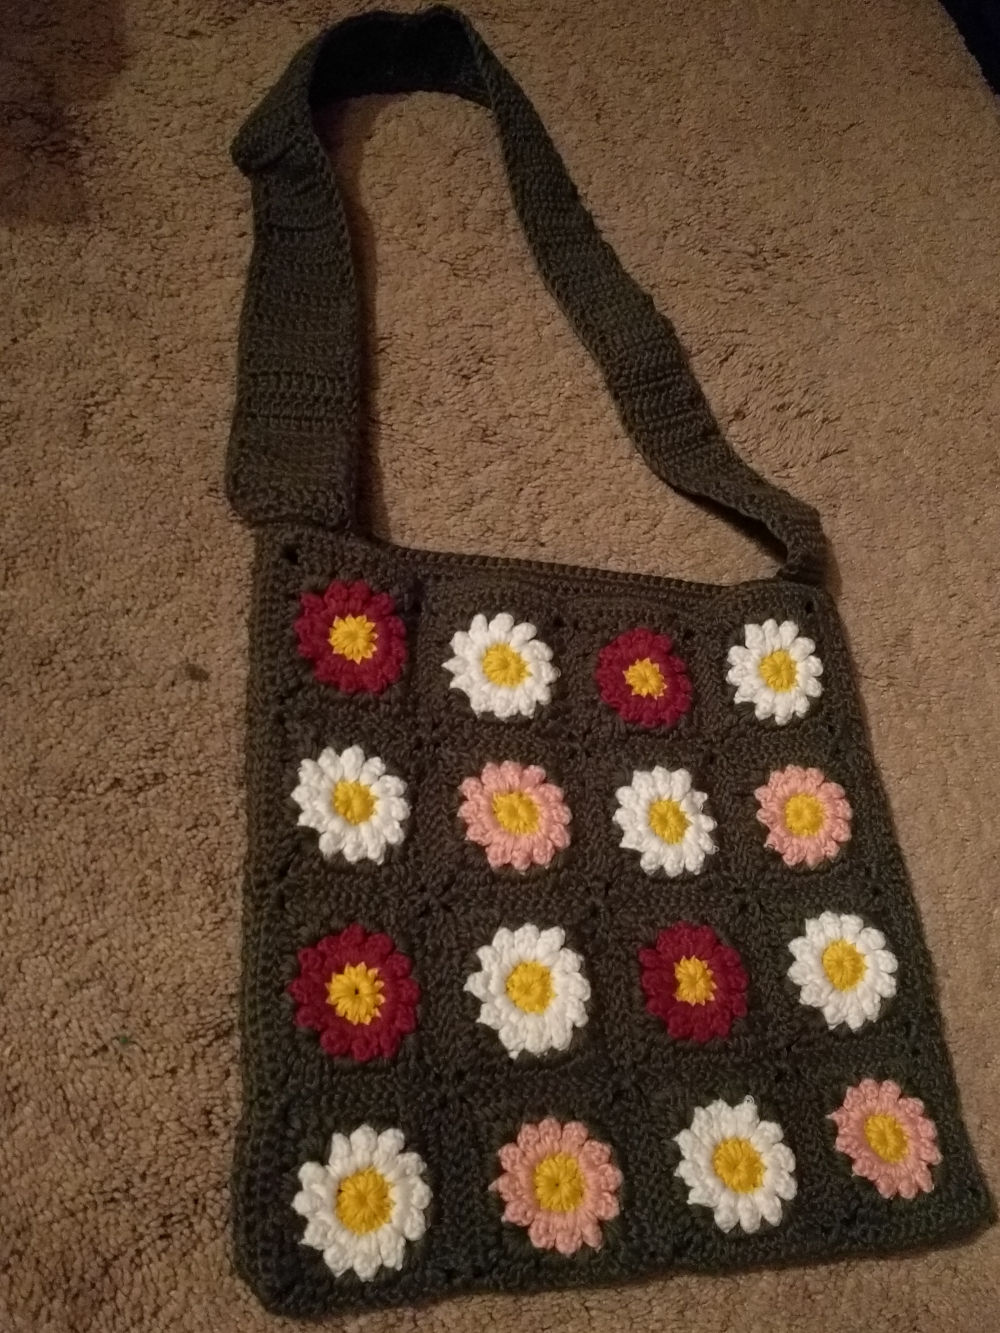
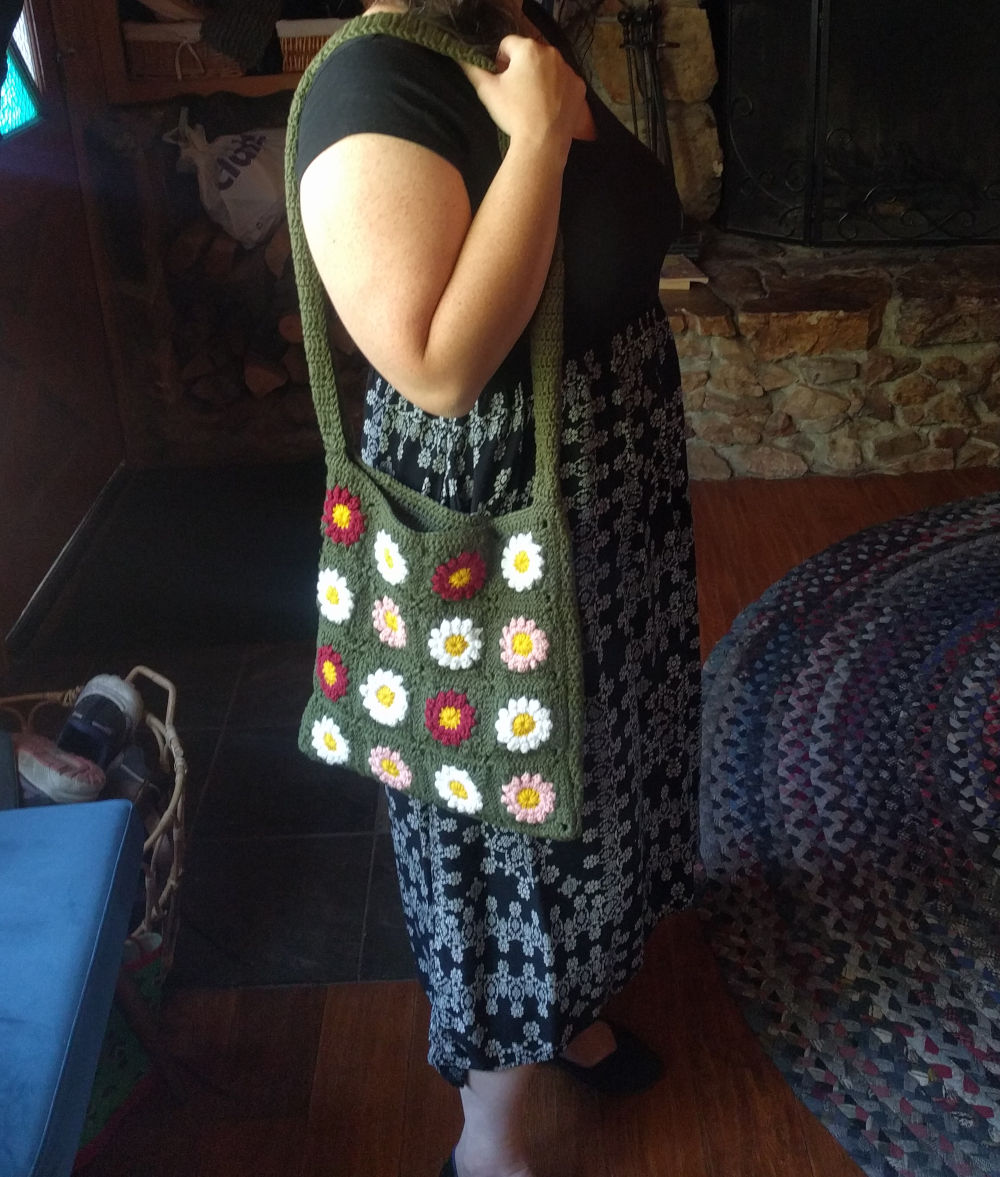
I tried two different small flower granny squares. The one that eventually got used, and another that was around 2/3 the size. I discussed the colors with my wife to see what she was interested in and we settled on the colors you see used for the bag. I may eventually do a mini version of this bag for my daughter (maybe 2 by 3 squares).
I had really been wanting to try out this yarn. It is 70% bamboo viscose and 20% cotton. It seemed really neat and has such a nice look. The twist of the yarn is not as strong as on other yarns I have used, so it took a while to get used to working with it and not miss strands of the yarn. After a bit I got the hang of it and it was actually quite nice to work with. I'm really pleased with the result!
I used two skeins of the green color and 1 of each of the others... but there was a lot left over from the non-green colors. Definitely enough to work into another decent sized project.
Images
Information
- Hook Size
- 4mm
- Yarn Weight
- 4 / Worsted
- Yarn Type
- 80% Bamboo Viscose and 20% Cotton
- Yarn I used
- KC Botanical
- "Sun Dried Tomato" color (1 skein, 137 yds)
- "Ochre" color (1 skein, 137 yds)
- "Coral Pink" color (1 skein, 137 yds)
- "Bright White" color (1 skein, 137 yds)
- "Fresh Olive" color (2 skeins, 137 yds/ea)
- Other supplies
- Scissors
- Tapestry needle
Pattern / Instructions
See the pattern guide for descriptions of the terms/abbreviations used in the pattern.
The Flower Square
I followed the pattern in this youtube video to make the squares, having picked the color scheme I wanted. The video is also available as a blog post.
The Bag Body
- Make 12 of the flower squares
- Join them into a four by four grid. I used the slip stitch method to do this, but you can use any join you like
- SL new yarn into a corner stitch, CH, SC
- SC around the outside (going over the ends to hide them as you go), using three SC at each corner, ending with a SC in the corner you started in and a SL into the CH you started the round with, do not tie off yarn
- 2 CH, HDC into each stitch accross one side (we are now making the back of the bag)
- At the end of the row, 2 CH, turn
- Repeat the previous two steps until you get a length you like when folded over to create the back of the bag
- On the last row do not make the final two chain, instead tie off and weave in the end
- Add stitch markers to the top two corners, use a length of yarn and tapestry needle to whip stitch (or any join you prefer, the sides
- You now have the bag body
The Strap
I used DC for the strap, but you could really use any stitch or style you like. This one was very basic. The DC has a good amount of stretch, which you may or may not like. Essentially you are making a thin scarf and any pattern for a scarf can be adapted for the purpose of a strap like this. However, here are some basic instructions to get you going.
- 13 CH, 4 SK, DC accross to end
- 3 CH, Turn, DC in each ST across
- Repeat until you have the strap length you desire (you can use locking markers to attach to the bag to check)
- Tie off and weave in end
- Join the ends of the strap to the bag where the middle of the strap end is at the join point of the bag side on each side of the bag/strap
- Weave in any remaining ends
- Enjoy the bag