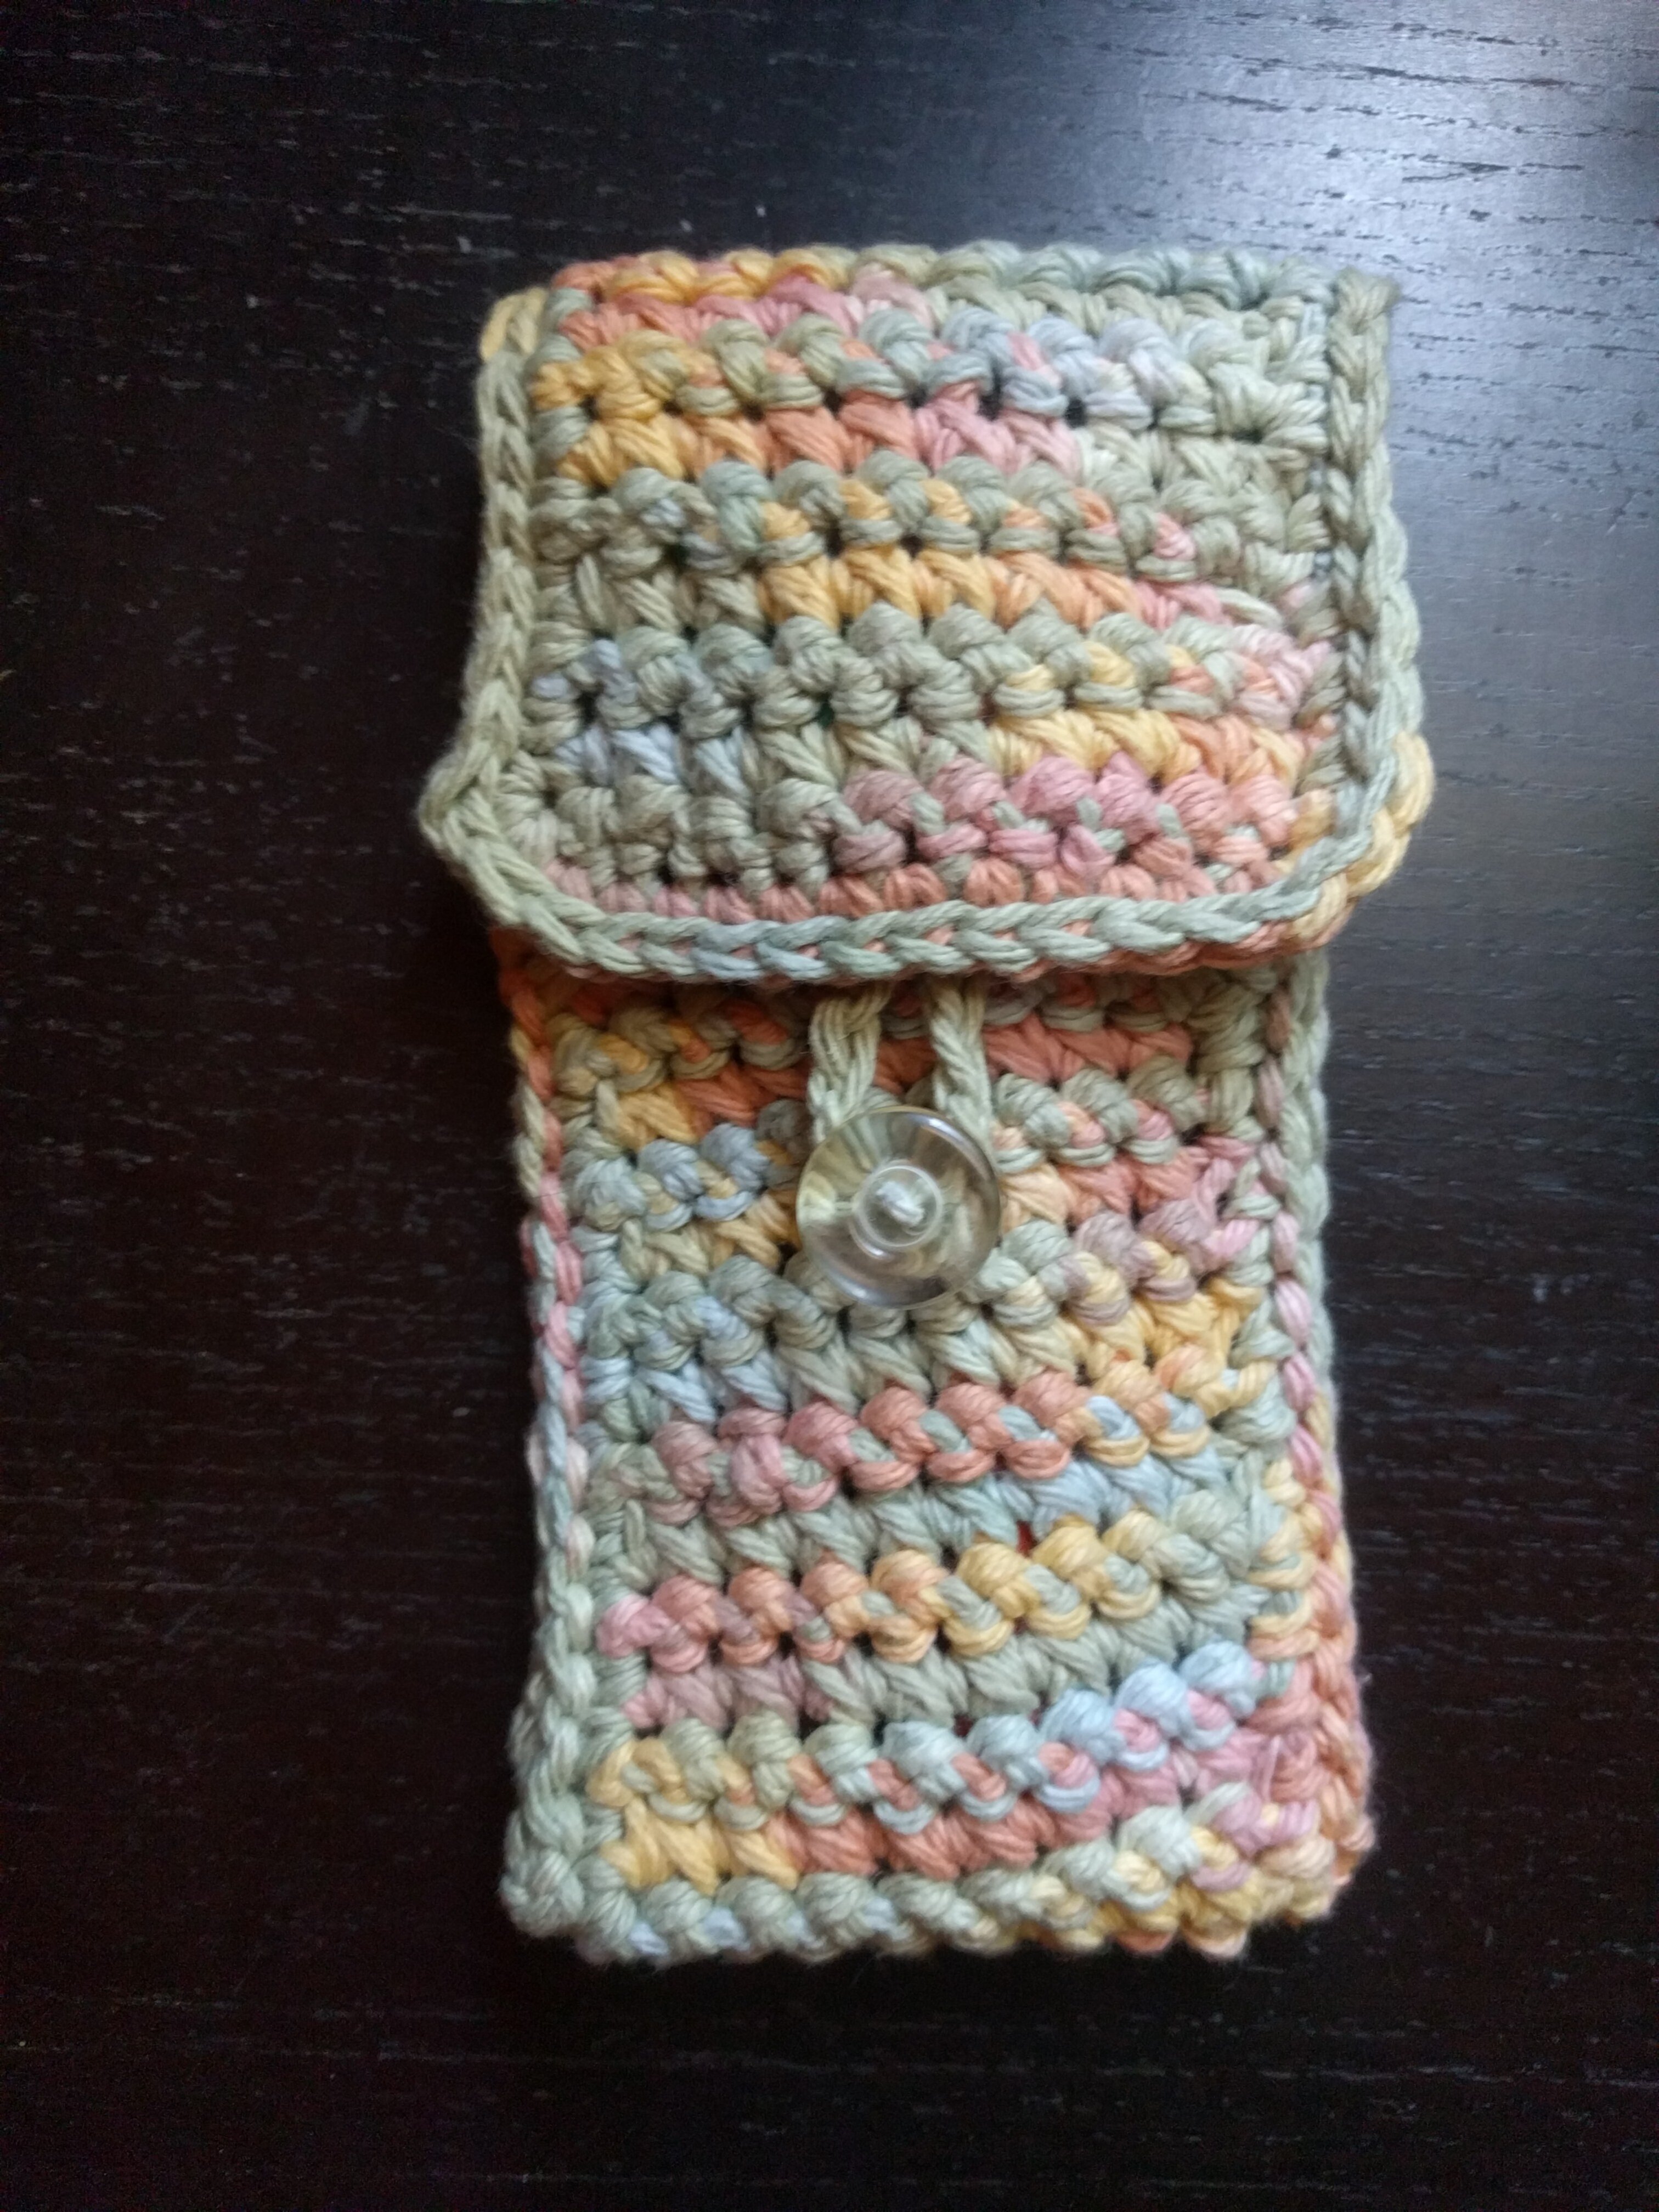
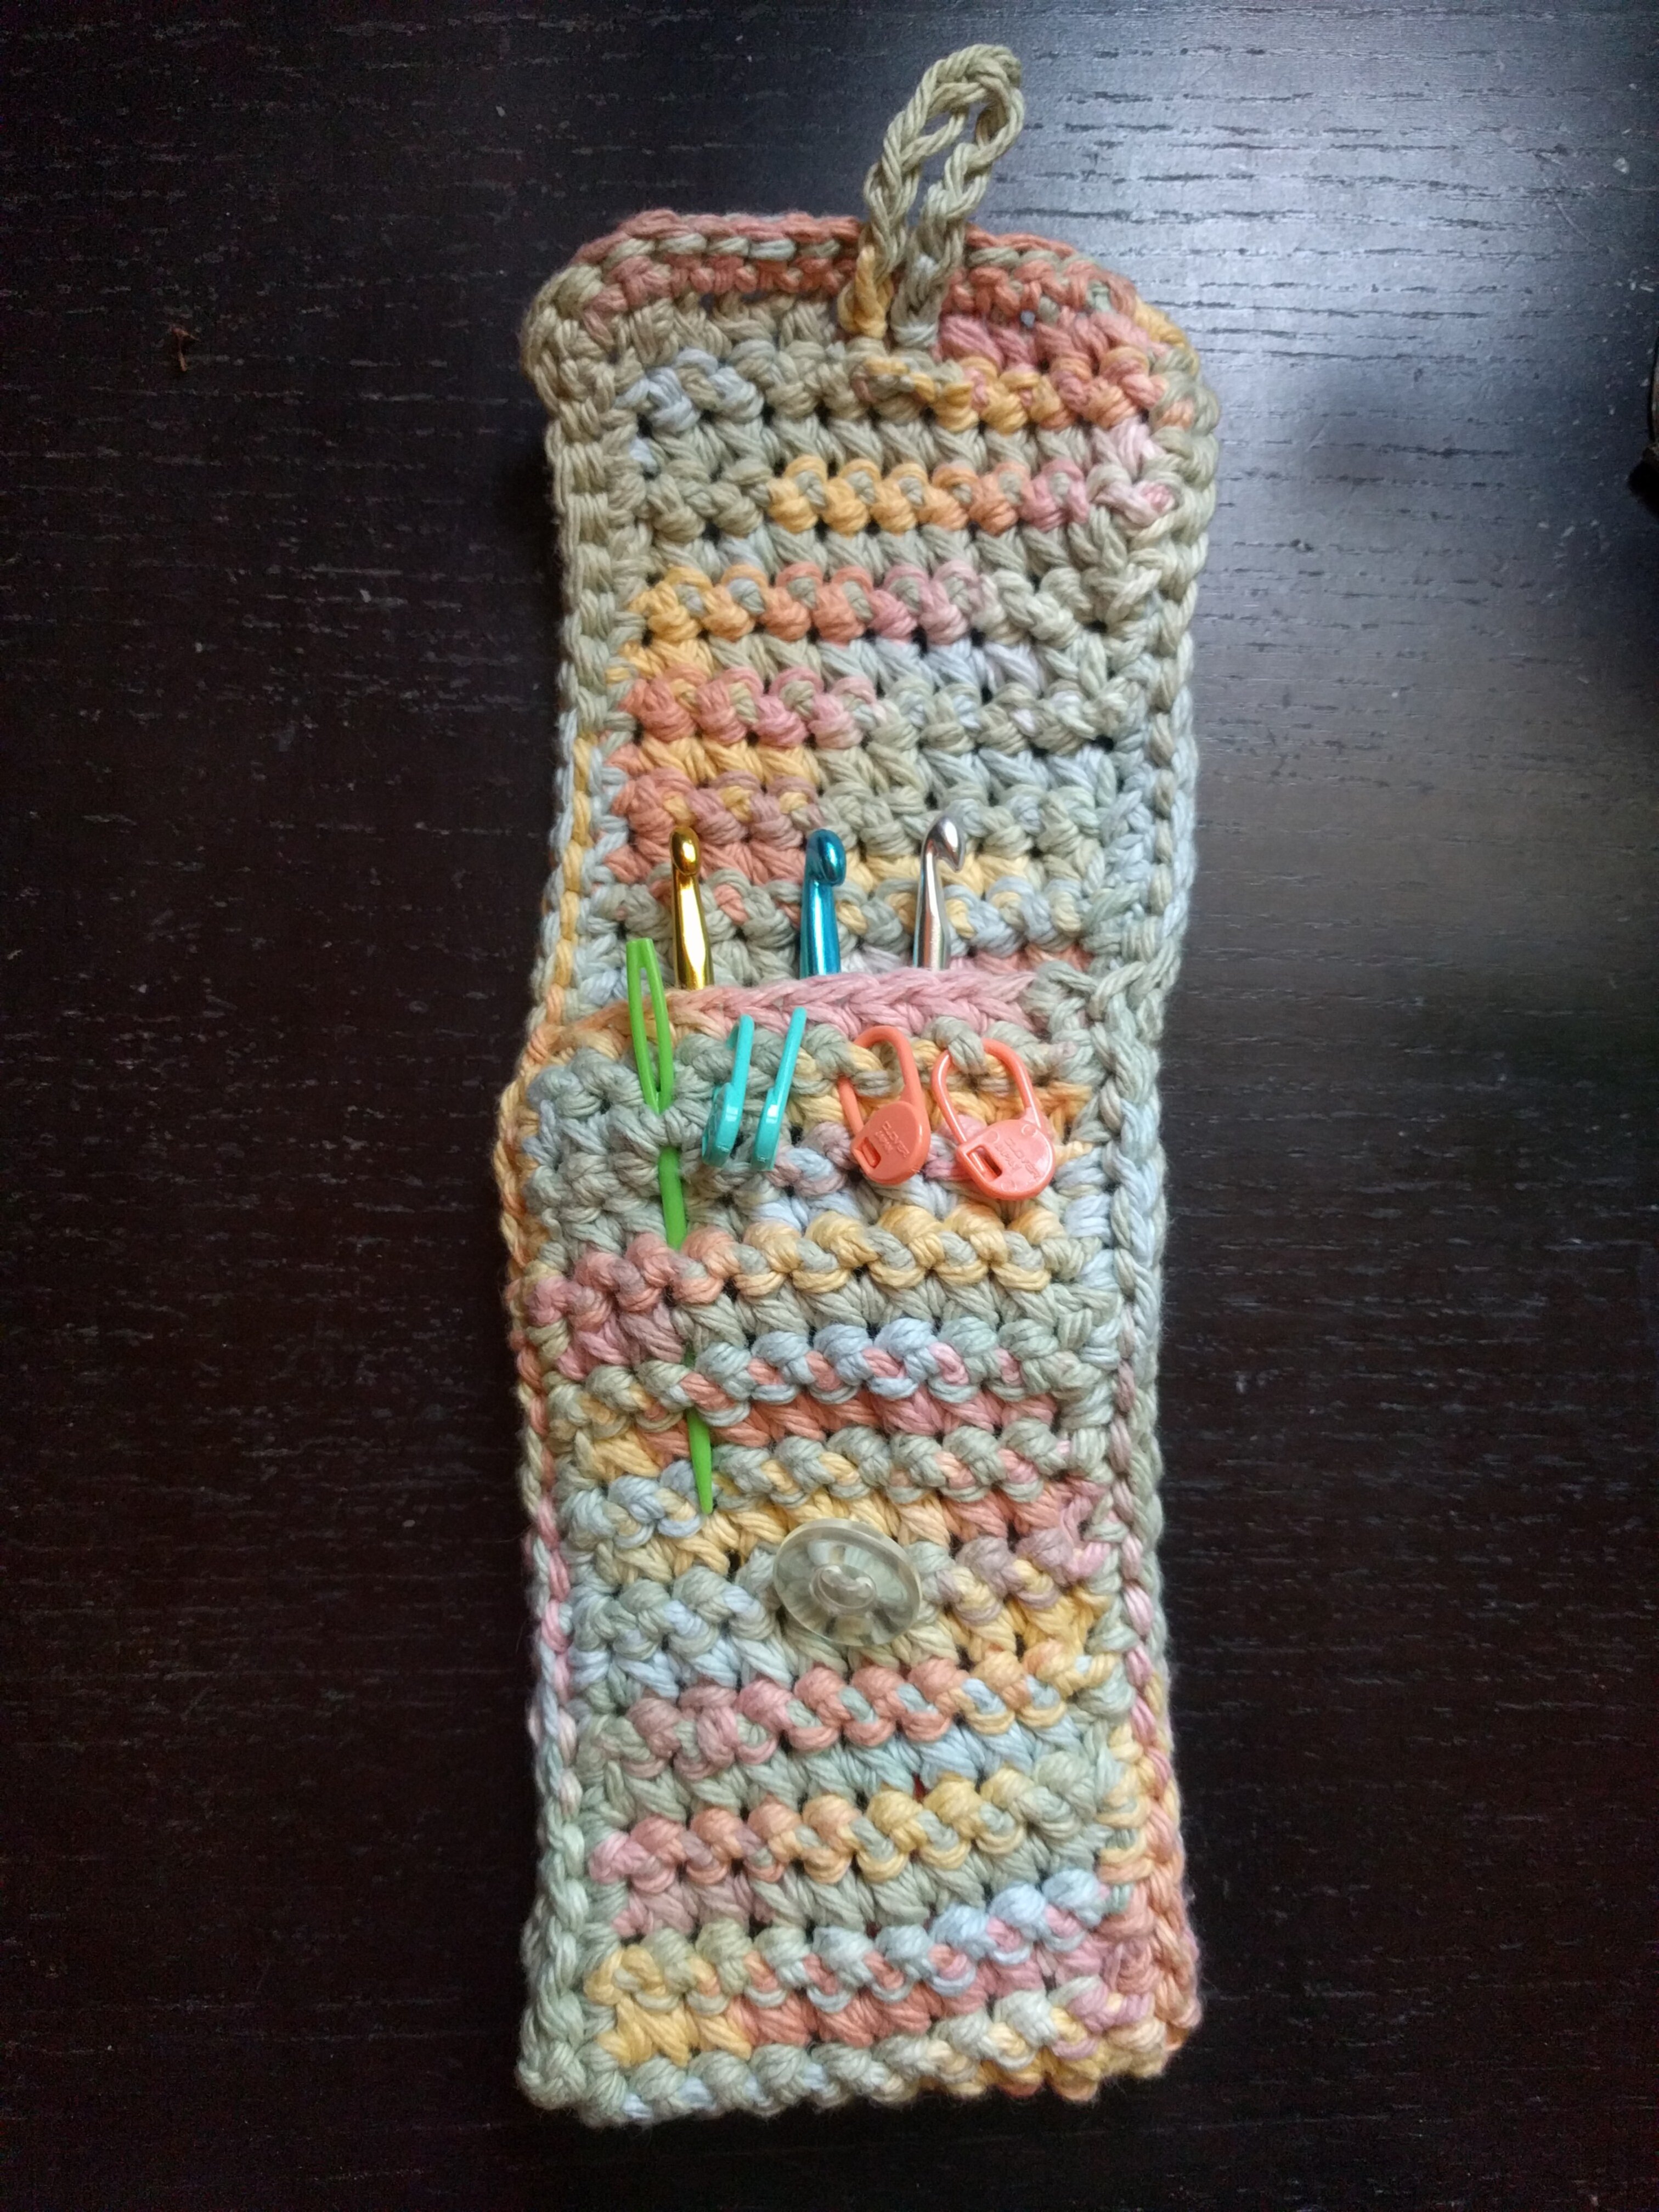
fiber arts : crochet : hook case
I am not really happy with how this looks. I considered not including it on my website, but I use it regularly and felt that it should still be included, even if I don't like it. The pattern was not great, and the yarn is my least favorite I have used for anything (other than the flower on the purse I made for my daughter).
It holds a few hooks, tapestry needles, and stitch markers fine if I need to transport them. I do use it, but am a little embarassed of it.
Images
Information
- Hook Size
- 5mm
- Yarn Weight
- 4 / Worsted
- Yarn Type
- Cotton
- Other supplies
- Scissors
- Tapestry needle
- Button
Pattern / Instructions
See the pattern guide for descriptions of the terms/abbreviations used in the pattern.
The Single Crochet 2 Together Stitch
This pattern uses a single crochet 2 together stitch. It will be marked as SC2T in the pattern proper.
- Hook under the next stitch, YO, pull through
- Hook under the next stitch from the last one you hooked under, YO, pull through (3 loops on hook)
- YO, pull through all three loops on your hook
- When you make your next stitch it should be into the stitch that you picked up the last loop from (unless directed otherwise)
The Body
- Make a slipknot
- 13 CH (or any number odd of stitches equal to the width you want for the sleeve/case)
- SK then SC2T accross each stitch
- In the last stitch of the row (that you ended your last SC2T in) do SC
- CH and turn your work
- SC2T accross again (with the first going into the SC you ended the last row with), end with a SC like last time, CH and turn
- Repeat the last instruction until you have the height you want. Keep in mind that you will fold over for the body and want extra for the flap. Make sure you end the last row with SC
Finishing
- SC all the way around the edges, doing 3 SC at each corner
- SL into the first SC you started with, cut a tail, weave in
- Fold the piece how you want it, line up the bottom stitches so that each side has the same number of stitches up the side
- Make a slip knot onto the hook (new active yarn), SL into bottom SC at the fold on one side to attach, then SL into each SC up the side until you reach the corner, cut a tail, weave in the end
- Repeat the last instruction on the opposide side
- Make a slip knot onto the hook (new active yarn) leaving a ~4" tail, 12 CH (or whatever size you want the button loop to be), cut a 4" tail on that side
- Using a needle or hook wrap the two ends around a stitch in the middle/bottom/underside of the flap and tie a knot or two, eave in the ends
- Fold the flap over to see where the loop lands so you know where to sew on your button, then sew/tie the button to that spot on the body of the sleeve