fiber arts : crochet : wallet
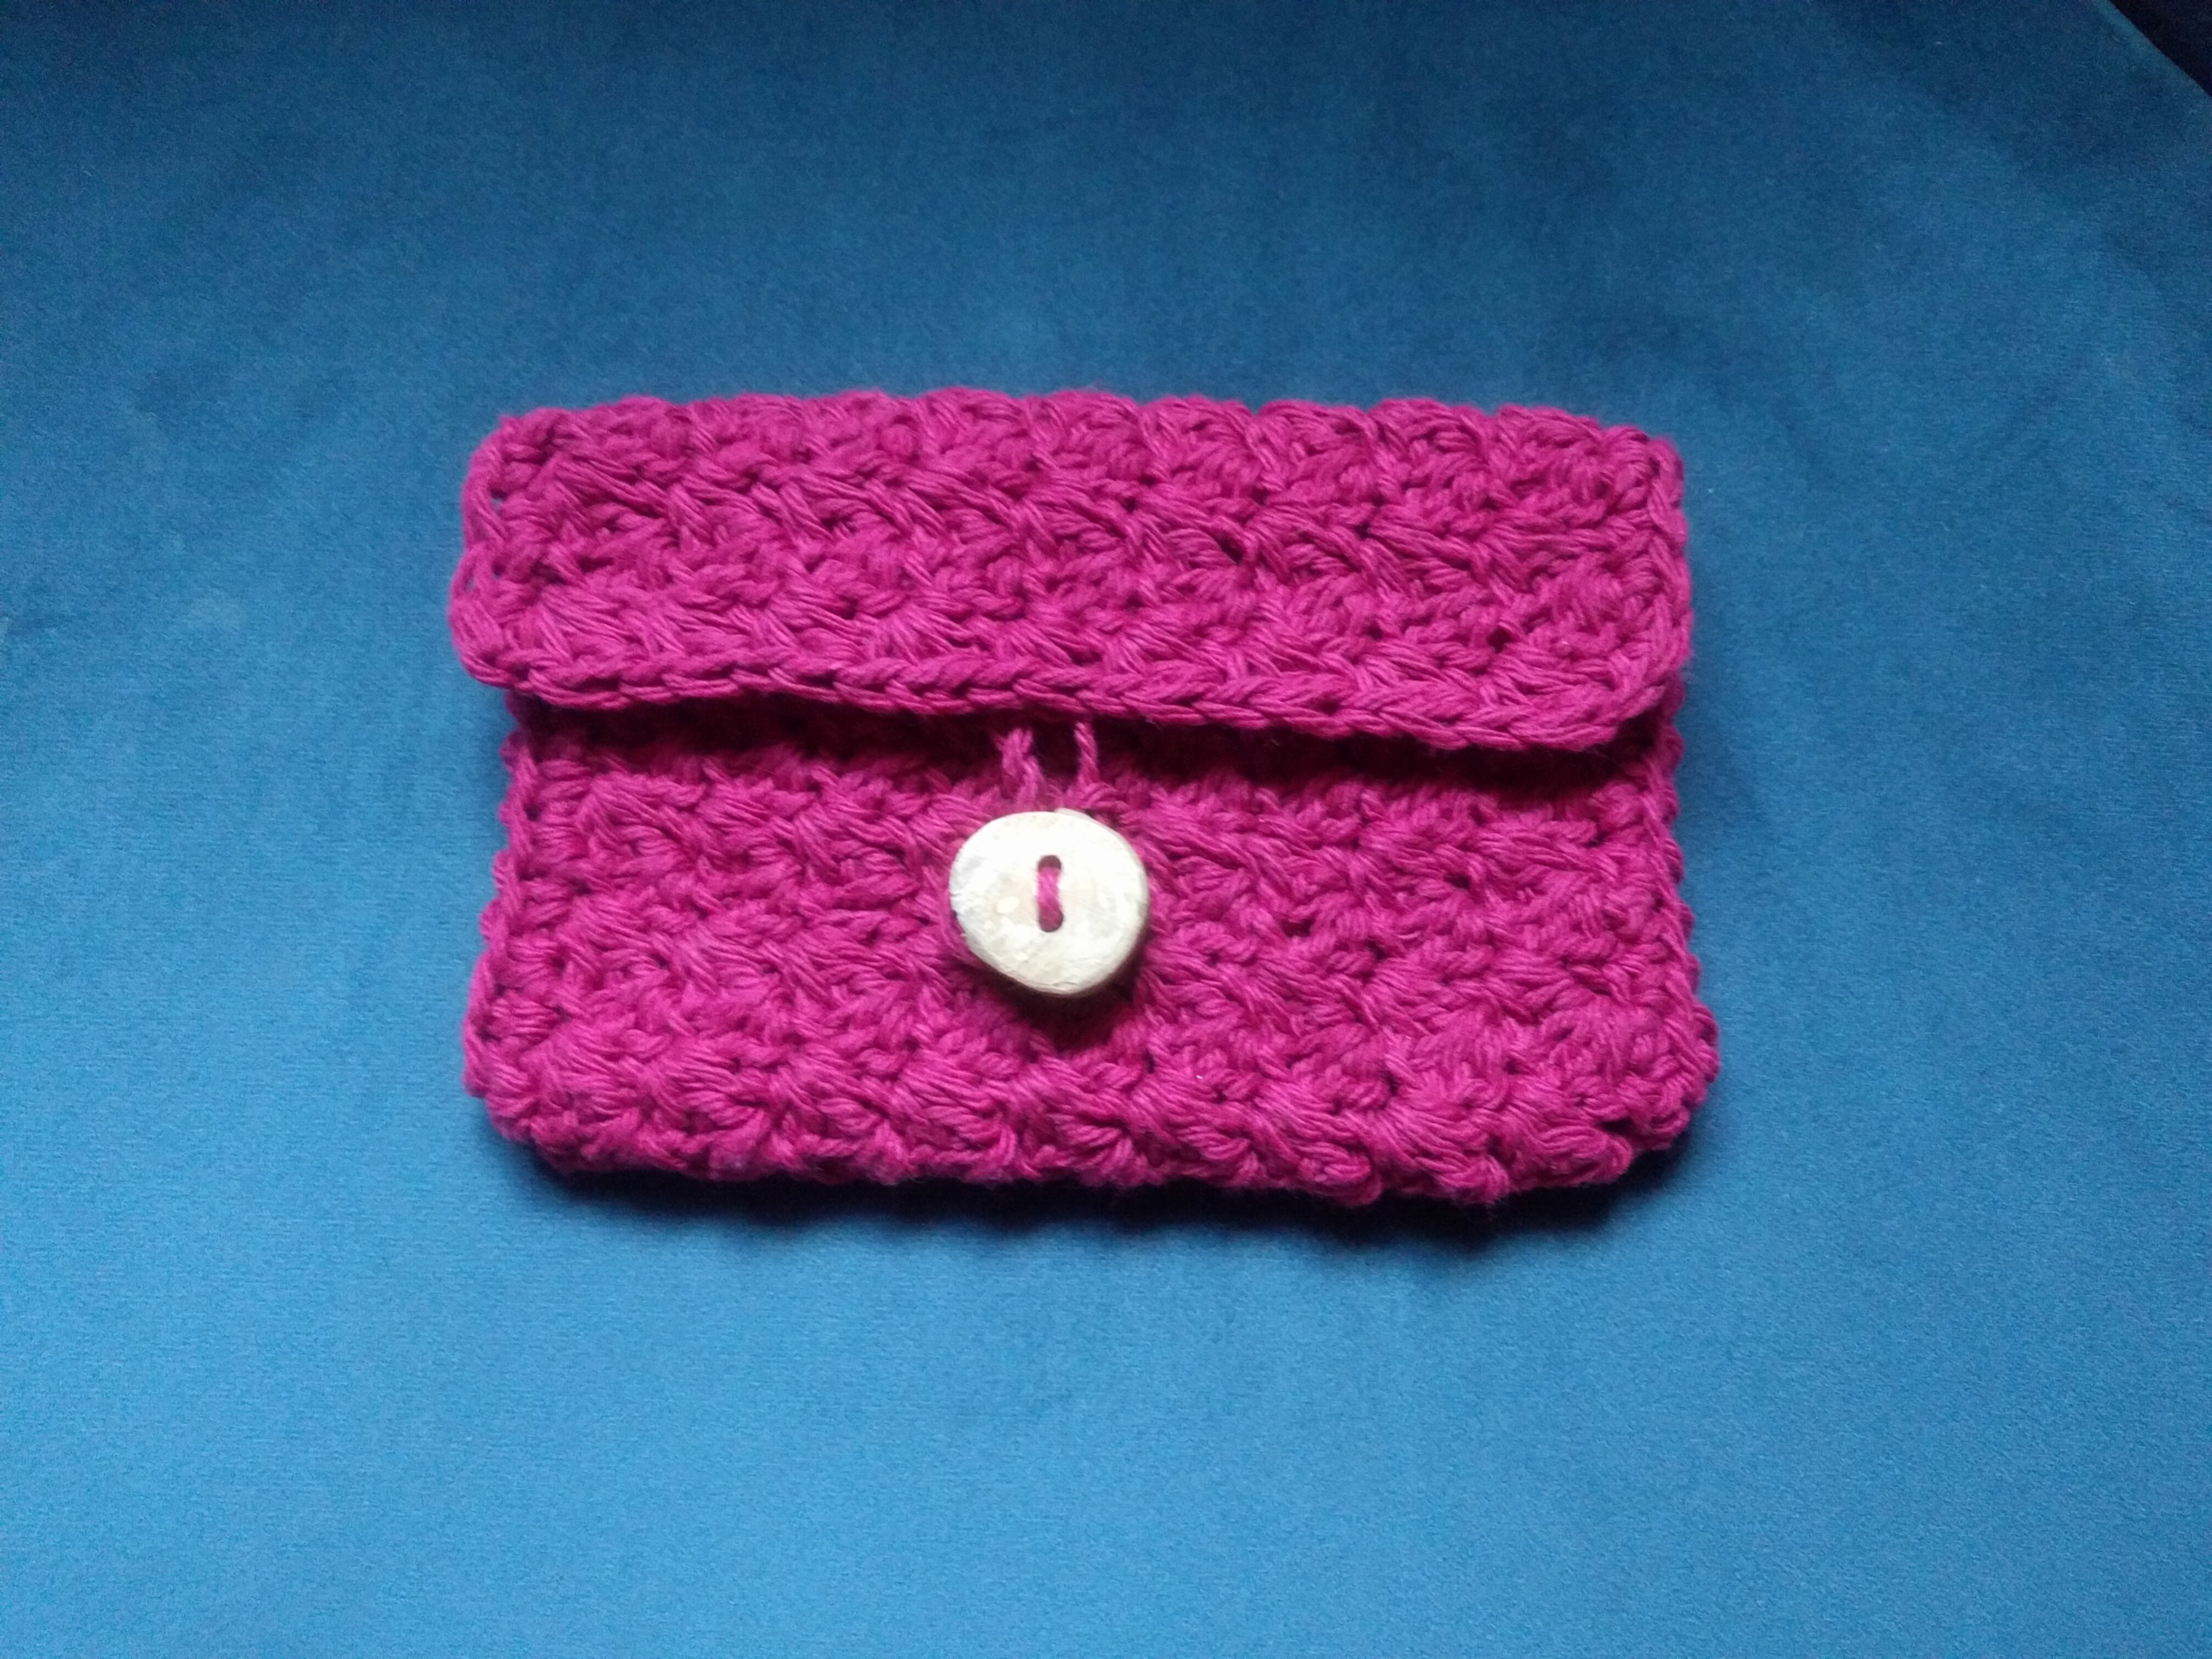
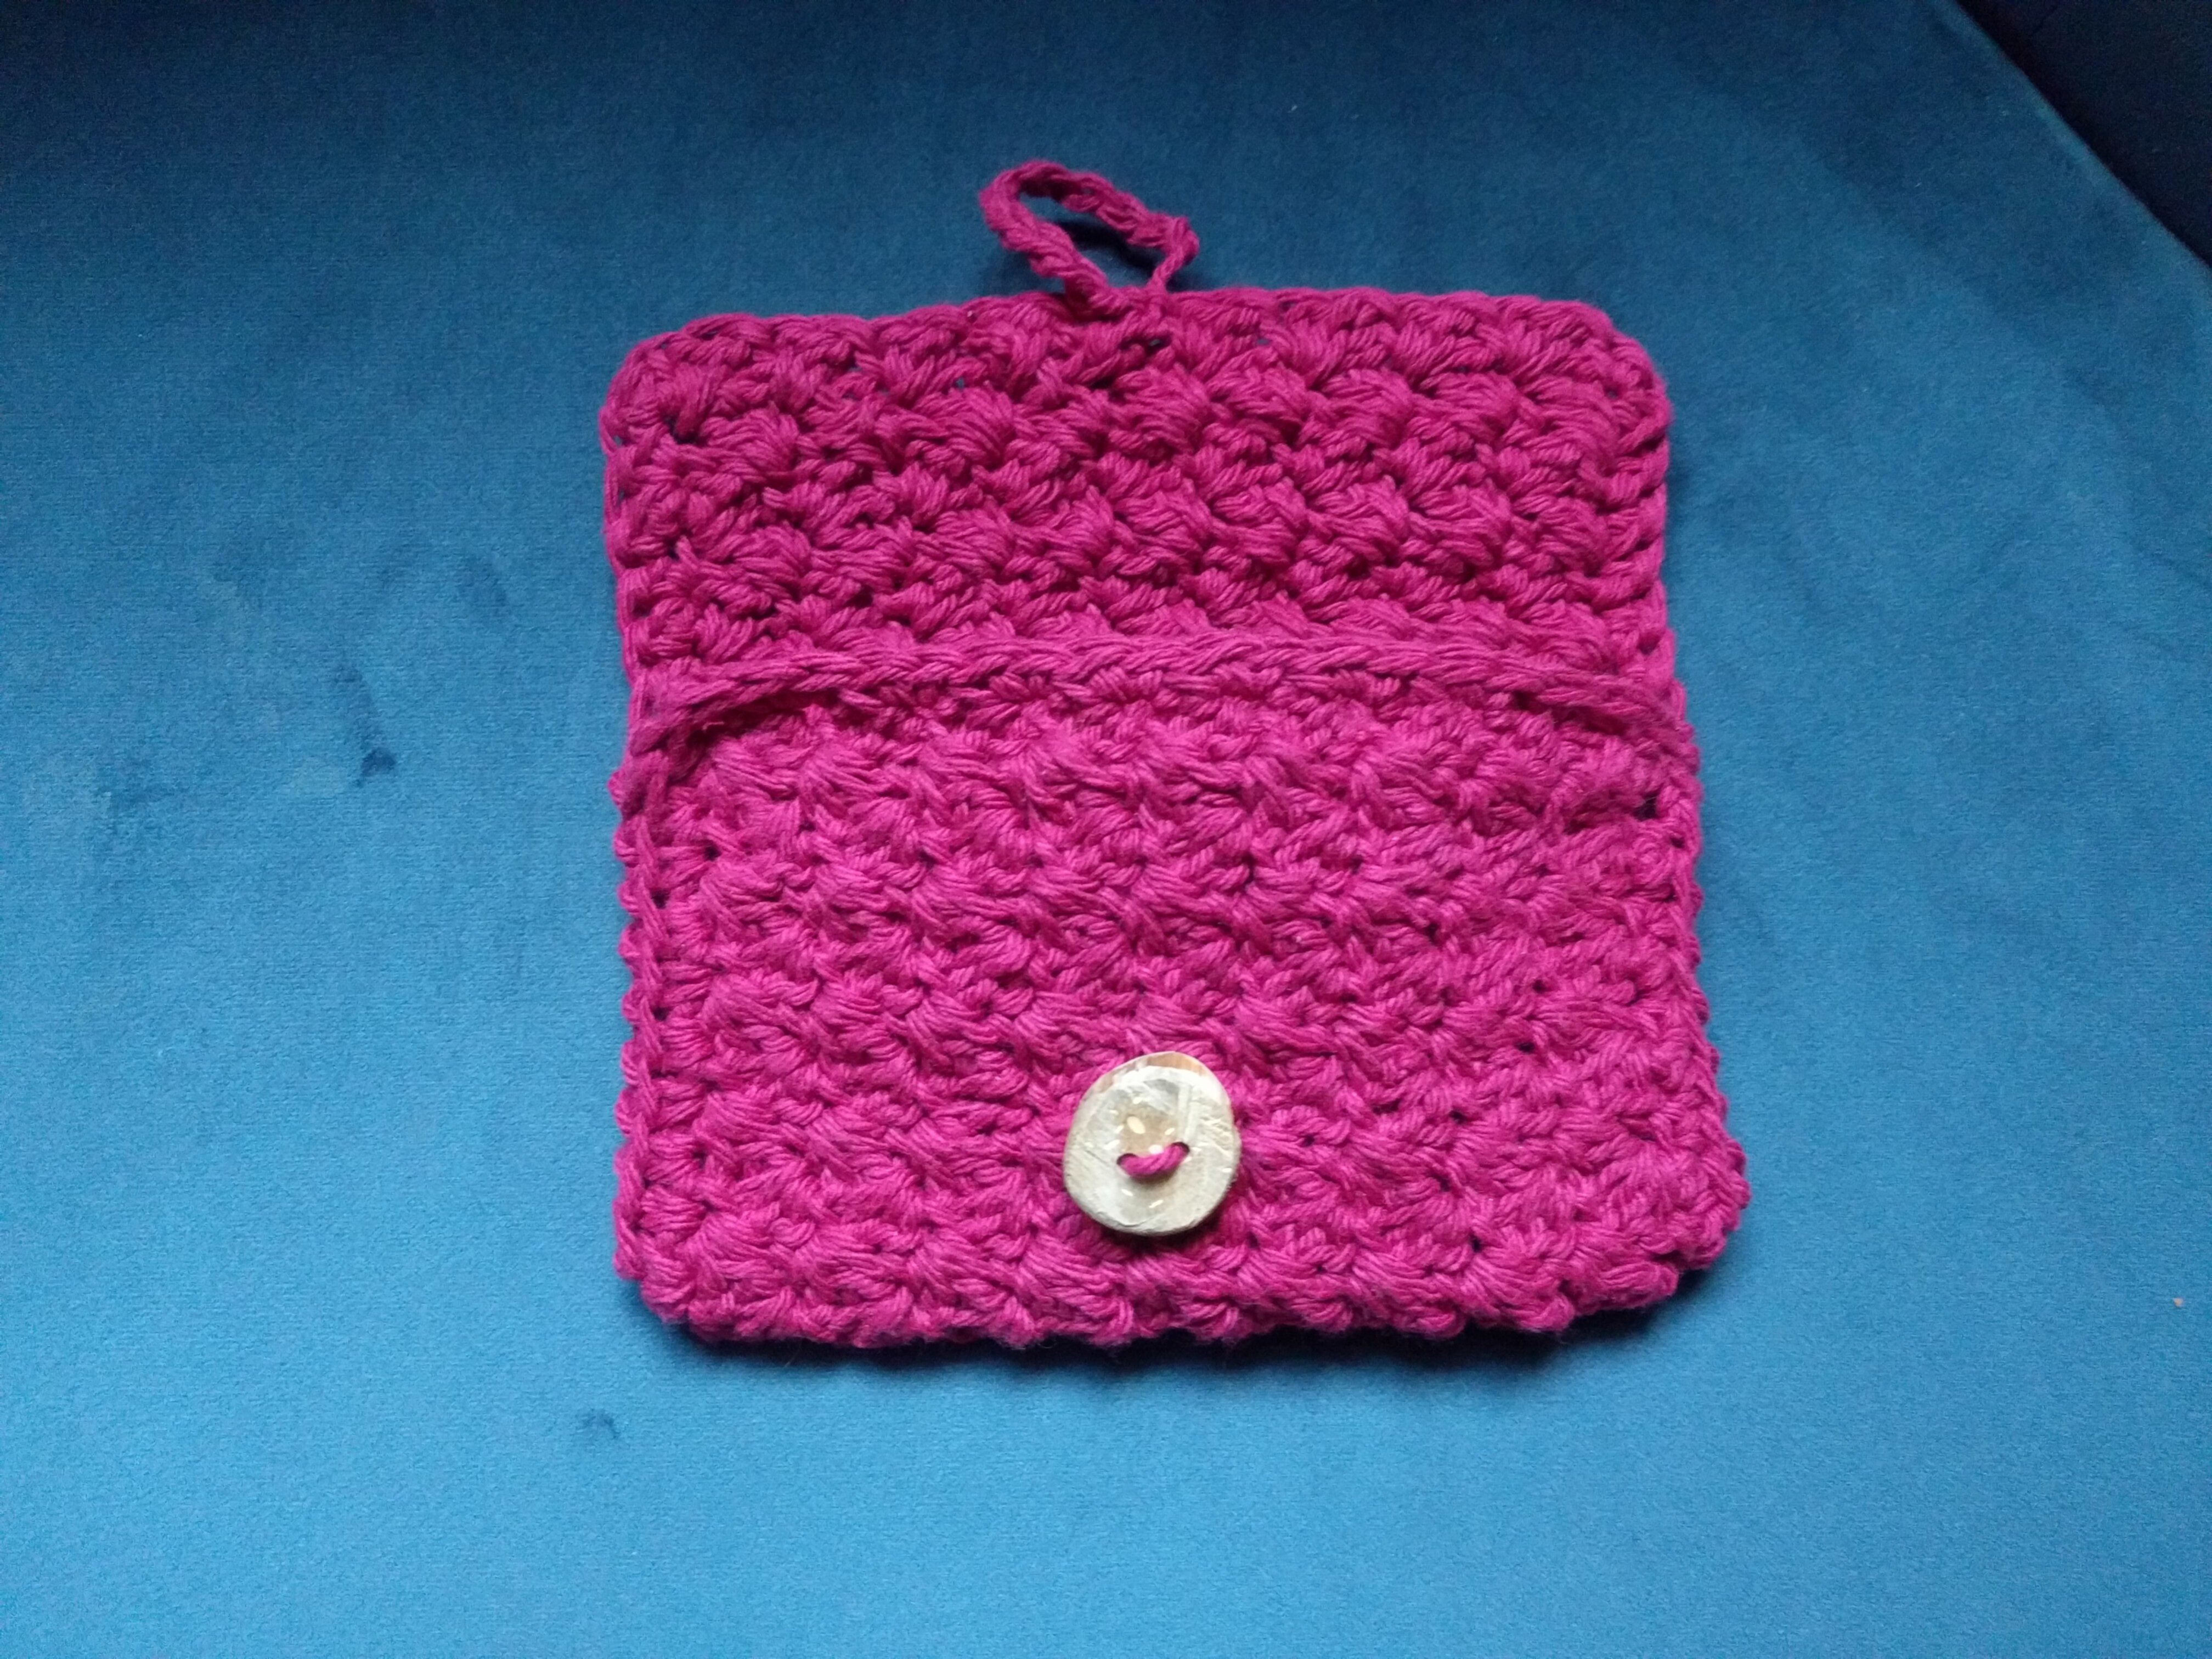
After I made the child's purse for my daughter, my wife expressed interest in a wallet or small bag. I ended up making this wallet for her. It features a home-made button that I made by using a coping saw to saw off the end of a dead branch I found in our yard. I then sanded the resulting button and drilled two holes. I think it has a nice rustic look, and the wallet came out really well. It uses the "suzette stitch".
I have lost track of what yarn I used for this (I did not keep track in the early days). I know it was cotton, but that is about it.
Images
Information
- Hook Size
- 4.5mm
- Yarn Weight
- 4 / Worsted
- Yarn Type
- Cotton
- Yarn I used
- ~60 yds
- Other supplies
- Scissors
- Tapestry needle
- Button
Pattern / Instructions
See the pattern guide for descriptions of the terms/abbreviations used in the pattern.
Row 1
- Make a slipknot
- CH 22 (or any even number of stitches)
- SC and DC into second CH from hook
- { SK, [SC and DC into next CH] } repeat until you have 2 CH left
- SK, SC into last CH (totals 21 ST if CH 22 was used)
Row 2+
- Turn, CH (does not count as a stitch)
- SC and DC into first ST
- { SK, [SC and DC into next CH] } repeat until you have 2 ST left
- SK, SC into last ST (totals 21 stitches if 22 ch was used)
Repeat the above 2+ row instructions until your work reaches the desired height (around 34 rows or 11").
Finishing
- SC into each ST around the edge, using 2 SC into each corner ST
- SL into the first SC you made around the edge
- Tie off the working yarn and weave in the end
- You will be making a fold to create the body of the wallet. If you did 34 rows, count 26 ST up from the bottom corners and place a stitch marker at ST 26 from the bottom on each side. You can adjust this number however you like. The fold creates the body of the wallet and the rest is the flap. Keep in mind the need for the button and make things the shape you like
- Attach the bottom corners to the stitch markers you just added so that the wallet body/pocket takes shape
- Cut a ~12" piece of yarn. Using any method you like (SC, tapestry needle/ladder stitch, SL, etc) close up the sides from the stitch marker down the side until you reach the bottom crease. Tie off and weave in the end. Repeat with the other side
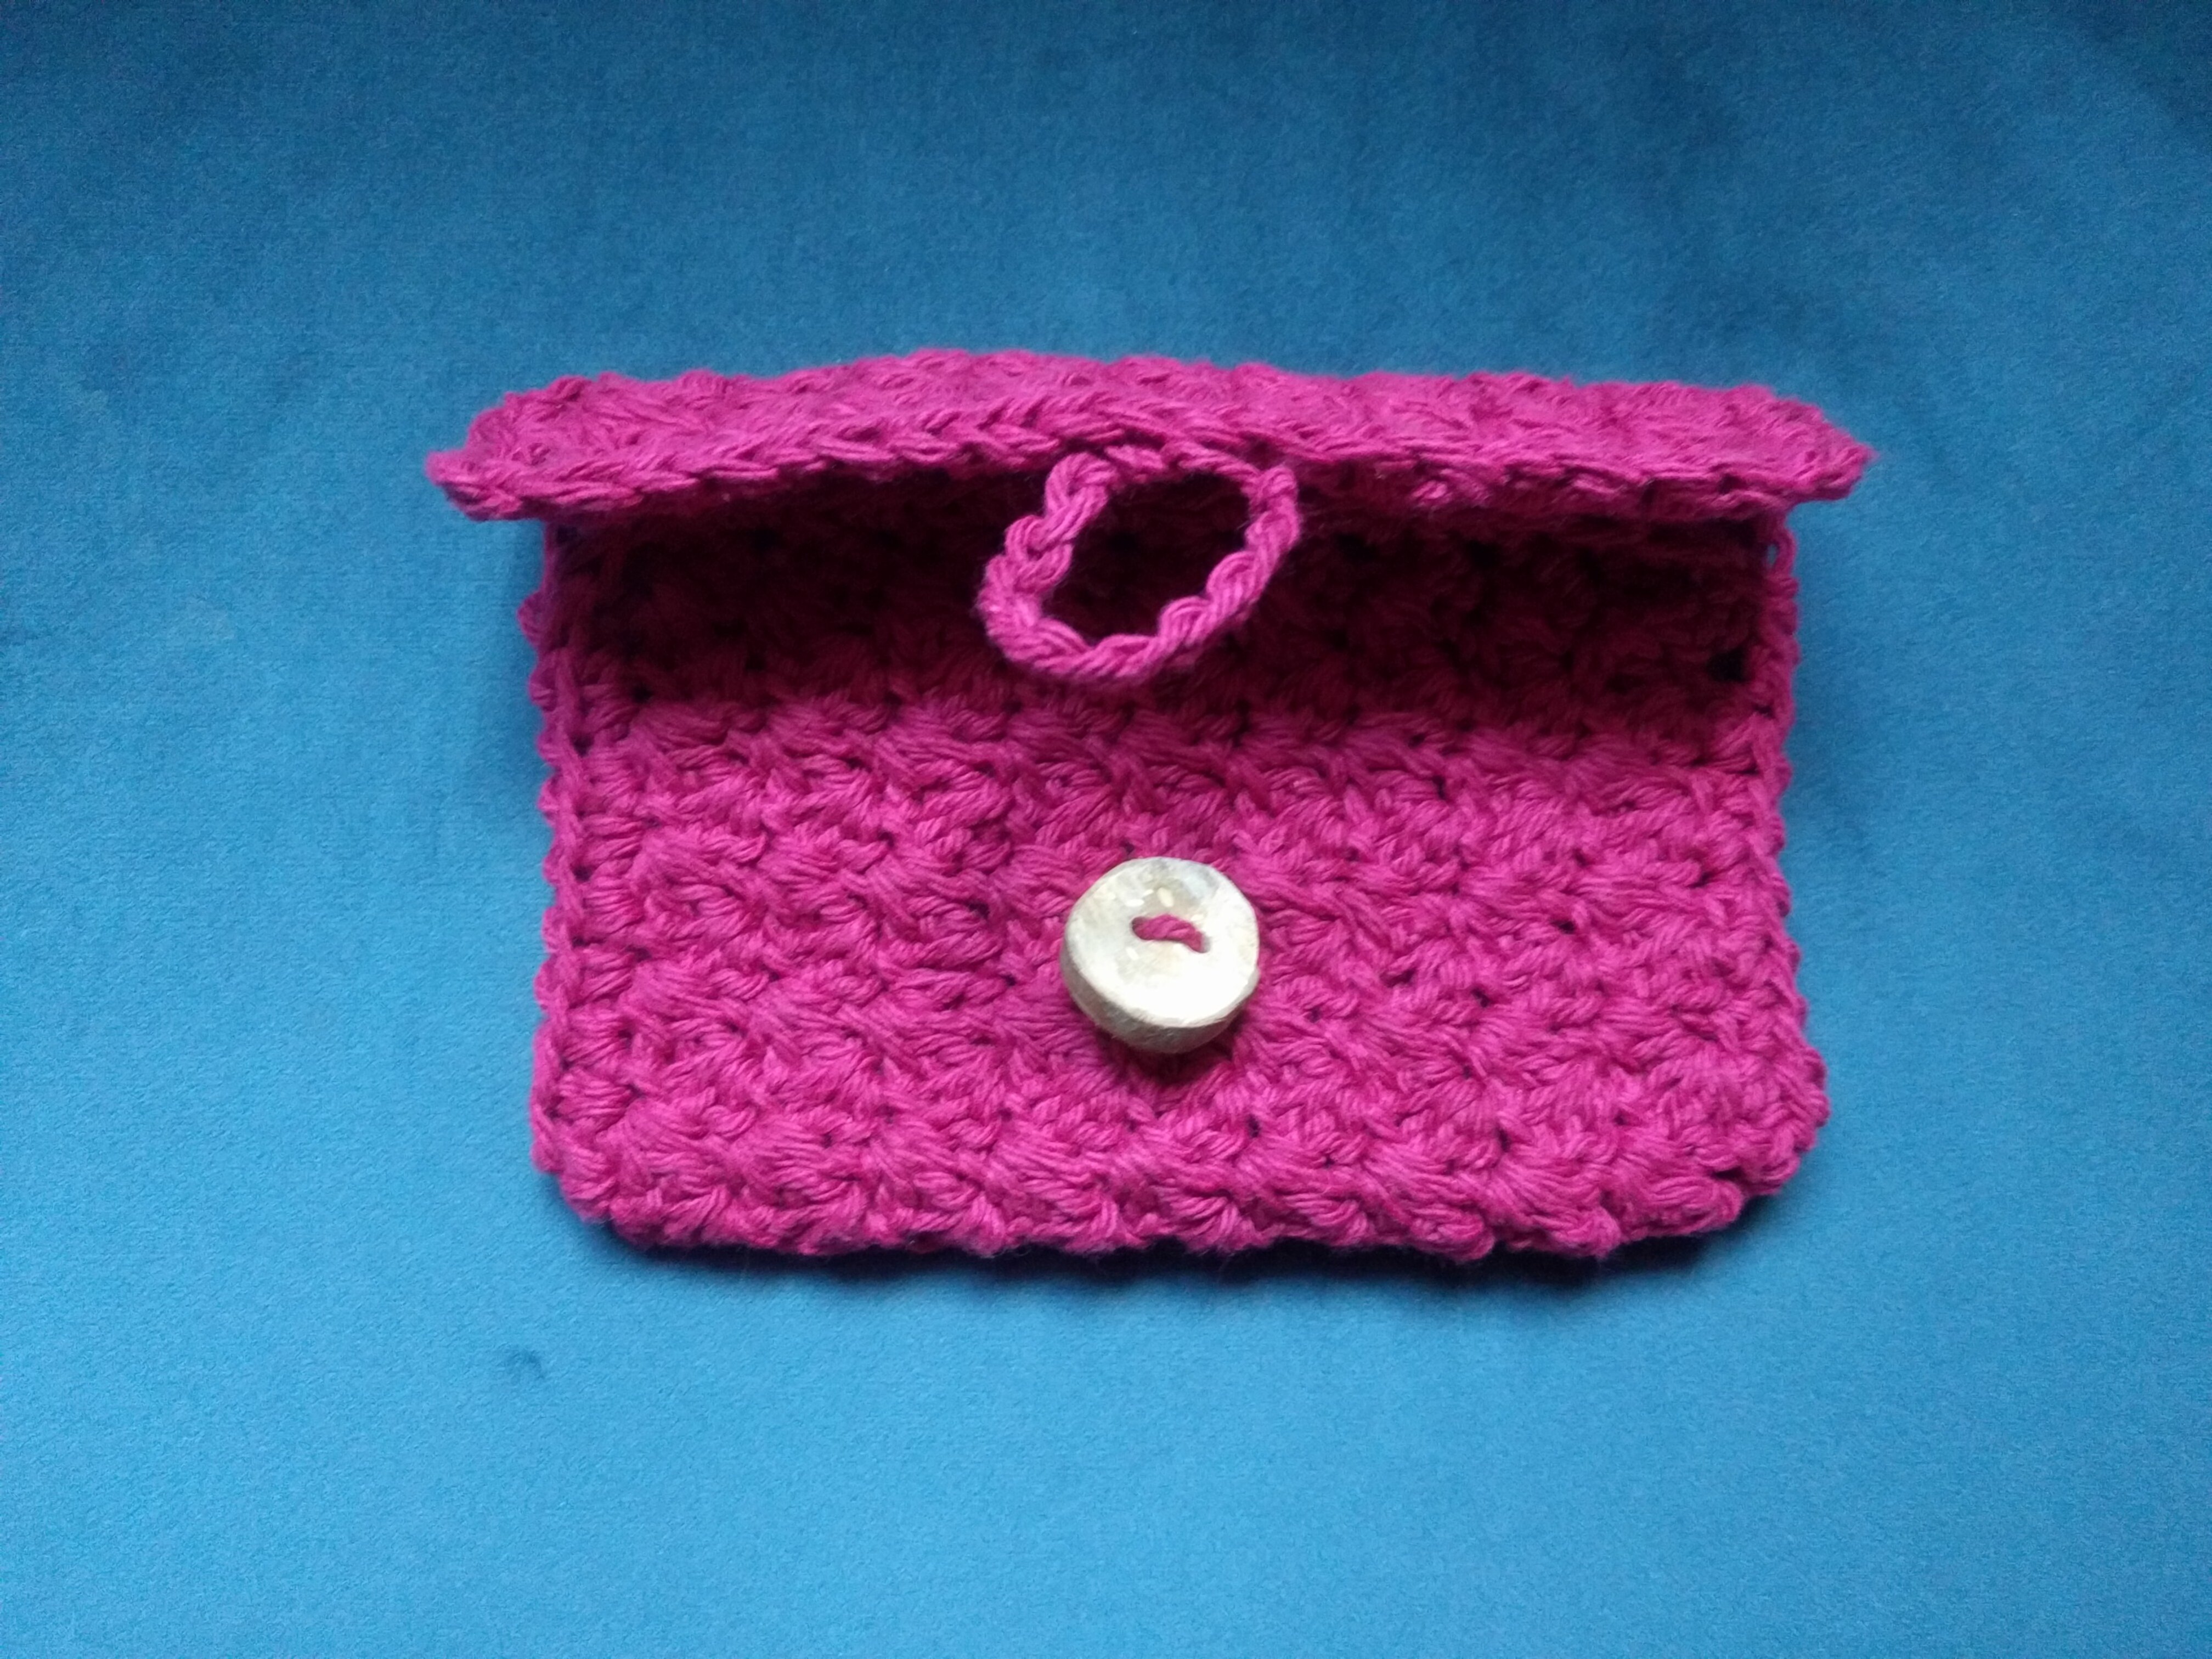
- Fold the flap down and figure out where you want your button to be, keeping in mind that a loop will be added to the flap to go around the button
- Sew the button onto a good spot on the mody of the wallet (see pictures above), either with yarn and a tapestry needle (if the button is large enough), or a sewing needle and thread (if the button is small)
- Taking a new piece of yarn leave about a 4″ tail and 12 CH, then cut the yarn and leave a 4″ tail on the other side
- Weave the ends into the same stitch above the button on the flap (not the wallet body where the button is), securing with a knot or two first
- It is possible 12 CH is too much or too little for your particular button, adjust accordingly