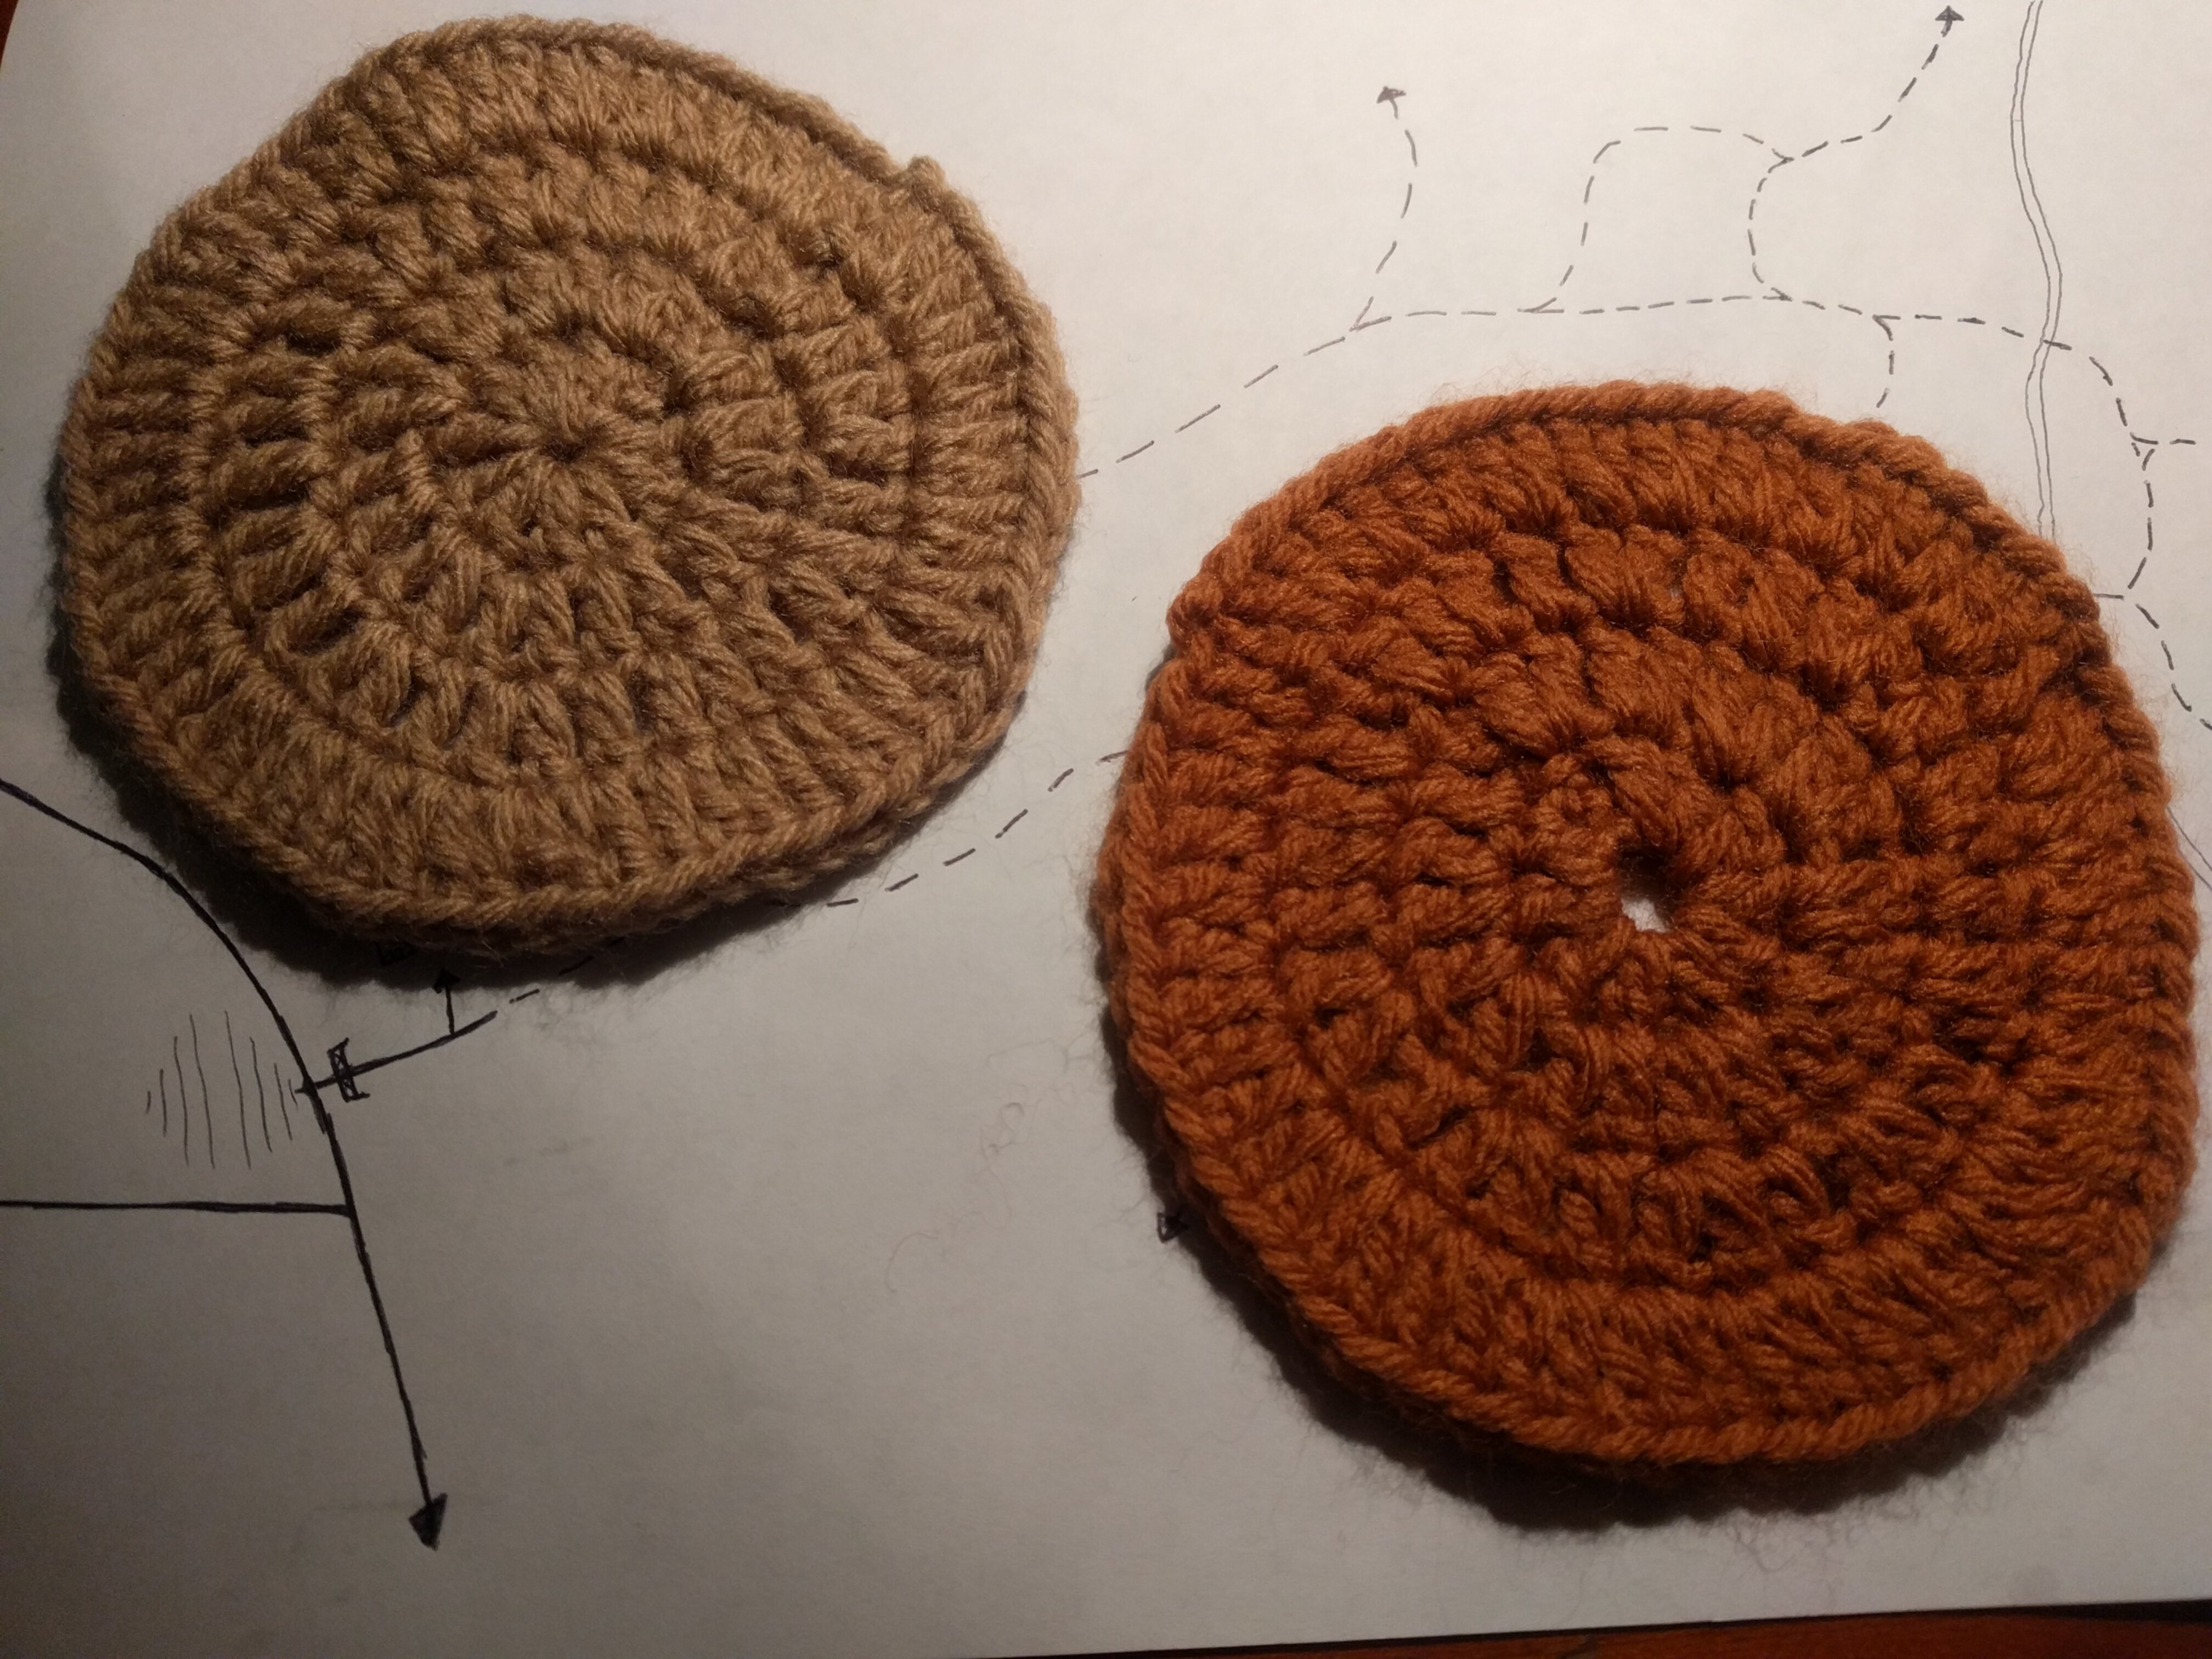
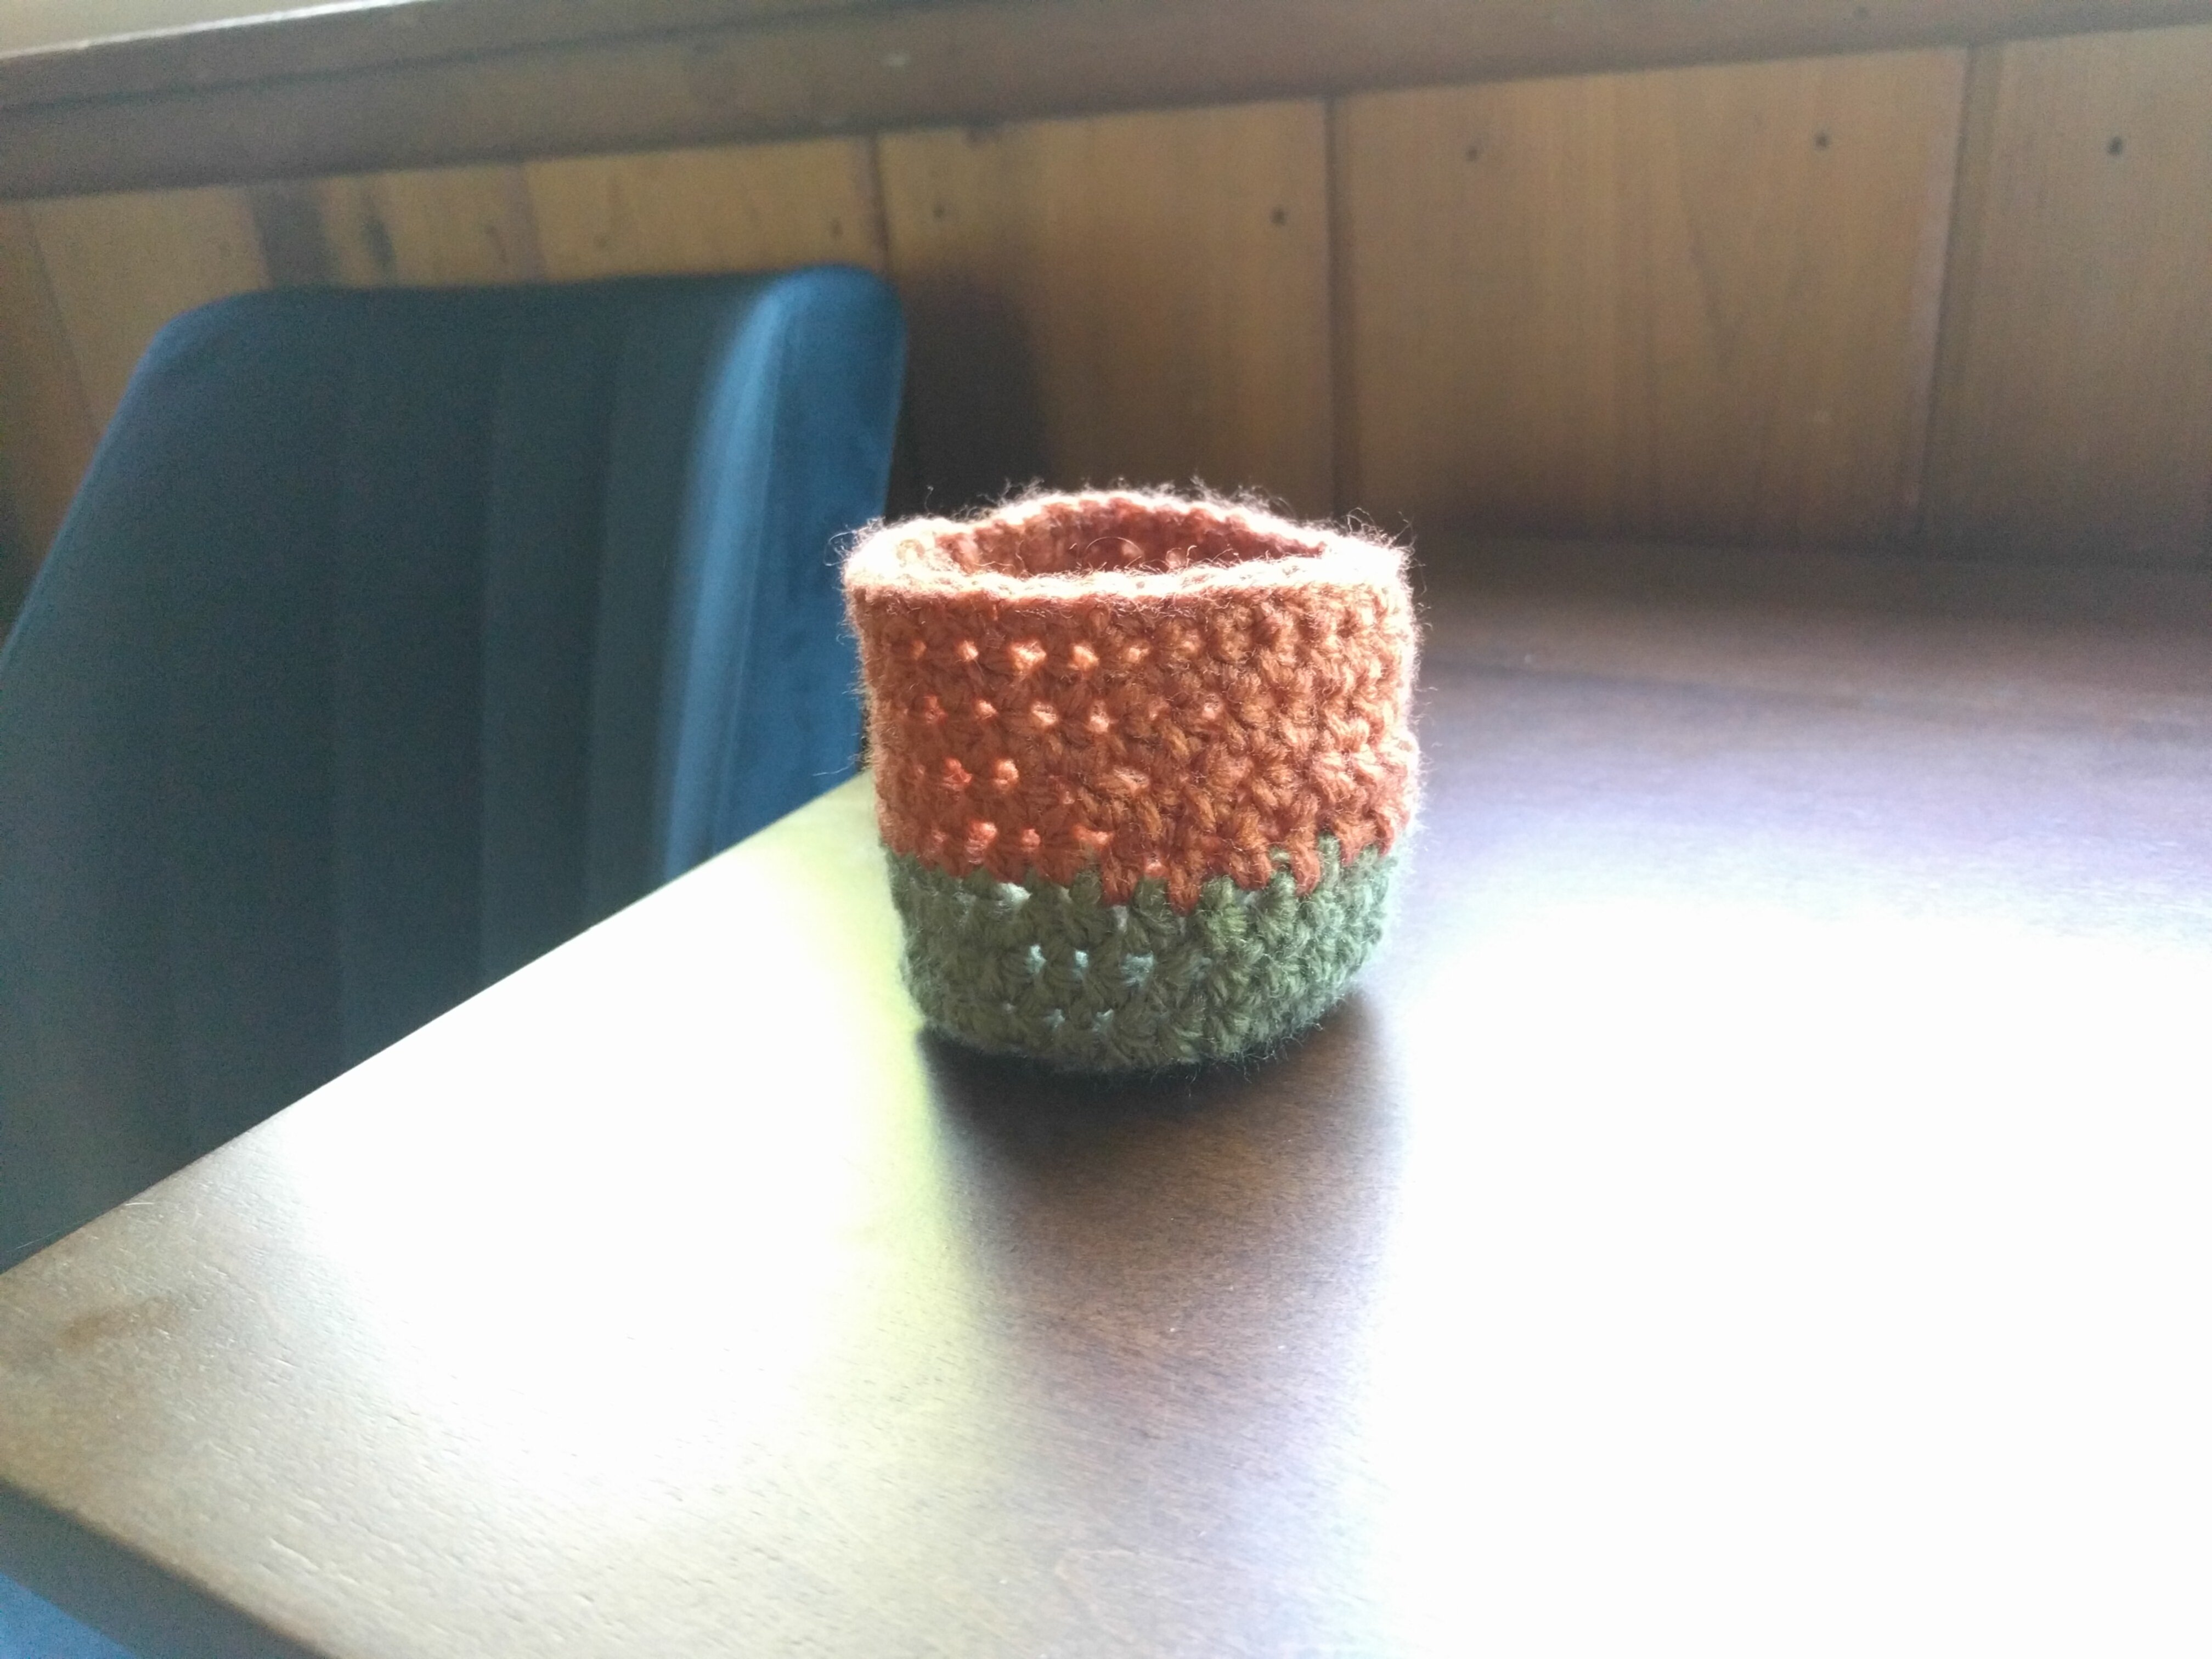
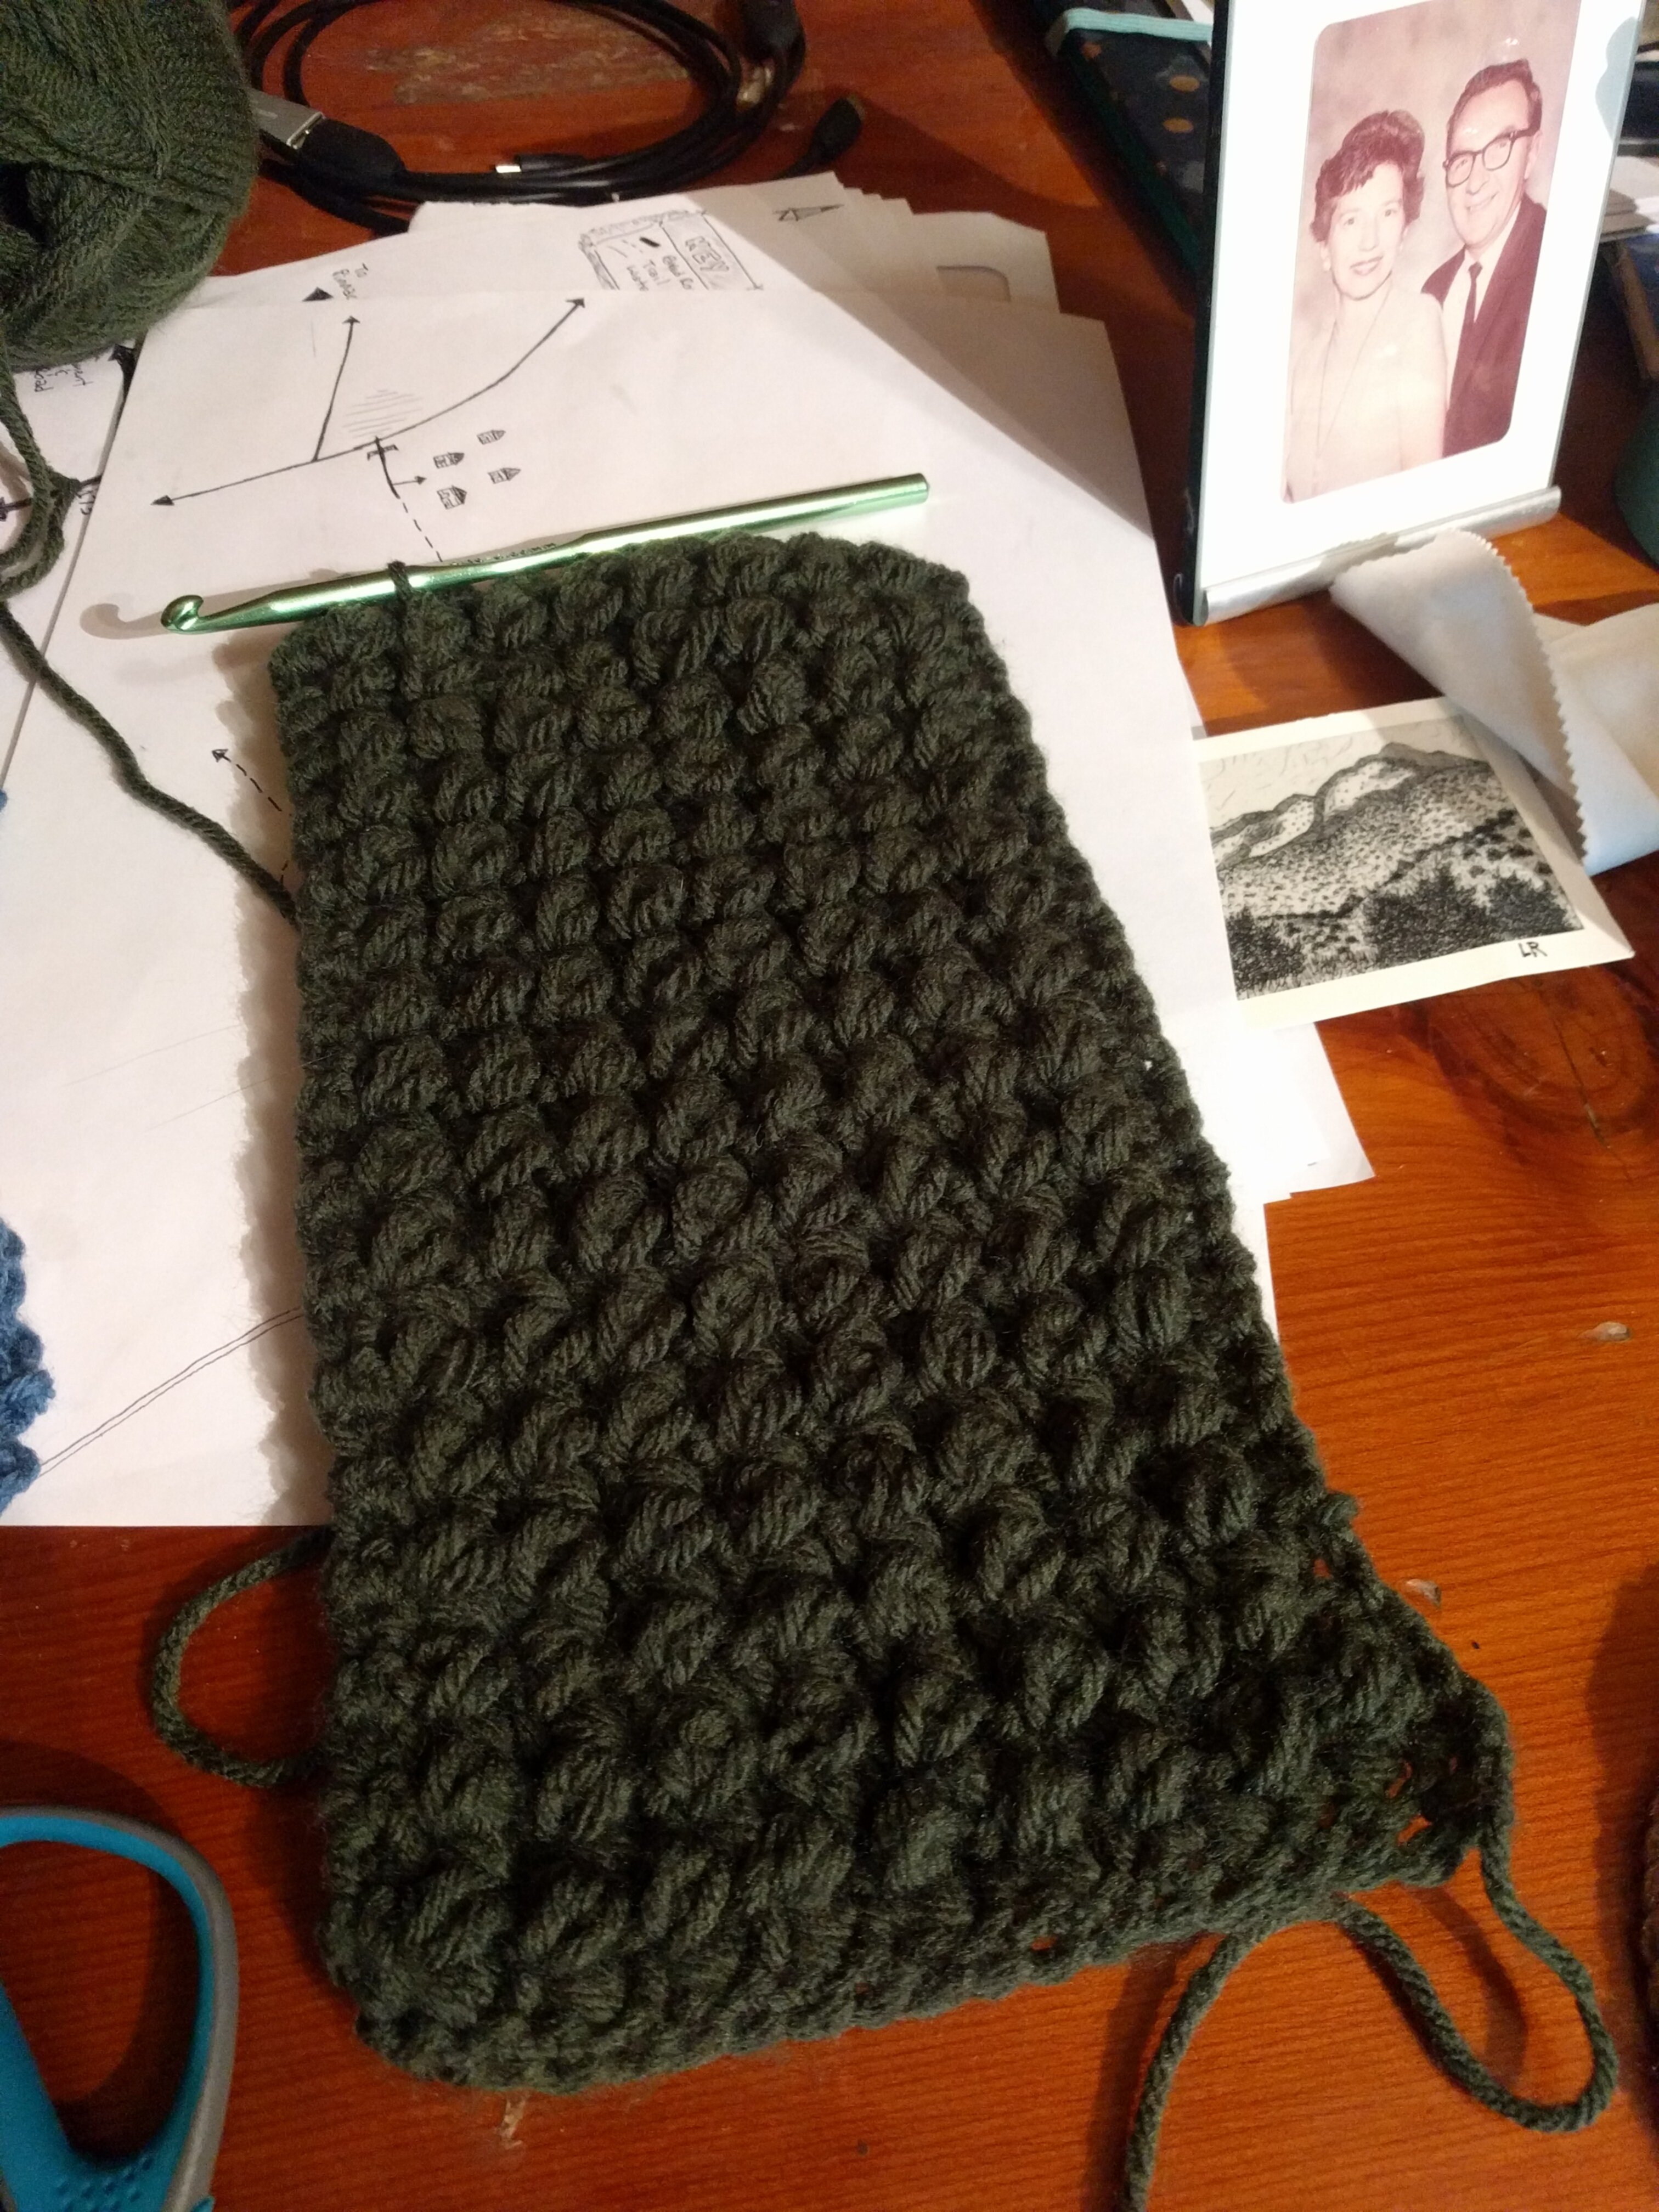
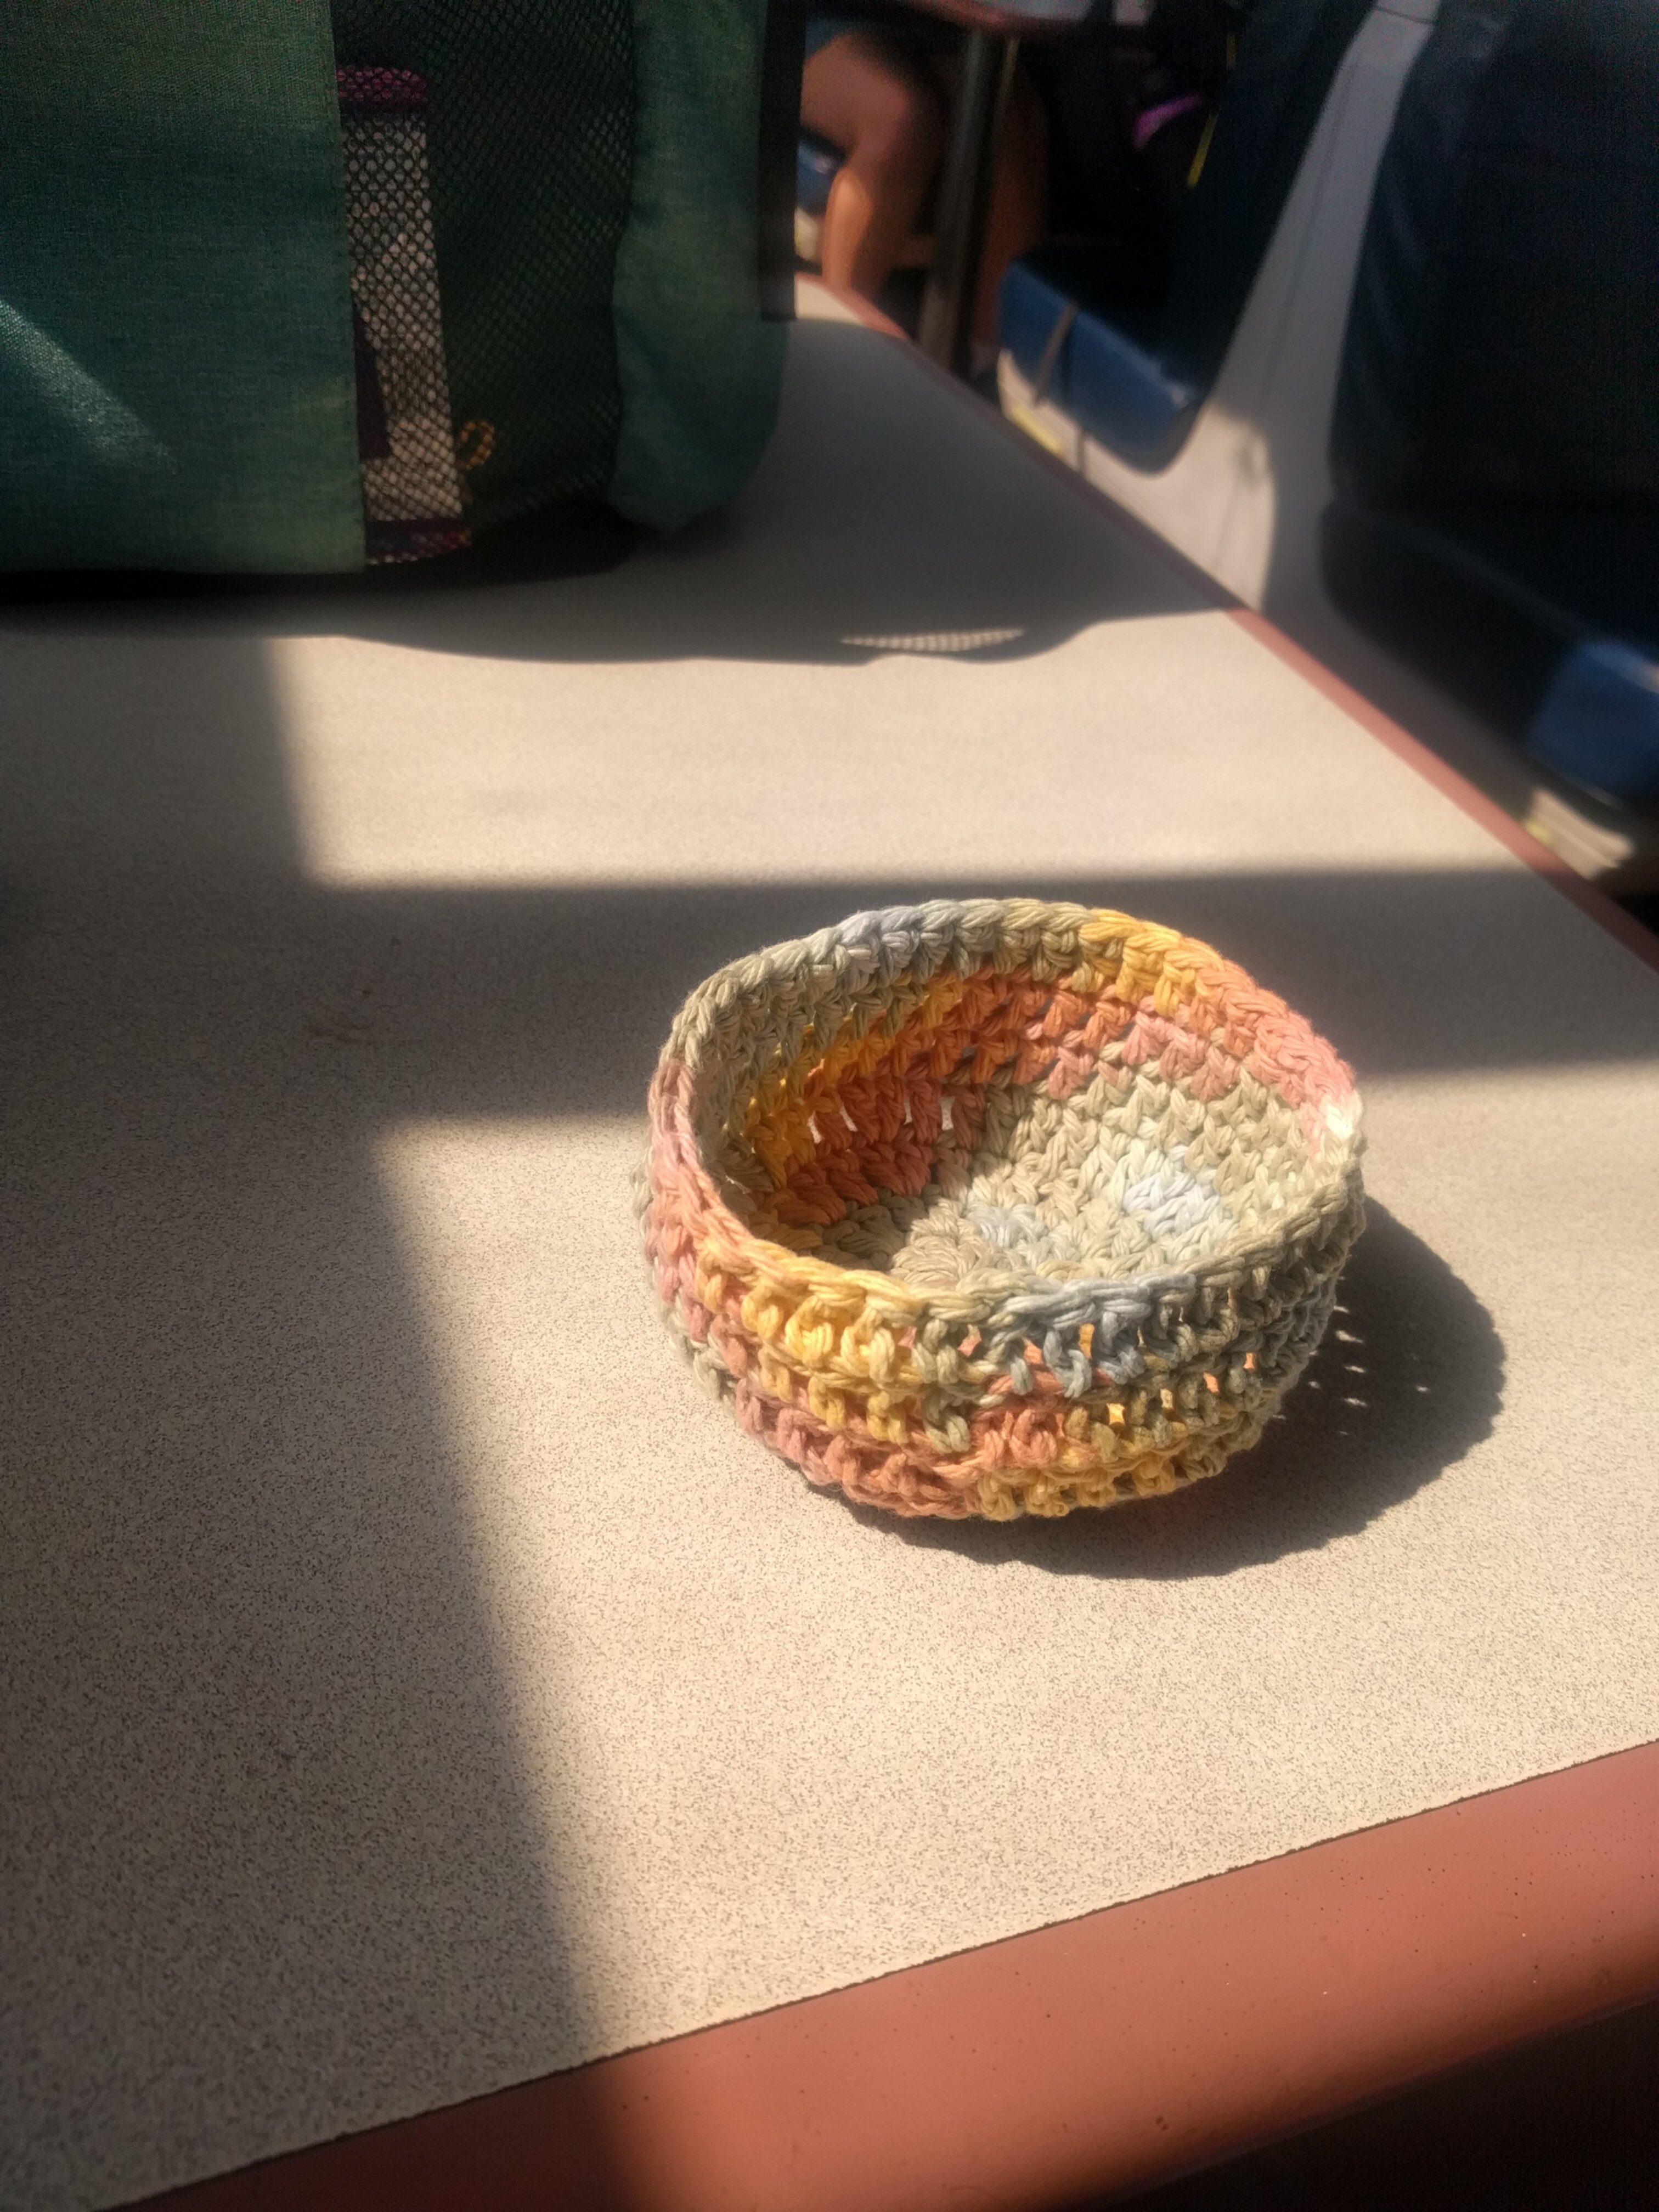
projects : crochet
I crochet a bit in my free time, or as the need arises. Early projects were more for practice than to fill a particular need. Eventually, I started being able to make semi-useful items (sleeves for e-readers, toys/purses for my child, etc). This page will have pictures of some of the things I make (when I remember to take pictures and put them here).
Pattern / Instructions
This assumes 4/worsted weight yarn and a 5mm hook. You will need around ~9oz/500yds of yarn.
This pattern uses a PF stitch. To make the PF stitch put your hook through the next ST from where you are at currently. Yarn over and pull through, you have two loops on the hook. Yarn over, put the hook through the same stitch as before, yarn over and pull through. You have four loops on the hook. Yarn over, put the hook through the same stitch as before, yarn over and pull through. You have six loops on the hook. Yarn over and pull through all six.
- Make a slipknot
- CH 20 (or any even number)
- SK 1, SC all the way across
- CH 1, SC
- PF, SL (all the way across), SC into last stitch, CH 1, turn, SC
- Repeat the last instruction set until you get the desiered length
- SC the rest of the way across, SL into same stitch as the last SC, cut a tail and weave in

Pattern / Instructions
This assumes 4/worsted weight yarn and a 4.5mm hook. You will need around 60 yards of yarn. This pattern uses the "Suzette Stitch".
Row 1
- Make a slipknot
- 22 CH (or any even number of stitches)
- 1 SC and 1 DC into second ch from hook
- SK, (1 SC, 1 DC into next CH) repeat until you have 2 ch left
- SK, 1 SC into last ch (totals 21 stitches if 22 ch was used)
Row 2+
- Turn, 1 CH (does not count as a stitch)
- 1 SC and 1 DC into first ST
- SK, (1 SC, 1 DC into next CH) repeat until you have 2 ST left
- SK, 1 SC into last ST (totals 21 stitches if 22 ch was used)
Repeat the above 2+ row instructions until your work reaches the desired height (around 34 rows/11").
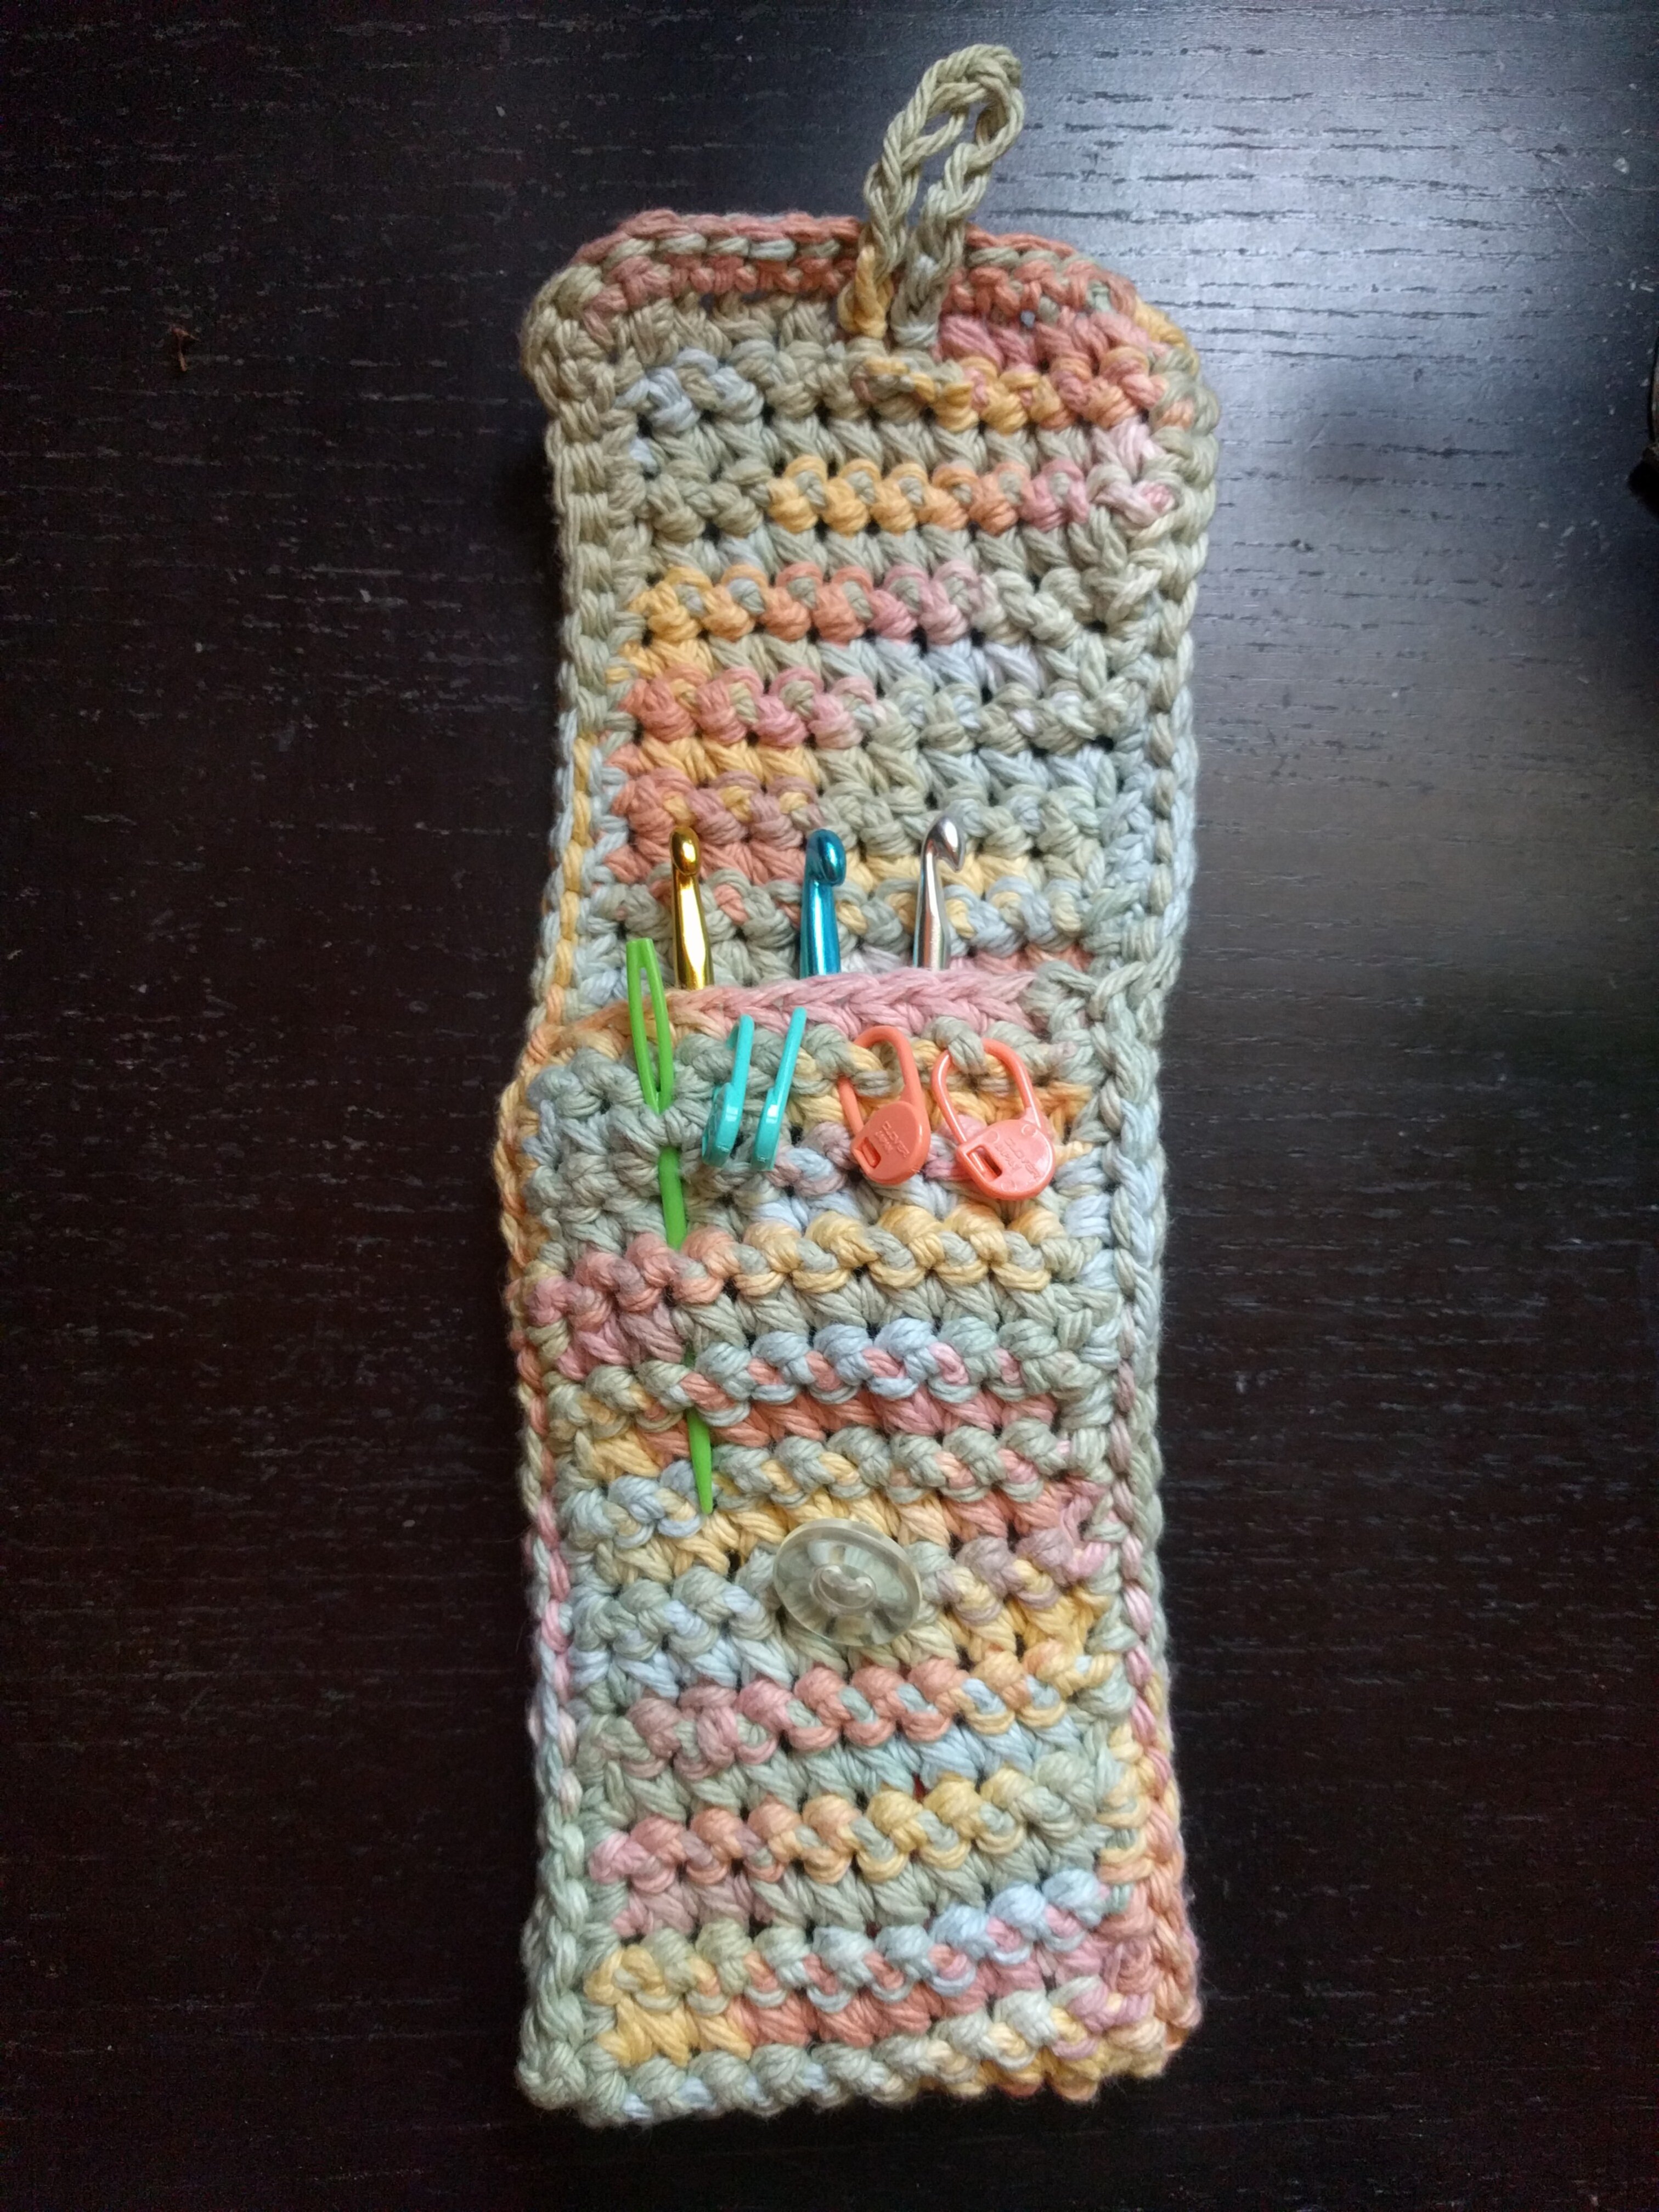
Finishing
Take a look at the pictures of the finished item and the parts with stitch markers, side sewing, buttons, and button loops will make sense visually. More or less: use the pictures as reference if you get confused.
- SC into each ST around the edge, using 2 SC into each corner ST
- You will be making a fold to create the body of the wallet. If you did 34 rows, count 26 ST up from the bottom corners and place a stitch marker at ST 26 from the bottom on each side. You can adjust this number however you like. The fold creates the body of the wallet and the rest is the flap. Keep in mind the need for the button and make things the shape you like
- At the last stitch SL and cut a length to weave in the end (and do so)
- Attach the bottom corners to the stitch markers you just added so that the wallet body/pocket takes shape
- Cut a ~12" piece of yarn. Using any method you like (SC, tapestry needle/ladder stitch, SL, etc) close up the sides from the stitch marker down the side until you reach the bottom crease. Repeat with the other side
- Fold the flap down and figure out where you want your button to be, keeping in mind that a loop will be added to the flap to go around the button
- Sew on the button, either with yarn and a tapestry needle (if the button is large enough), or a sewing needle and thread (if the button is small)
- Taking a new piece of yarn leave about a 4″ tail and 12 CH, then cut the yarn and leave a 4″ tail on the other side
- Weave the ends into the same stitch above the button on the flap (not the wallet body where the button is), securing with a knot or two first
- It is possible 12 CH is too much or too little for your particular button, adjust accordingly
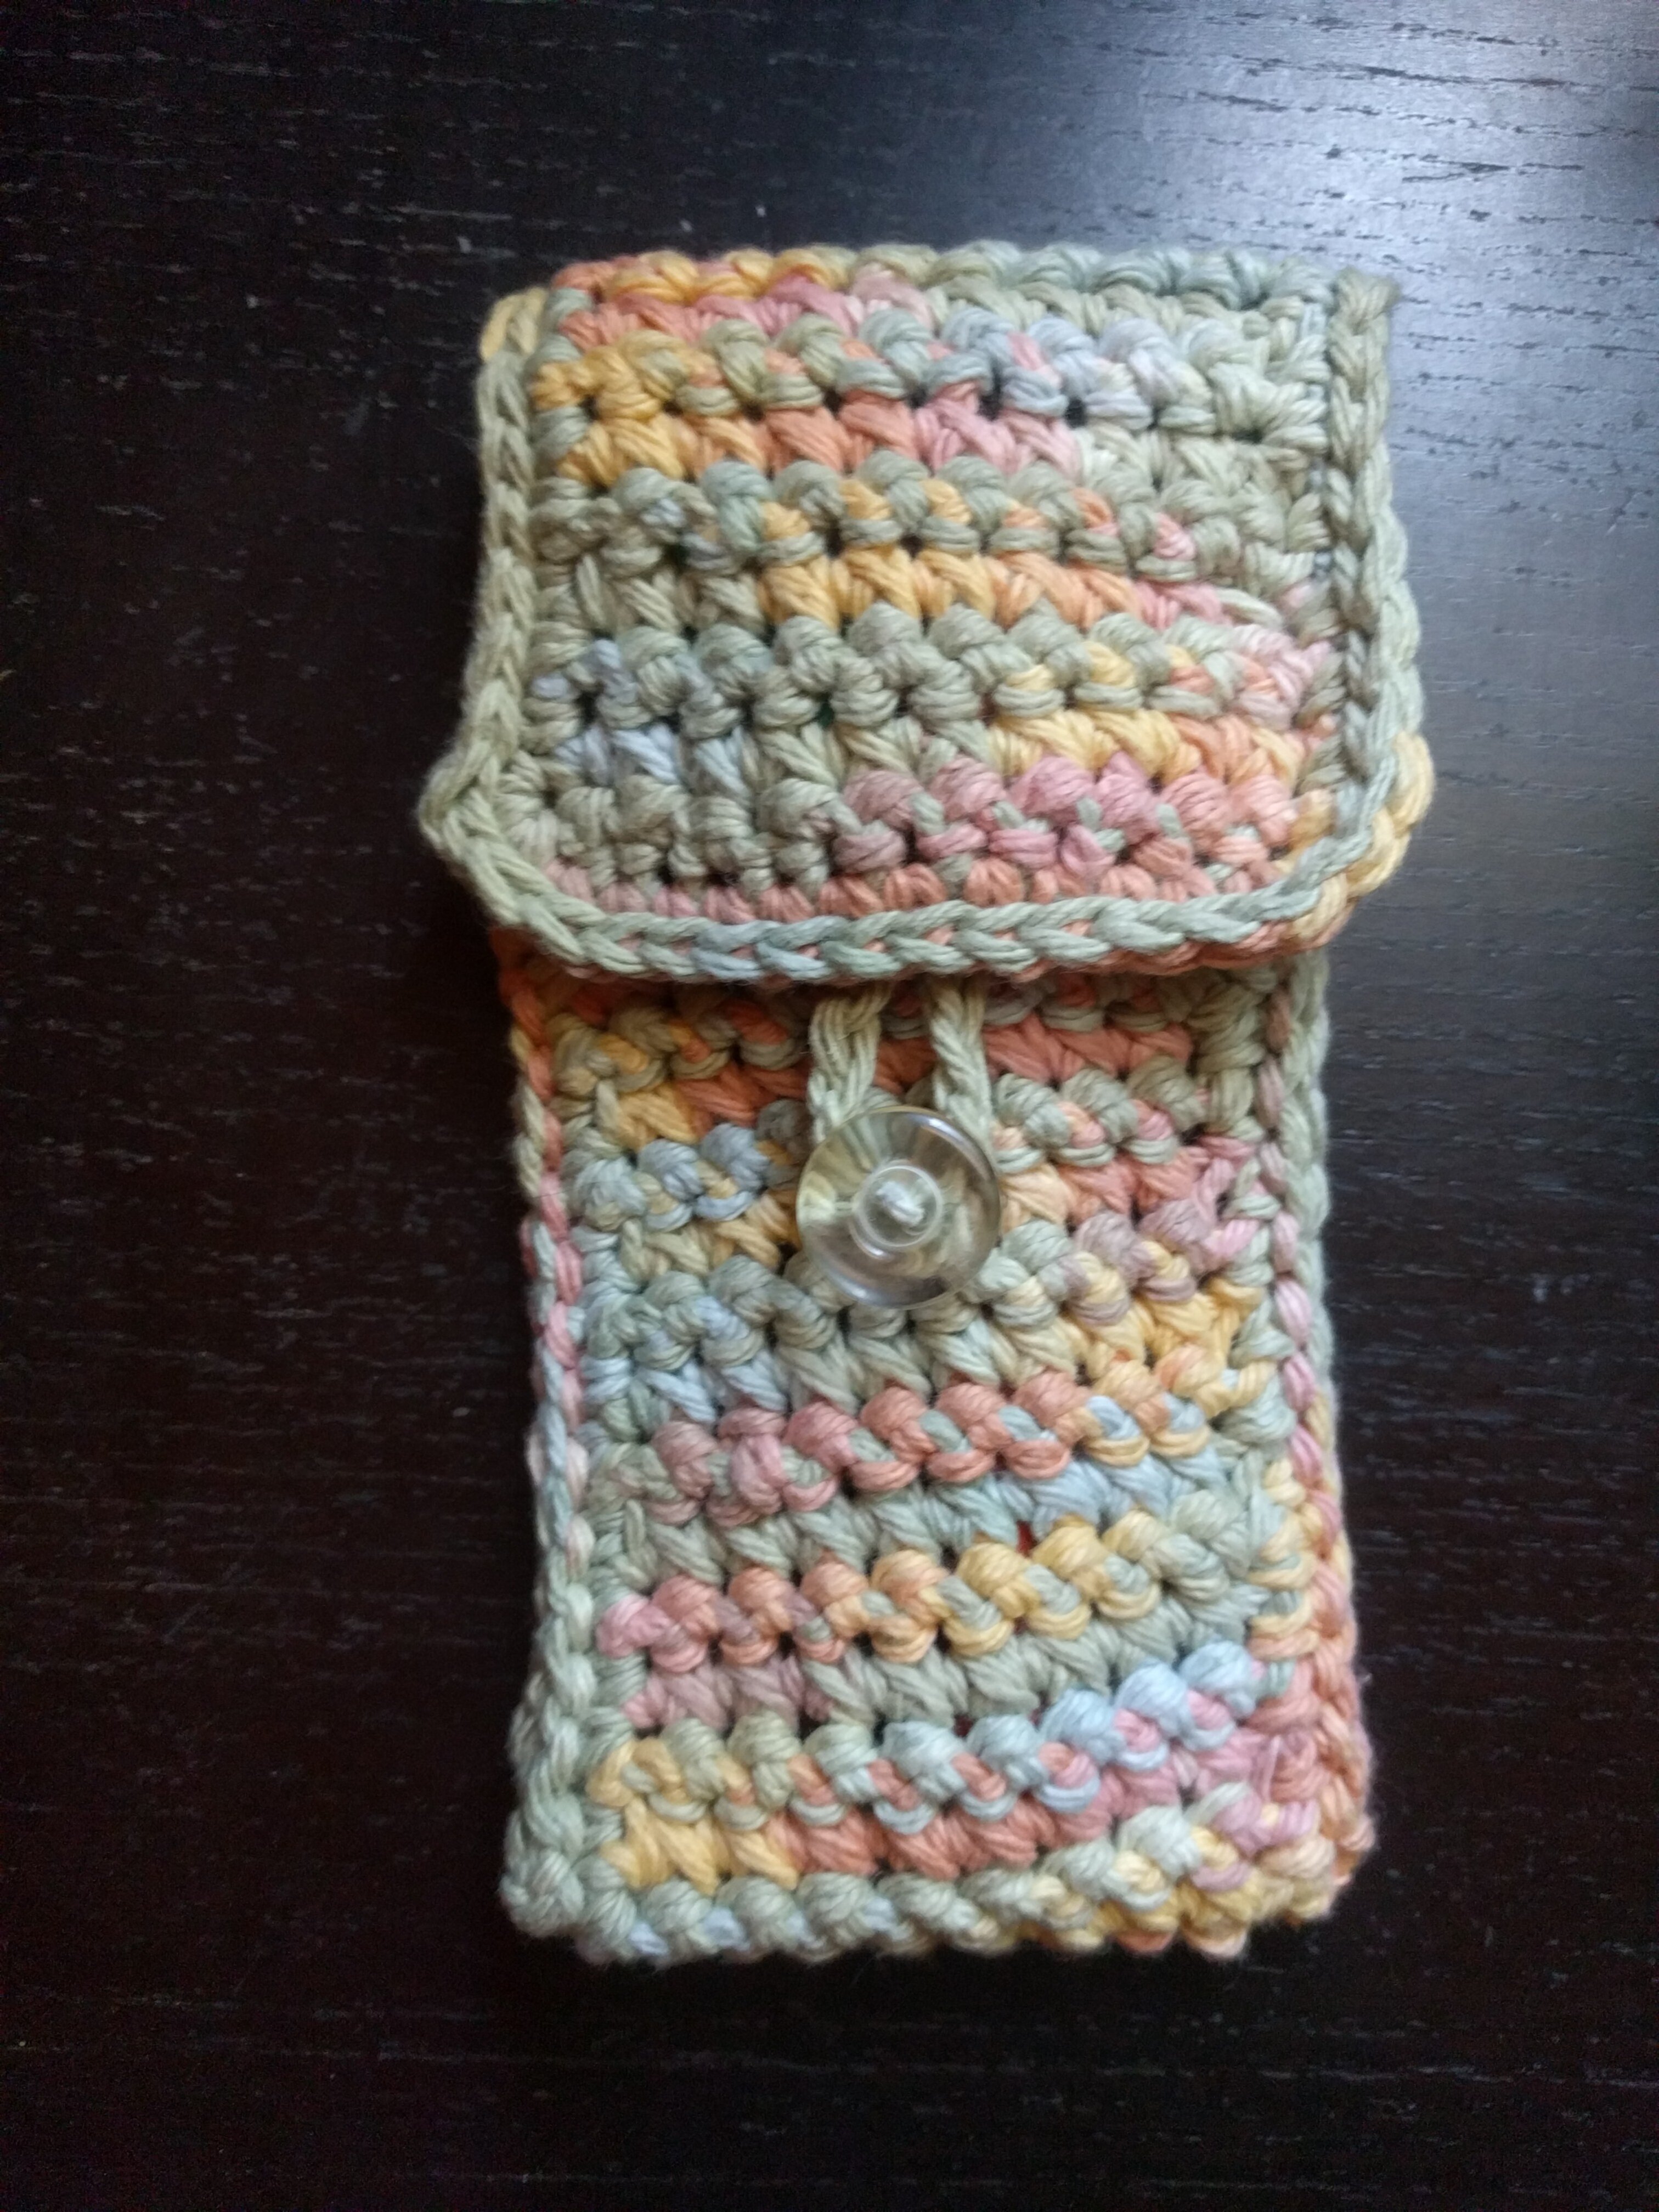
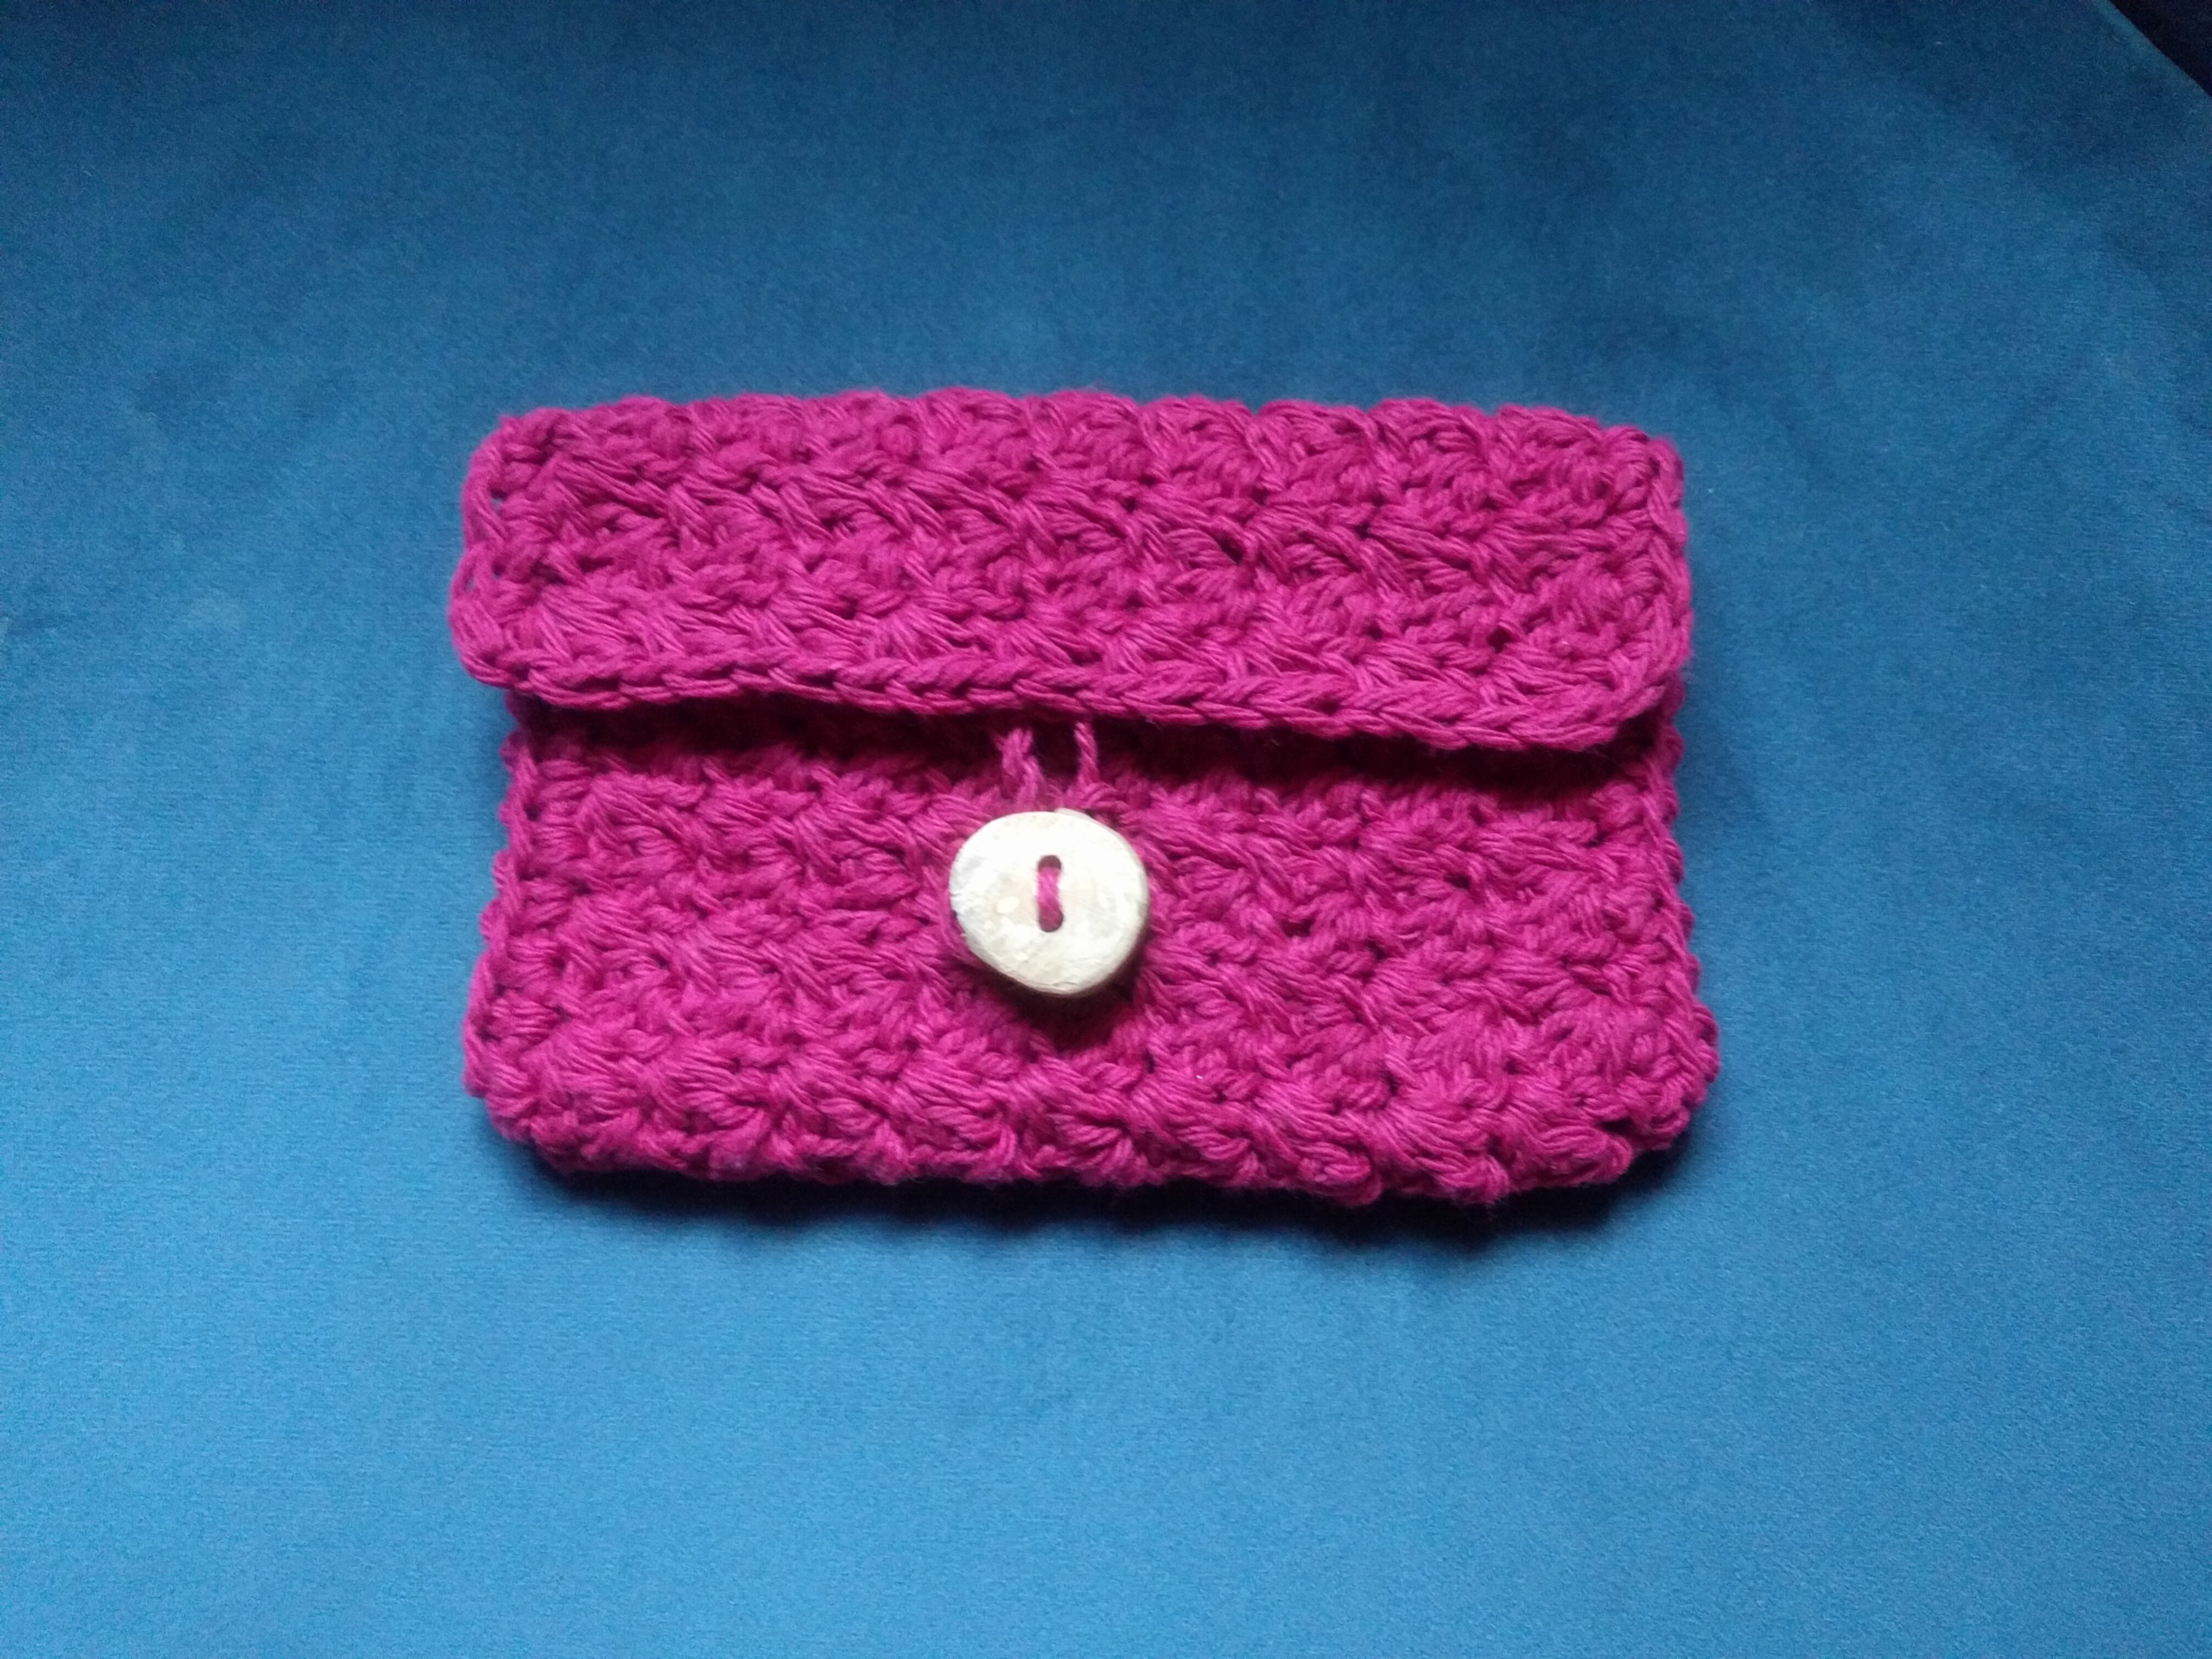
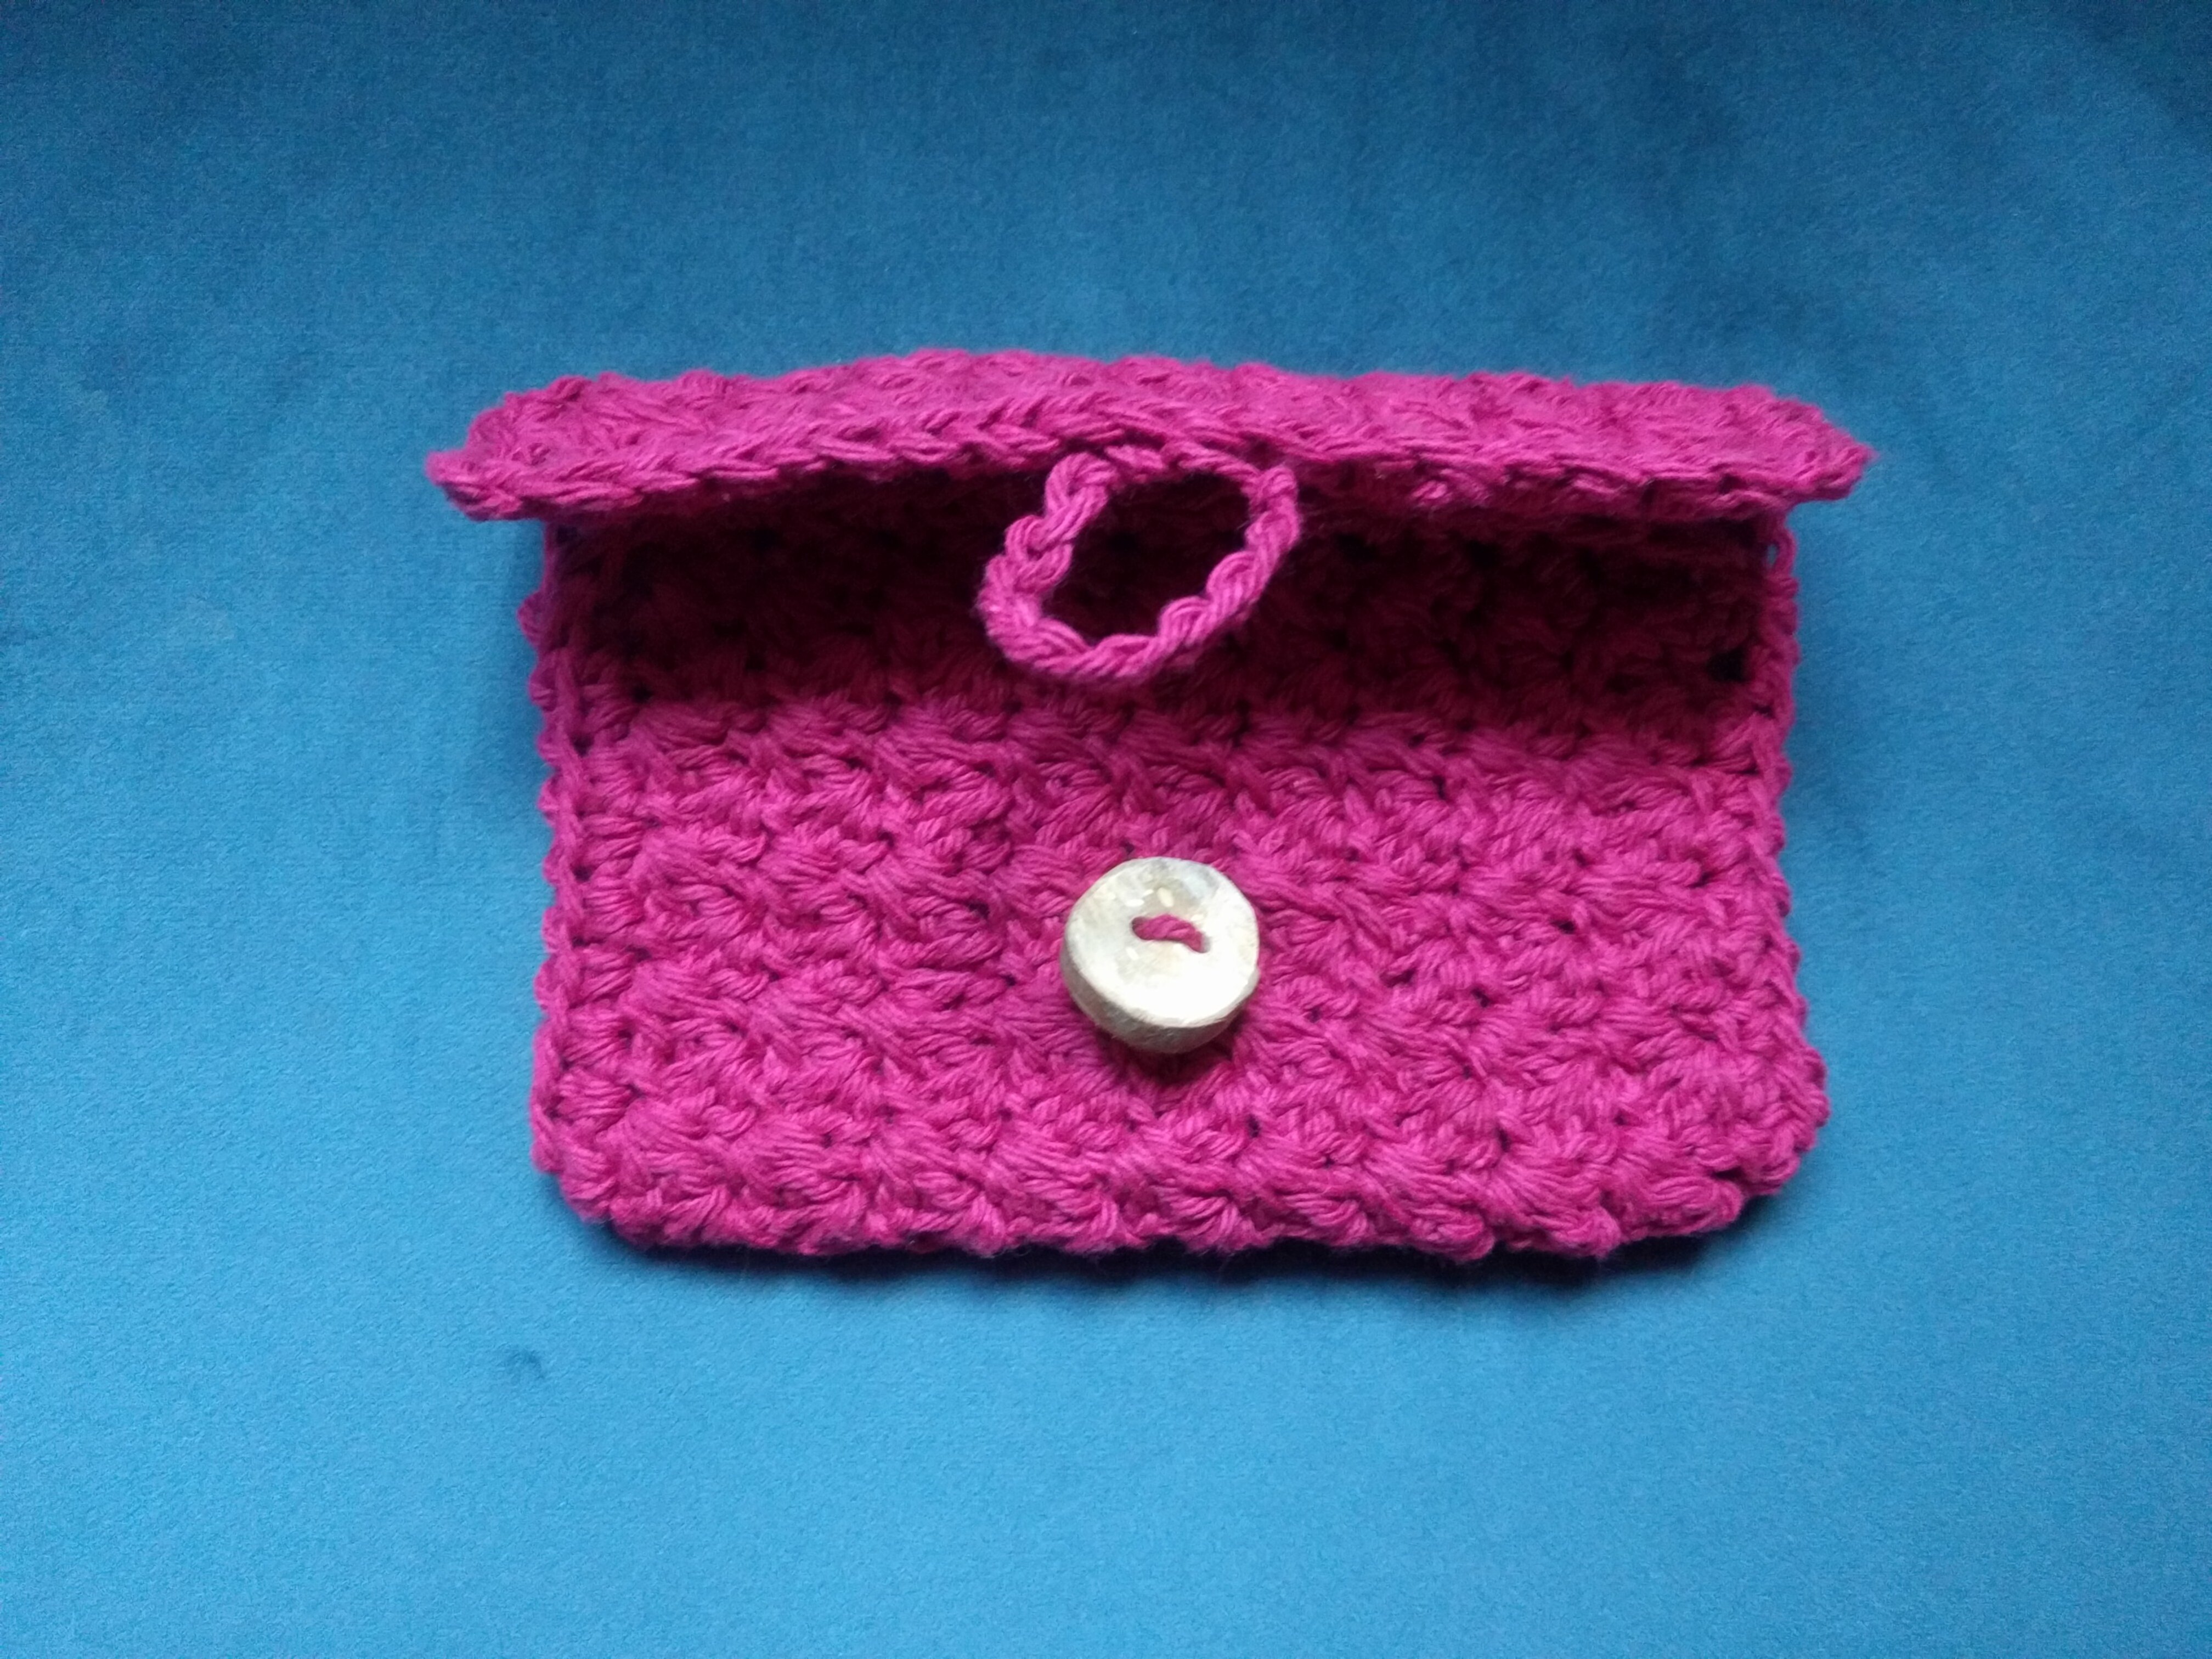
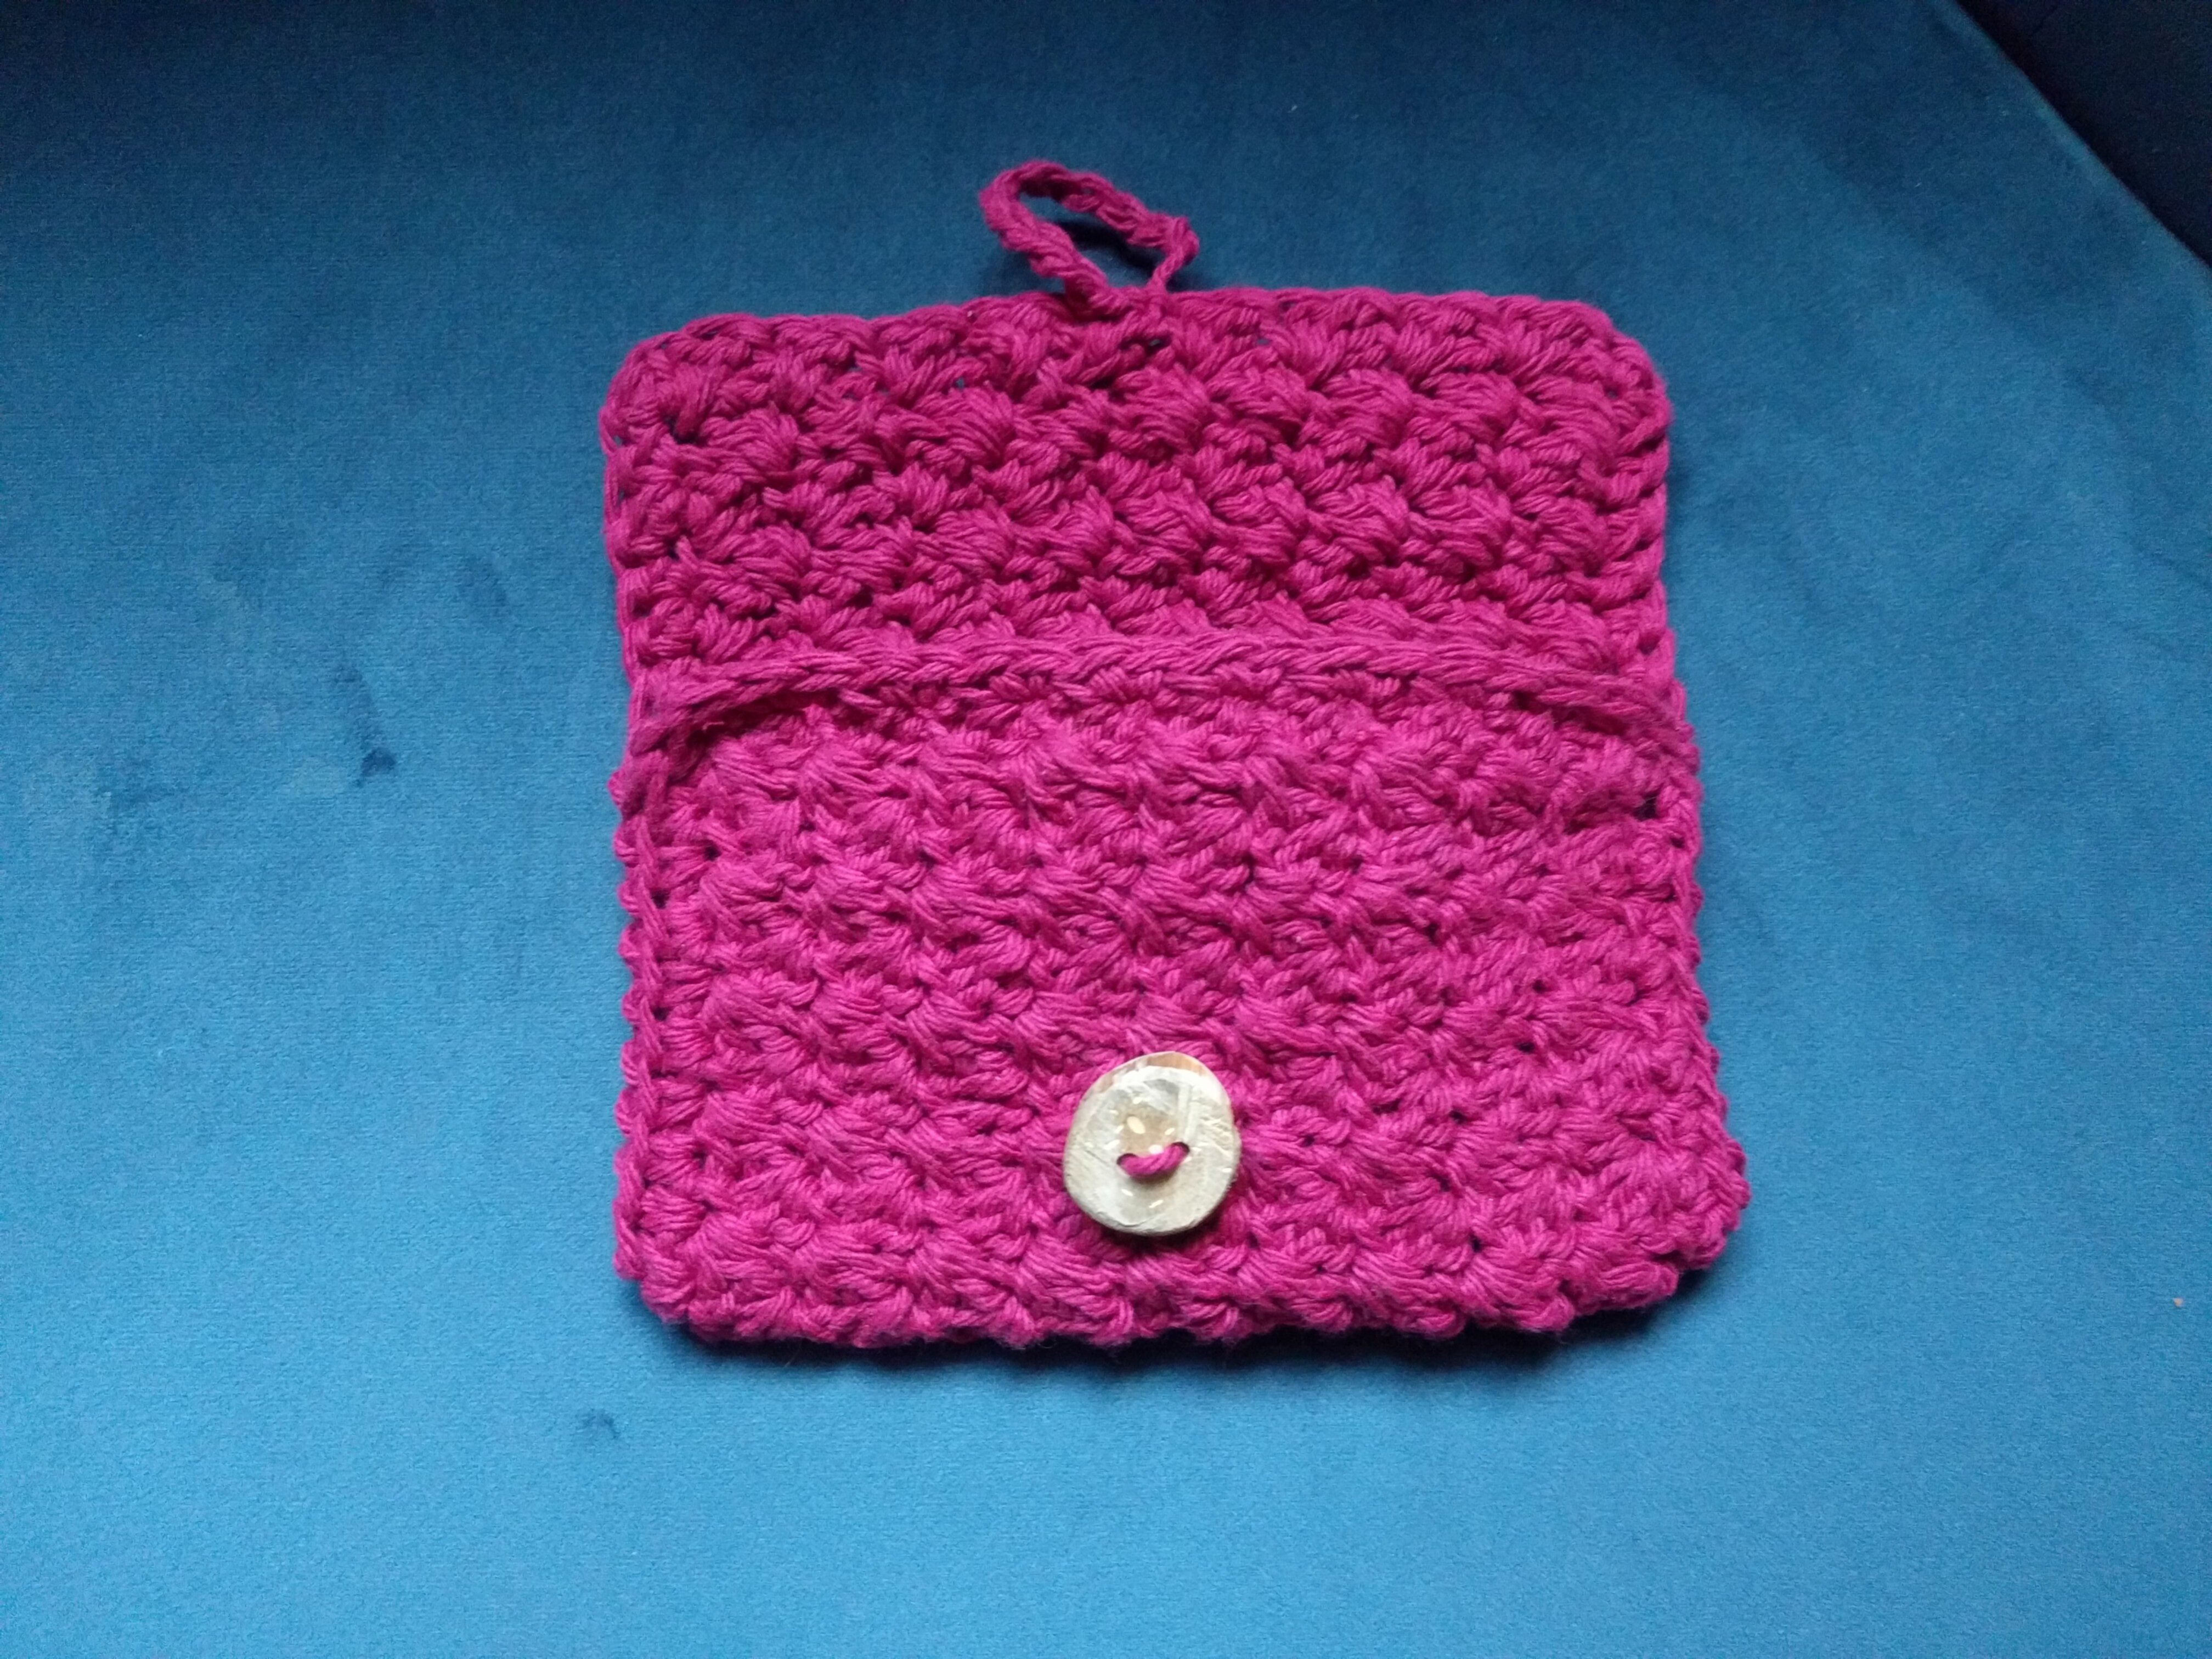
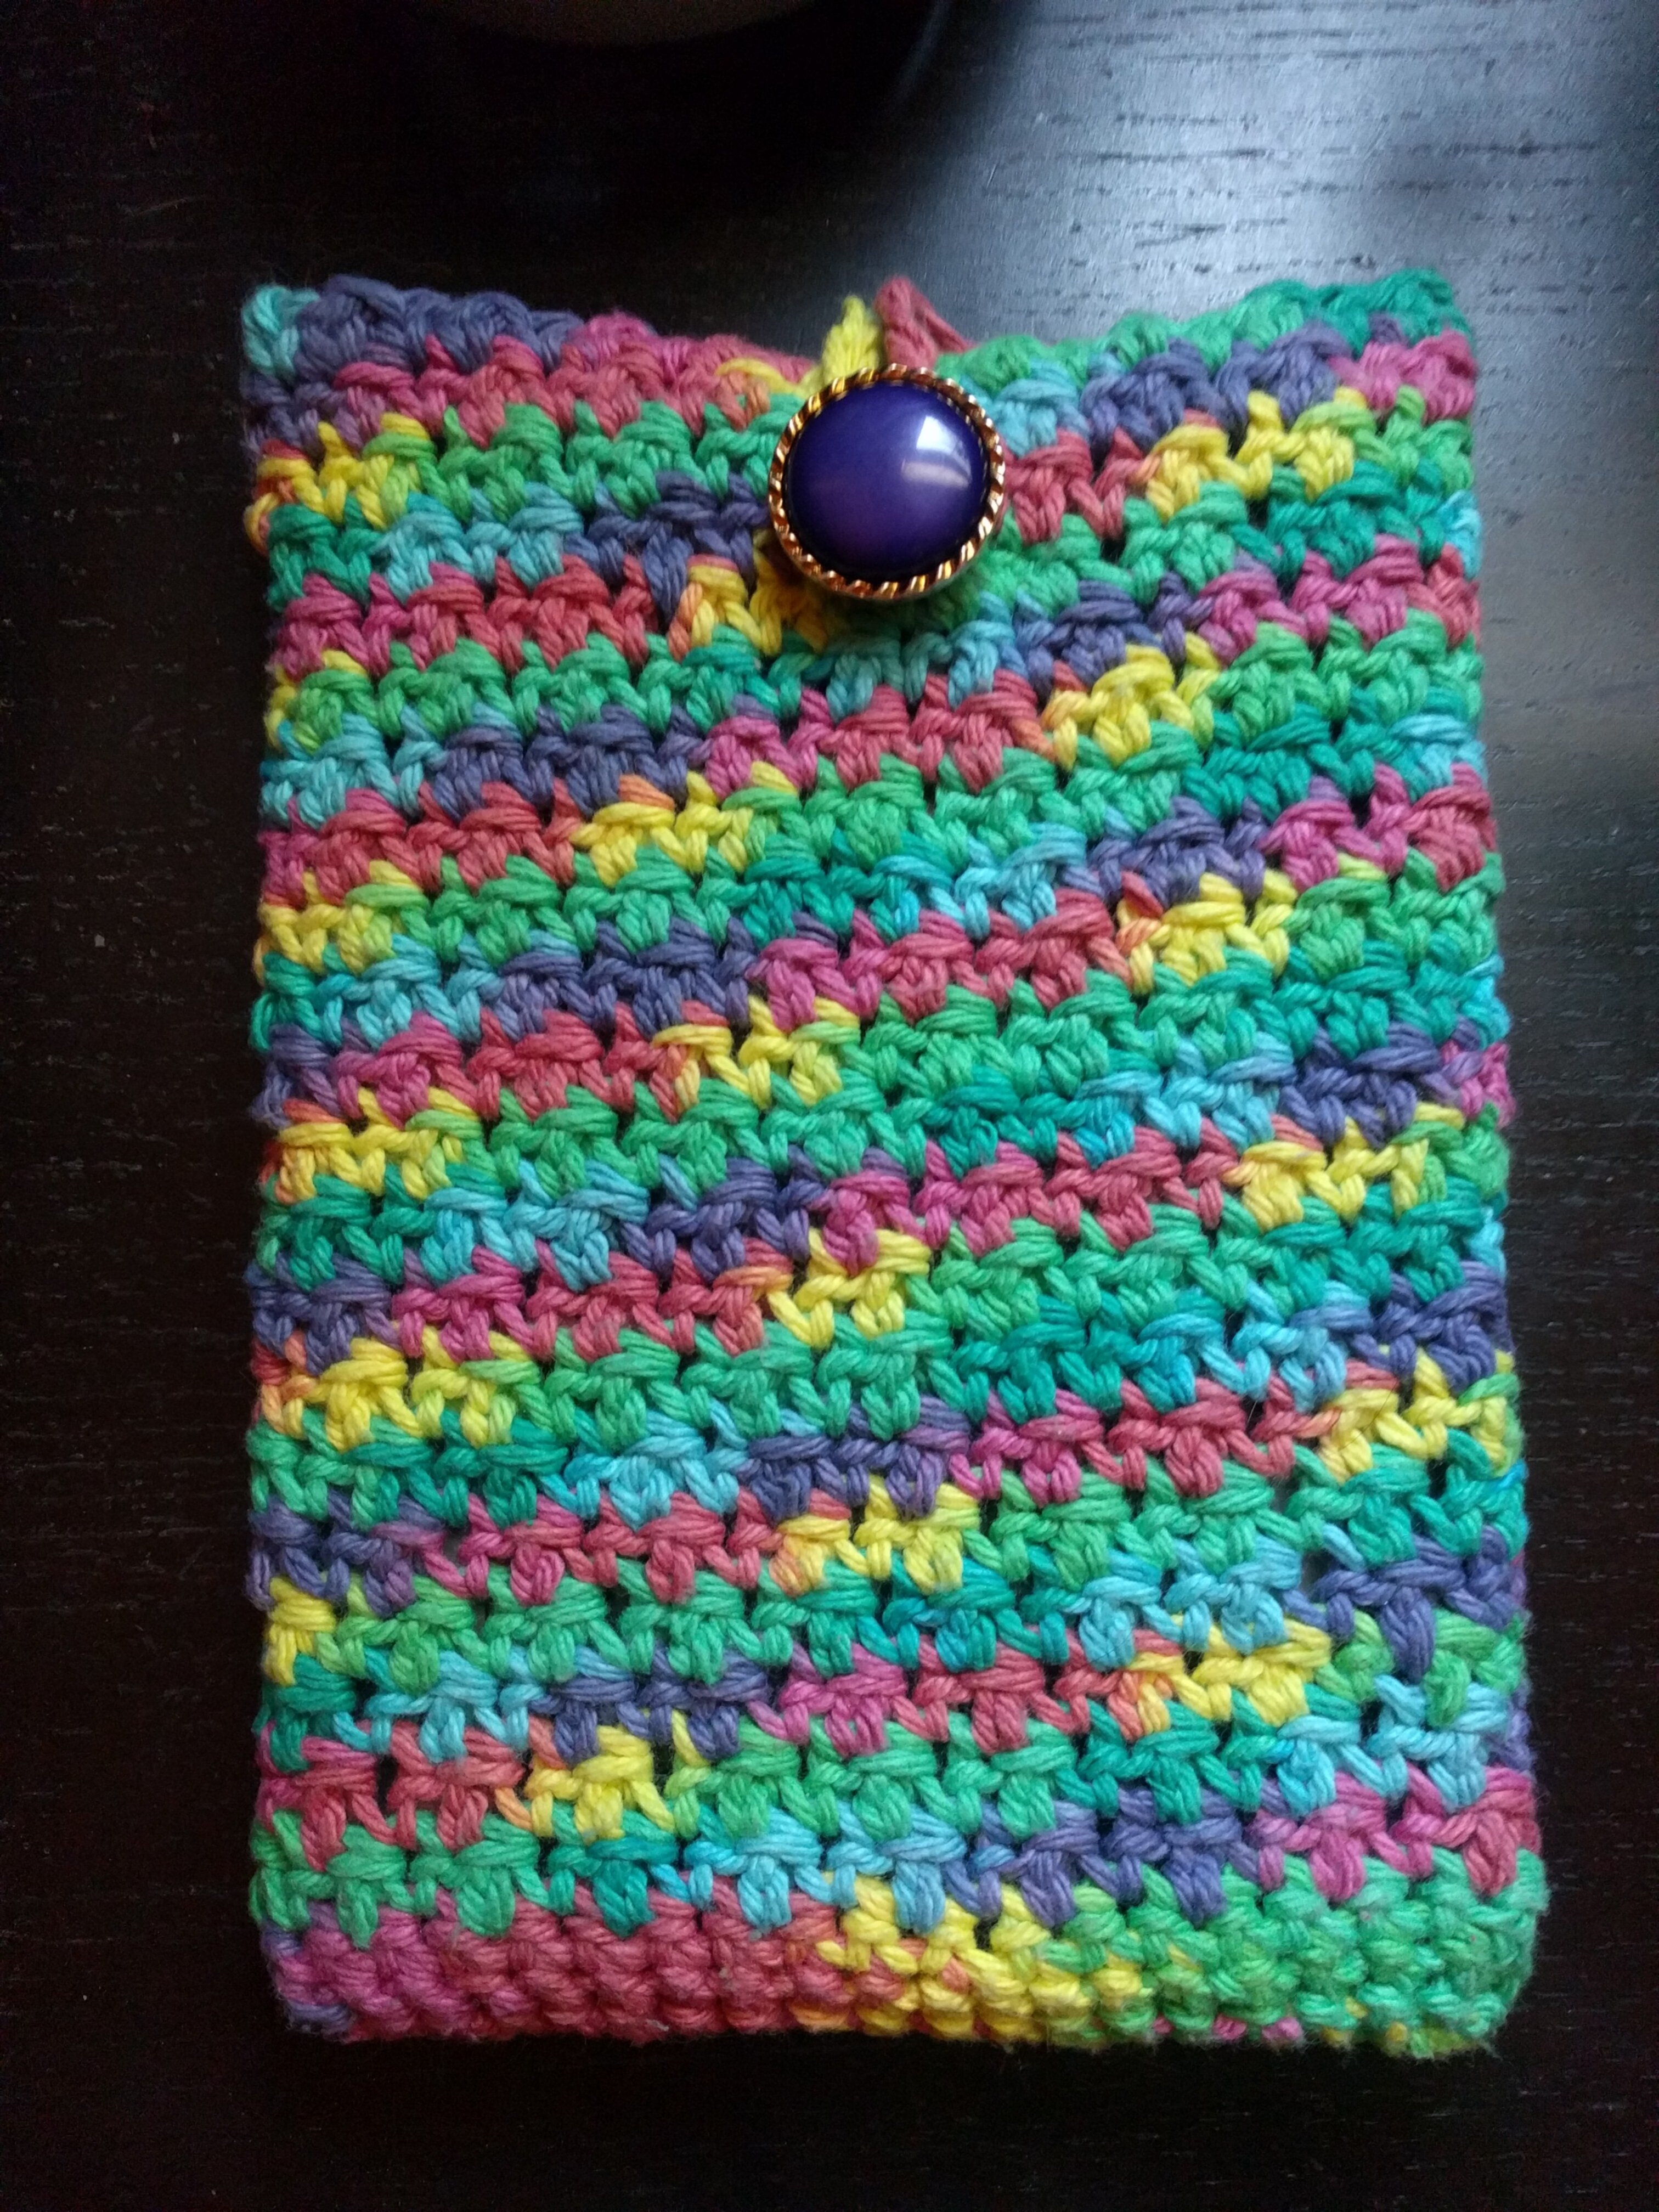
Pattern / Instructions
This assumes 4/worsted weight yarn and a 5mm hook. You will also need a button.
This pattern uses a SC2T stitch. To make this stitch go under the next stitch and pick up a loop by yarning over and pulling back through. Then go through the next stitch (two from where you are at/one after the previous stitch you went through for the last loop) and pick up a loop by yarning over and pulling back through. You should have three loops on your hook. Yarn over and pull through all three. You have successfully made the SC2T stitch. When you make the next stitch you will make it into the same stitch that got the last loop onto your hook.
Body
- Make a slipknot
- 13 CH (or any number odd of stitches equal to the width you want for the sleeve/case)
- SK 1 then SC2T accross each stitch
- In the last stitch of the row (that you ended your last SC2T in) do 1 SC
- CH 1 and turn your work
- SC2T accross again (with the first going into the SC you ended the last row with), end with a SC like last time, CH 1 and turn
- Repeat the last instruction until you have the height you want. Keep in mind that you will fold over for the body and want extra for the flap. Make sure you end the last row with 1 SC
Finishing
- SC all the way around the edges, doing 3 SC at each corner
- SL into the first SC you started with, cut a tail, weave in
- Fold the piece how you want it, line up the bottom stitches so that each side has the same number of stitches up the side
- Make a slip knot onto the hook (new active yarn), SL into bottom SC at the fold on one side to attach, then SL into each SC up the side until you reach the corner, cut a tail, weave in the end
- Repeat the last instruction on the opposide side
- Make a slip knot onto the hook (new active yarn) leaving a ~4" tail, 12 CH (or whatever size you want the button loop to be), cut a 4" tail on that side
- Using a needle or hook wrap the two ends around a stitch in the middle/bottom/underside of the flap and tie a knot or two, eave in the ends
- Fold the flap over to see where the loop lands so you know where to sew on your button, then sew/tie the button to that spot on the body of the sleeve

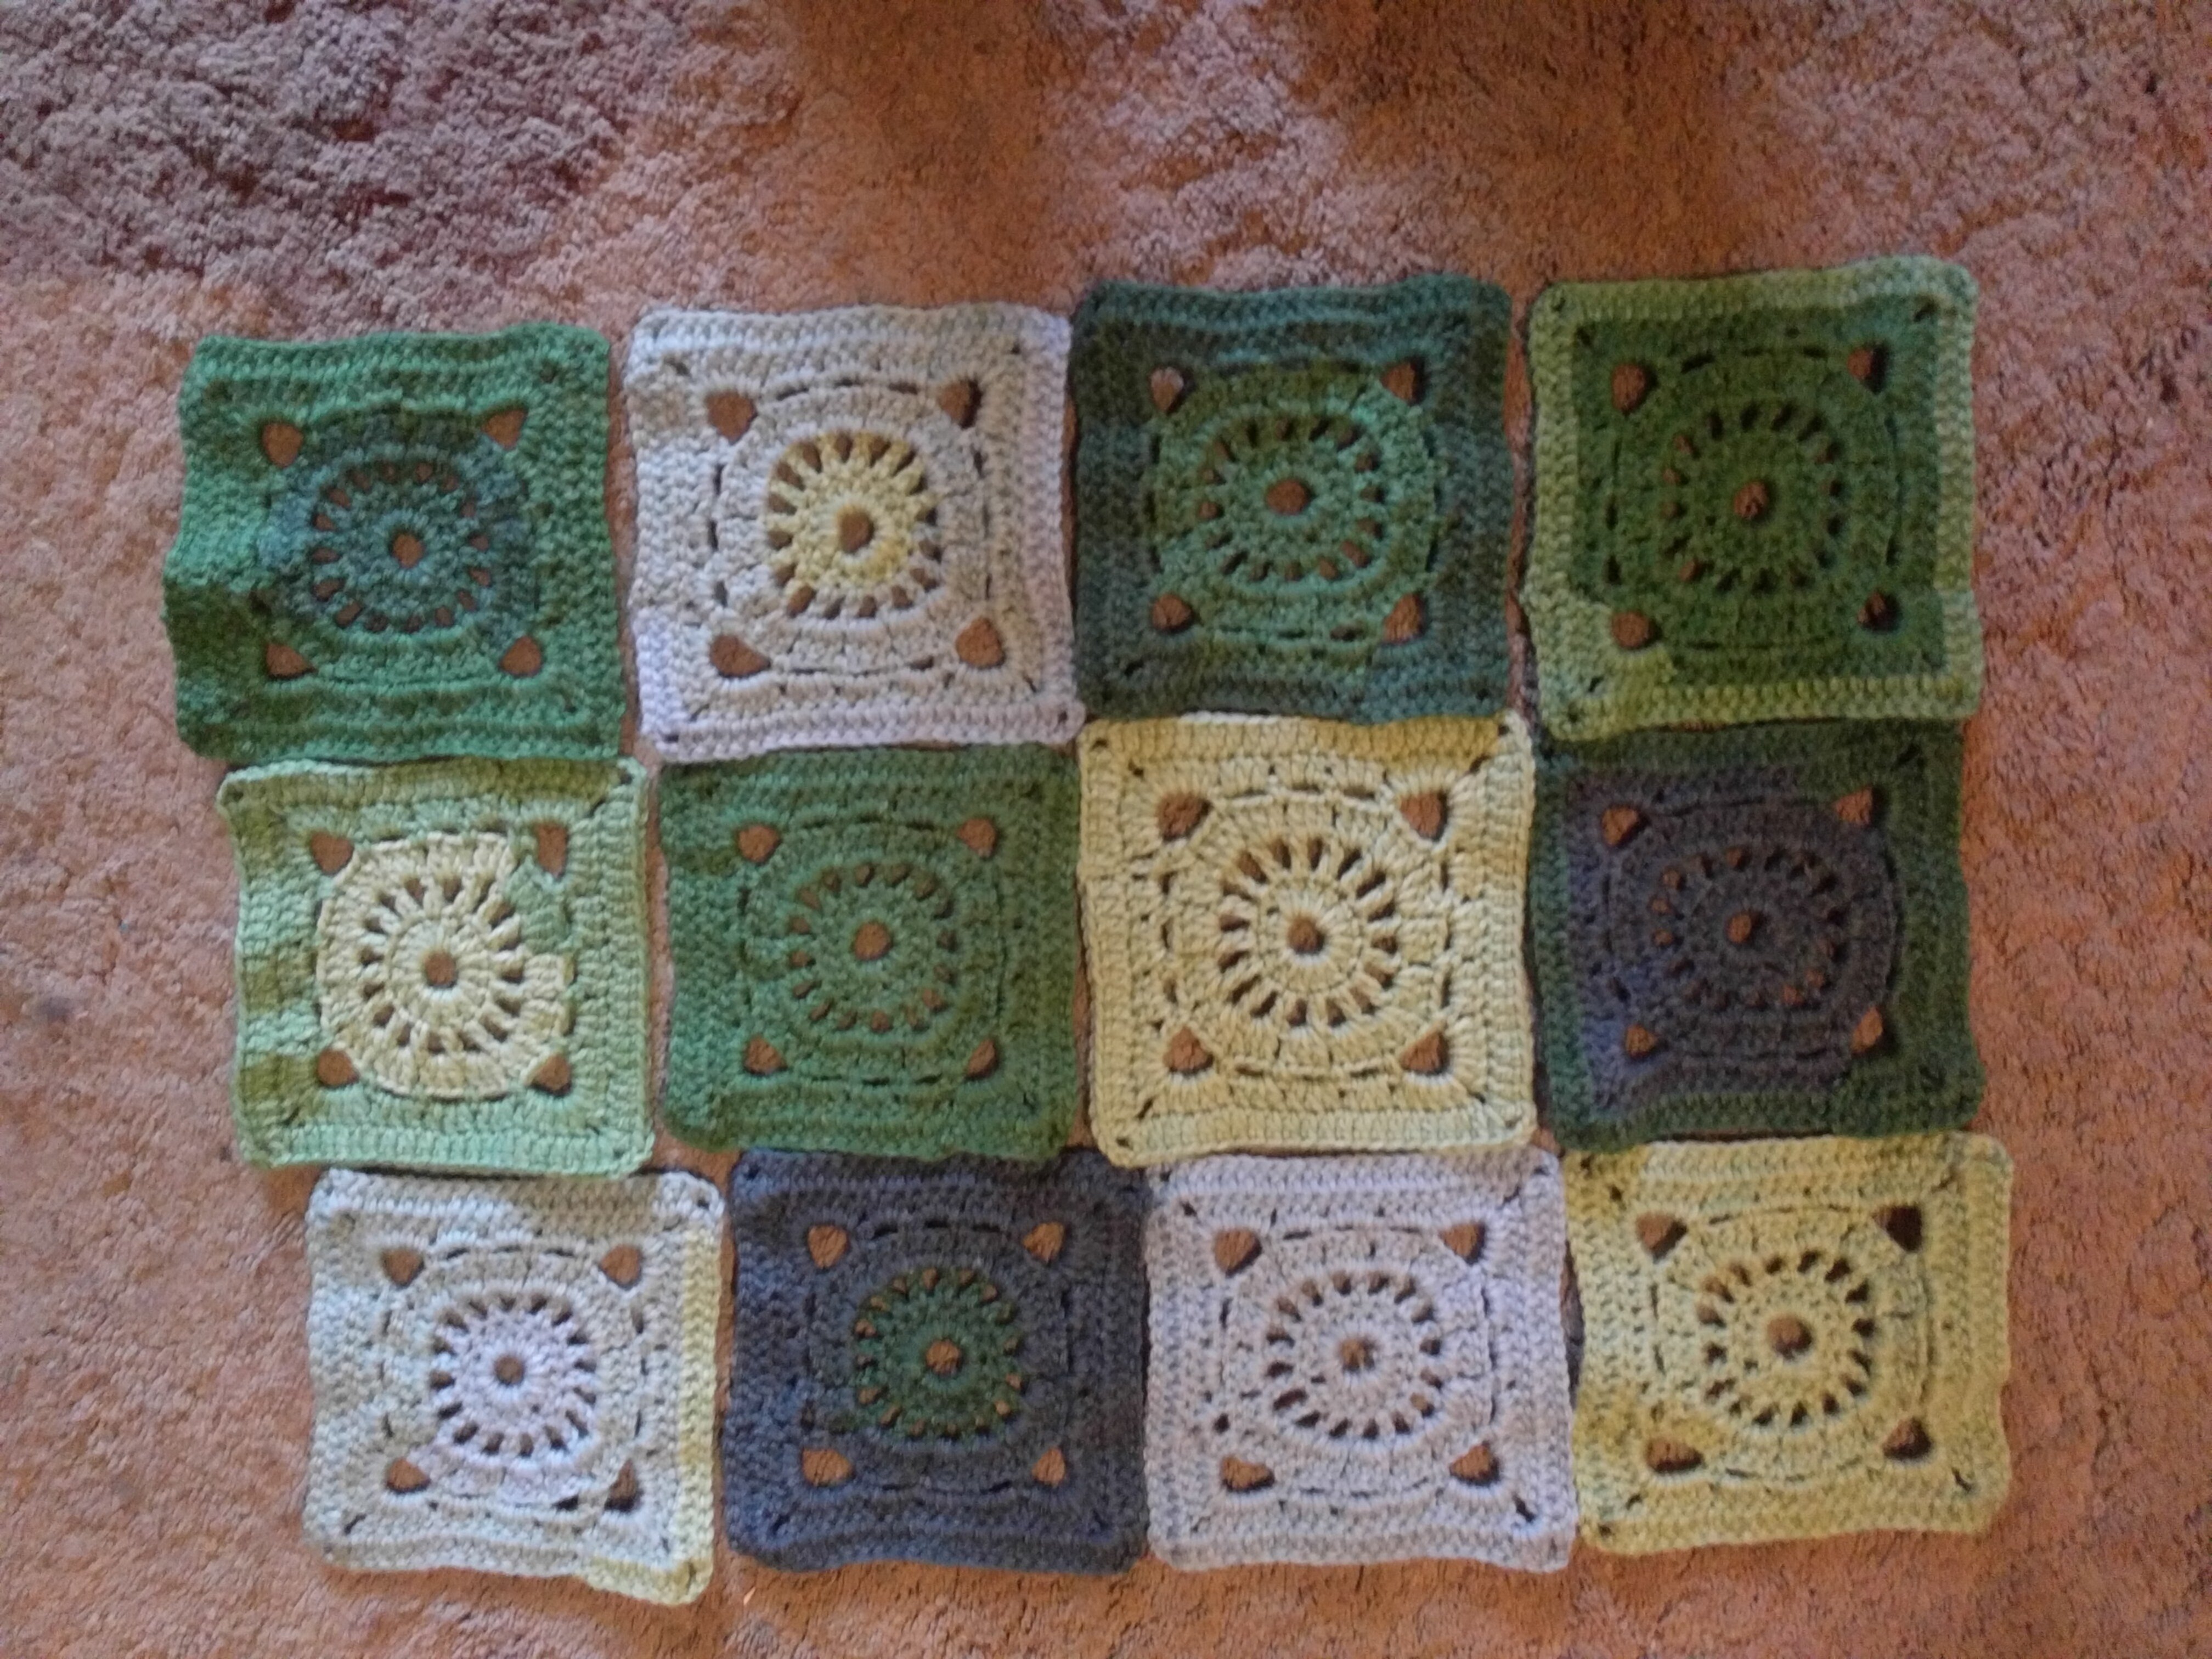
Pattern / Instructions
This assumes 4/worsted weight yarn and a 5mm hook. You will also need a tapestry needle.
Ferris Wheel Square
- Make a slipknot
- 8 CH, SL into first chain to form a ring
- 3 CH (counts as DC), 15 DC into ring, SL into 3rd chain to join
- 5 CH (counts as DC and 2 CH), [1 DC, 2 CH] into each DC, SL into 3rd CH (of the CH 5) to join
- SL in 1st 2CH SP, 3 CH, 2 DC in same SP, 1 CH, [3 DC, 1 CH] into each 2CH space, SL into 3rd CH to join
- SL to first 1CH SP, 1 CH, SC in same SP, {[3 CH, 1 SC] in each of next 3 SPs, 6 CH, 1 SC in next SP} repeat around, SL into beginning SC rather than into the last SP to join
- SL into 1st 3CH SP, 3 DC (the first DC of the round being a 3 CH instead) in each 3CH SP and [5 DC, 3 CH, 5 DC] into each 6CH SP, SL into 3rd CH (fake DC) to join
- 3 CH, {1 DC in each ST to corner, [1 DC, 3 CH, 1 DC] in each 3CH SP} repeat to end, SL into 3rd CH to join, tie off and weave in tail
Assembling the blanket
- I used 48 squares in a 6 by 8 grid to make the blanket. Other grid dimensions supported by your square count will work fine
- Make a slip knot, slip stitch (or other style of join) the rows to each other using the back stitch only, leave tails on each side as needed
- Do the same for the columns, working from the same side, leaving tails as needed
- Make the border: make a slip knot, SL onto any point, 1 CH, 1 SC in each ST to corner (covering the tails with your SC stitches as you go), 3 SC in cornermost stitch of the blanket (not each individual square), continue doing 1 SC to corner and repeating the corner procedure until you land back where you started, SL into 1 CH, tie off and weave in